To achieve personalized models, attention to detail is crucial, and it is thanks to shaders and textures that we can accomplish it.
The following is a compilation of some of the final works by students of the Animation and Digital Design program for the Shaders and Texturing Techniques course.
LET’S START WITH THE PROJECT
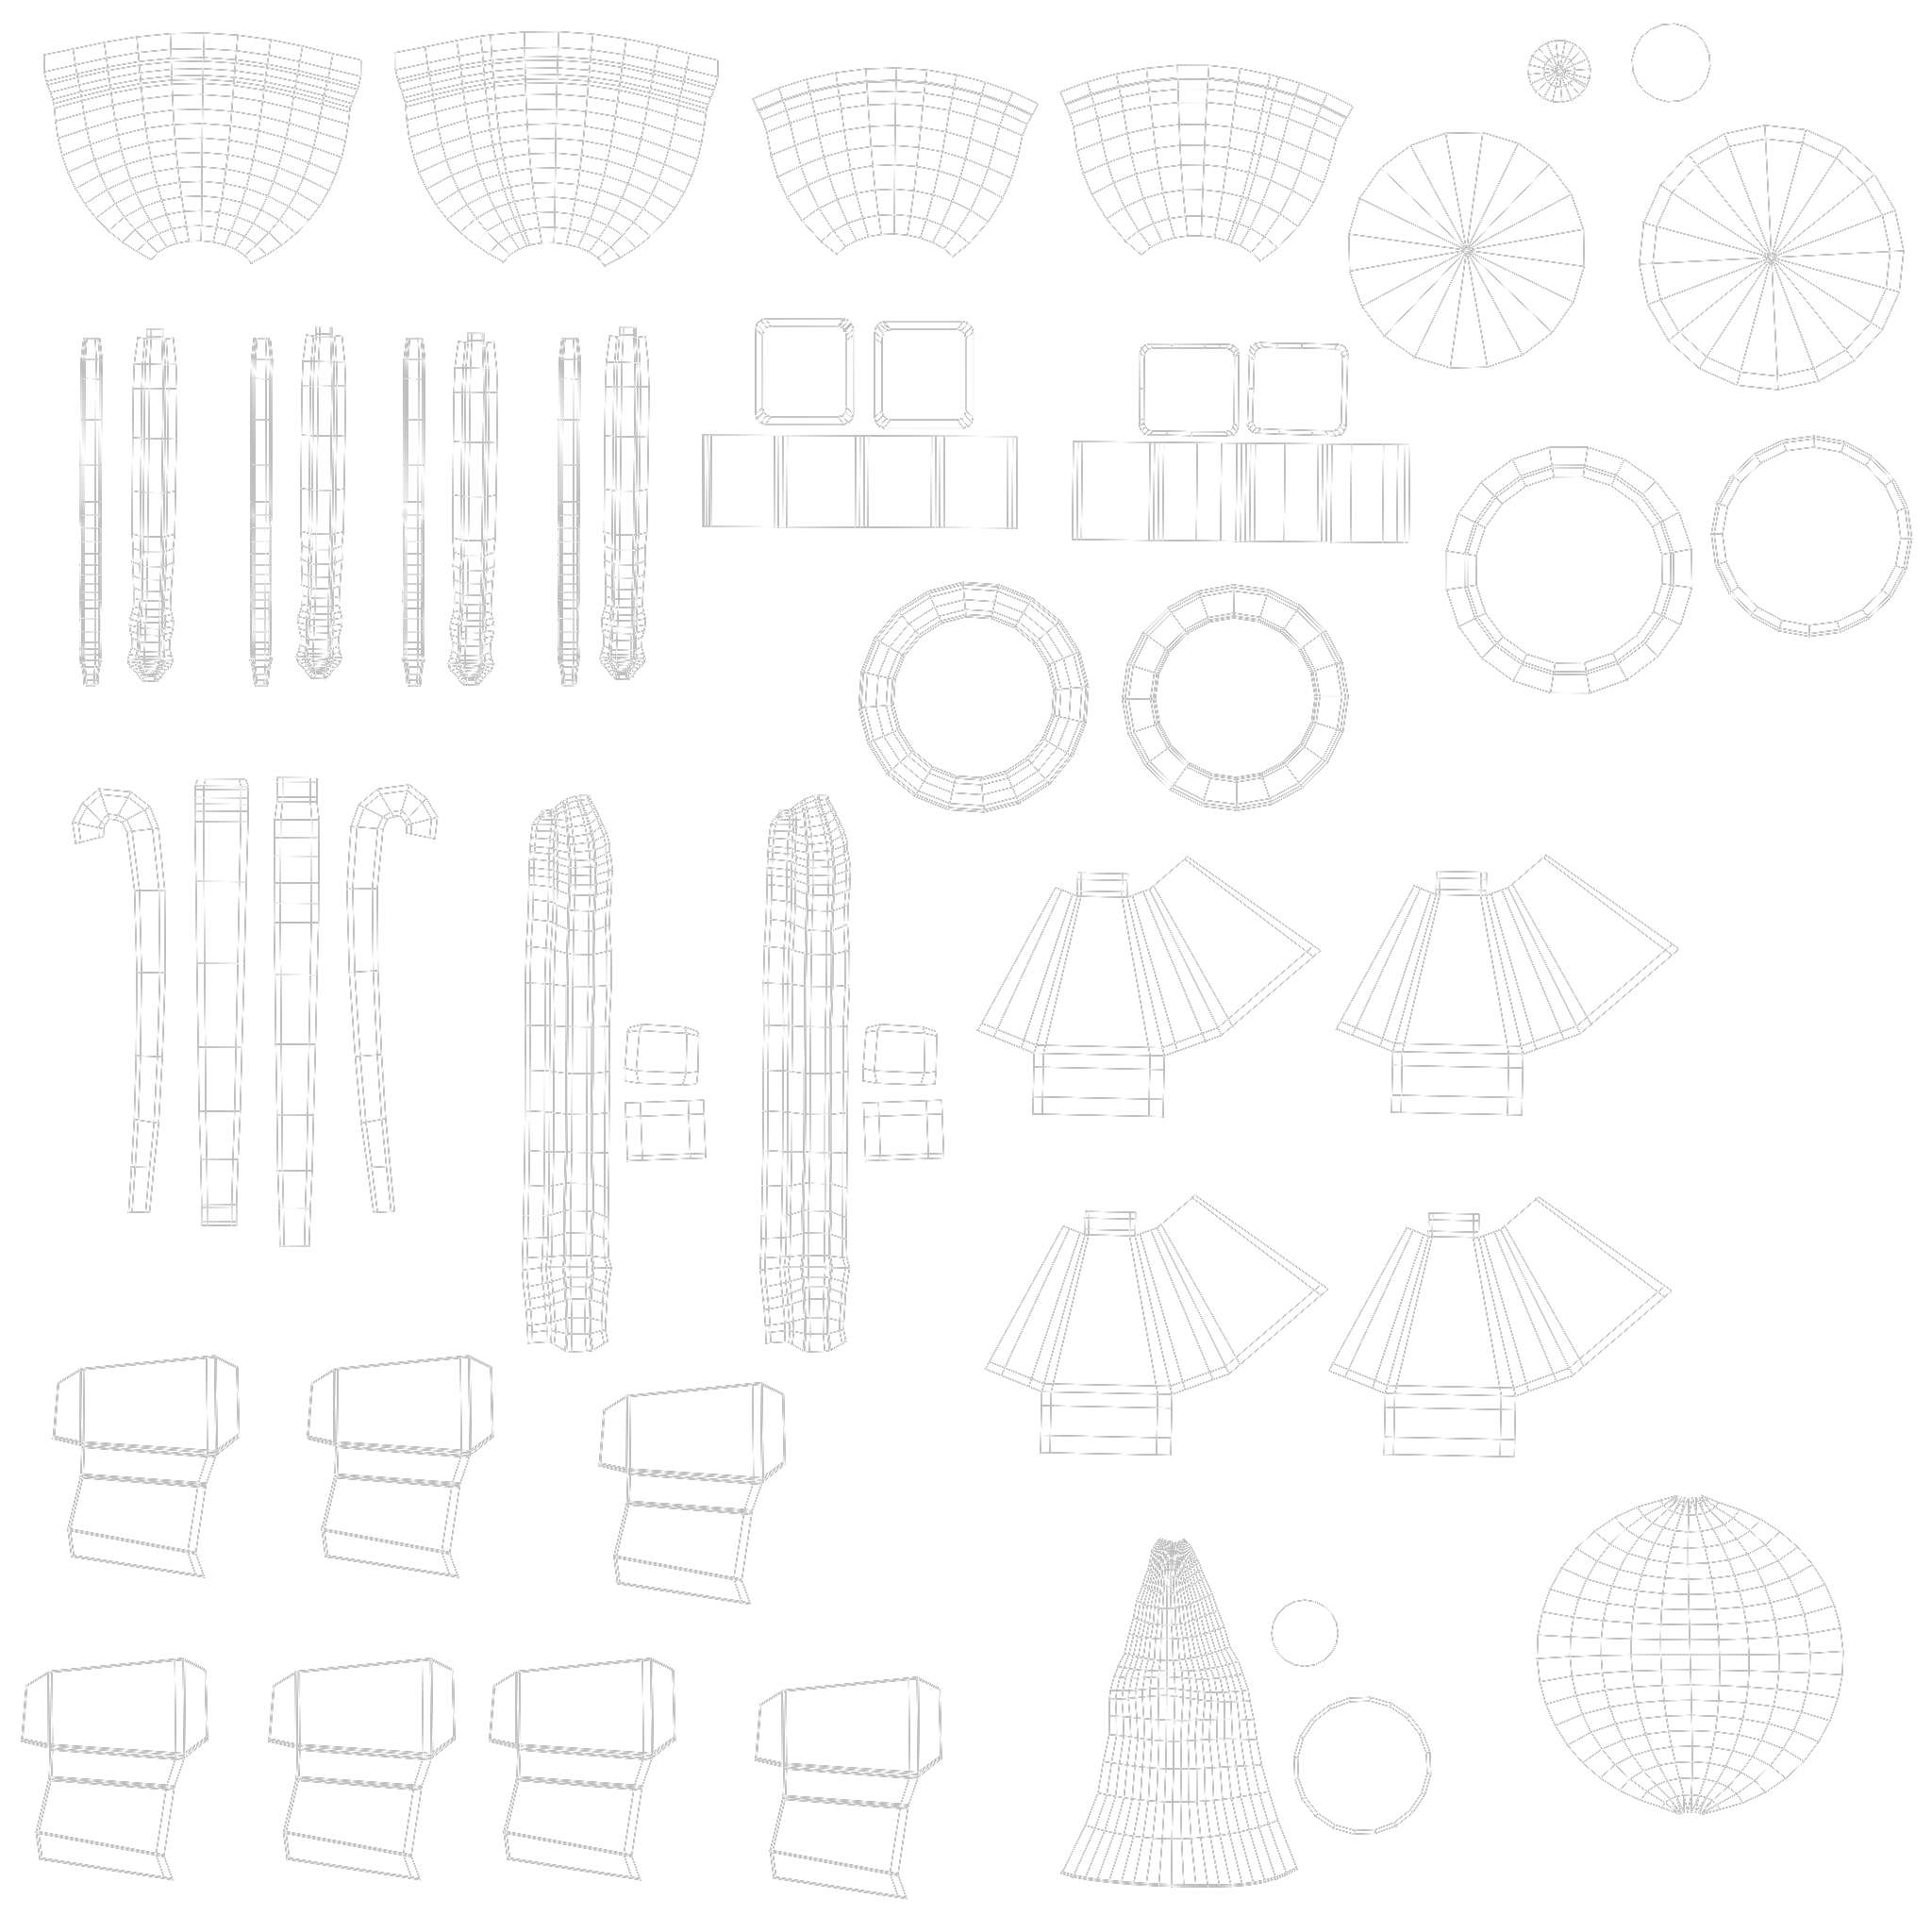
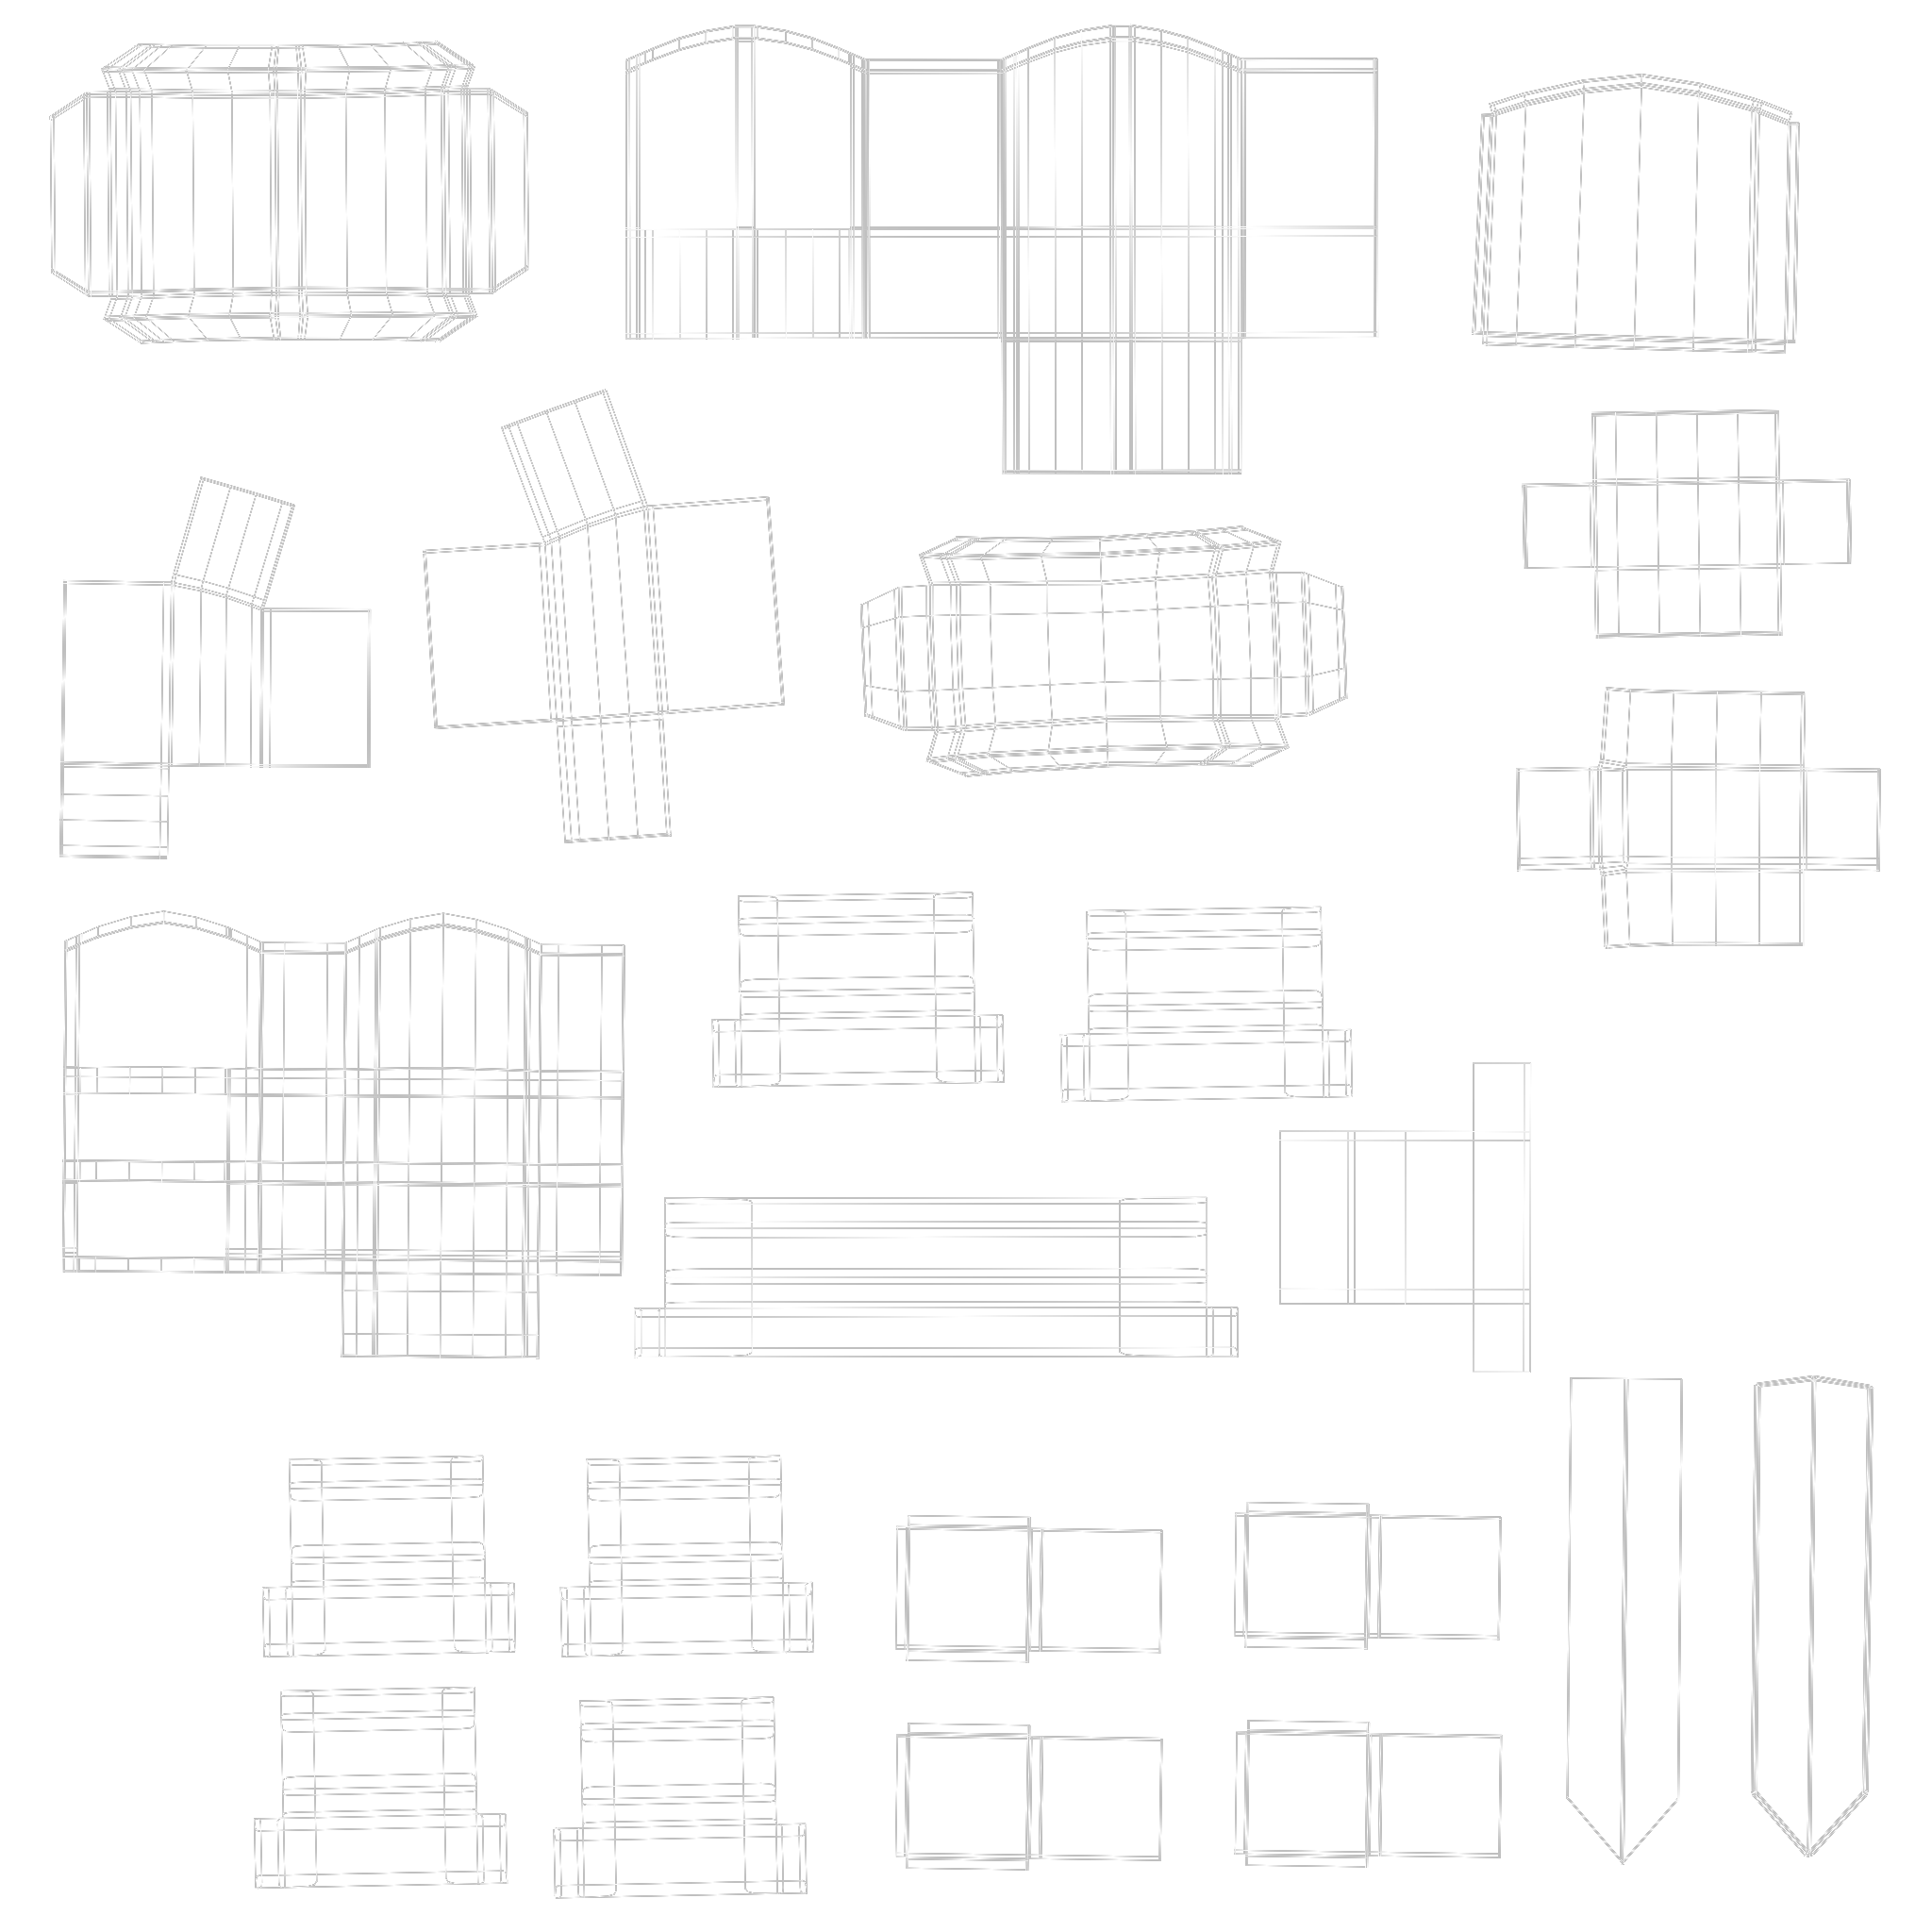
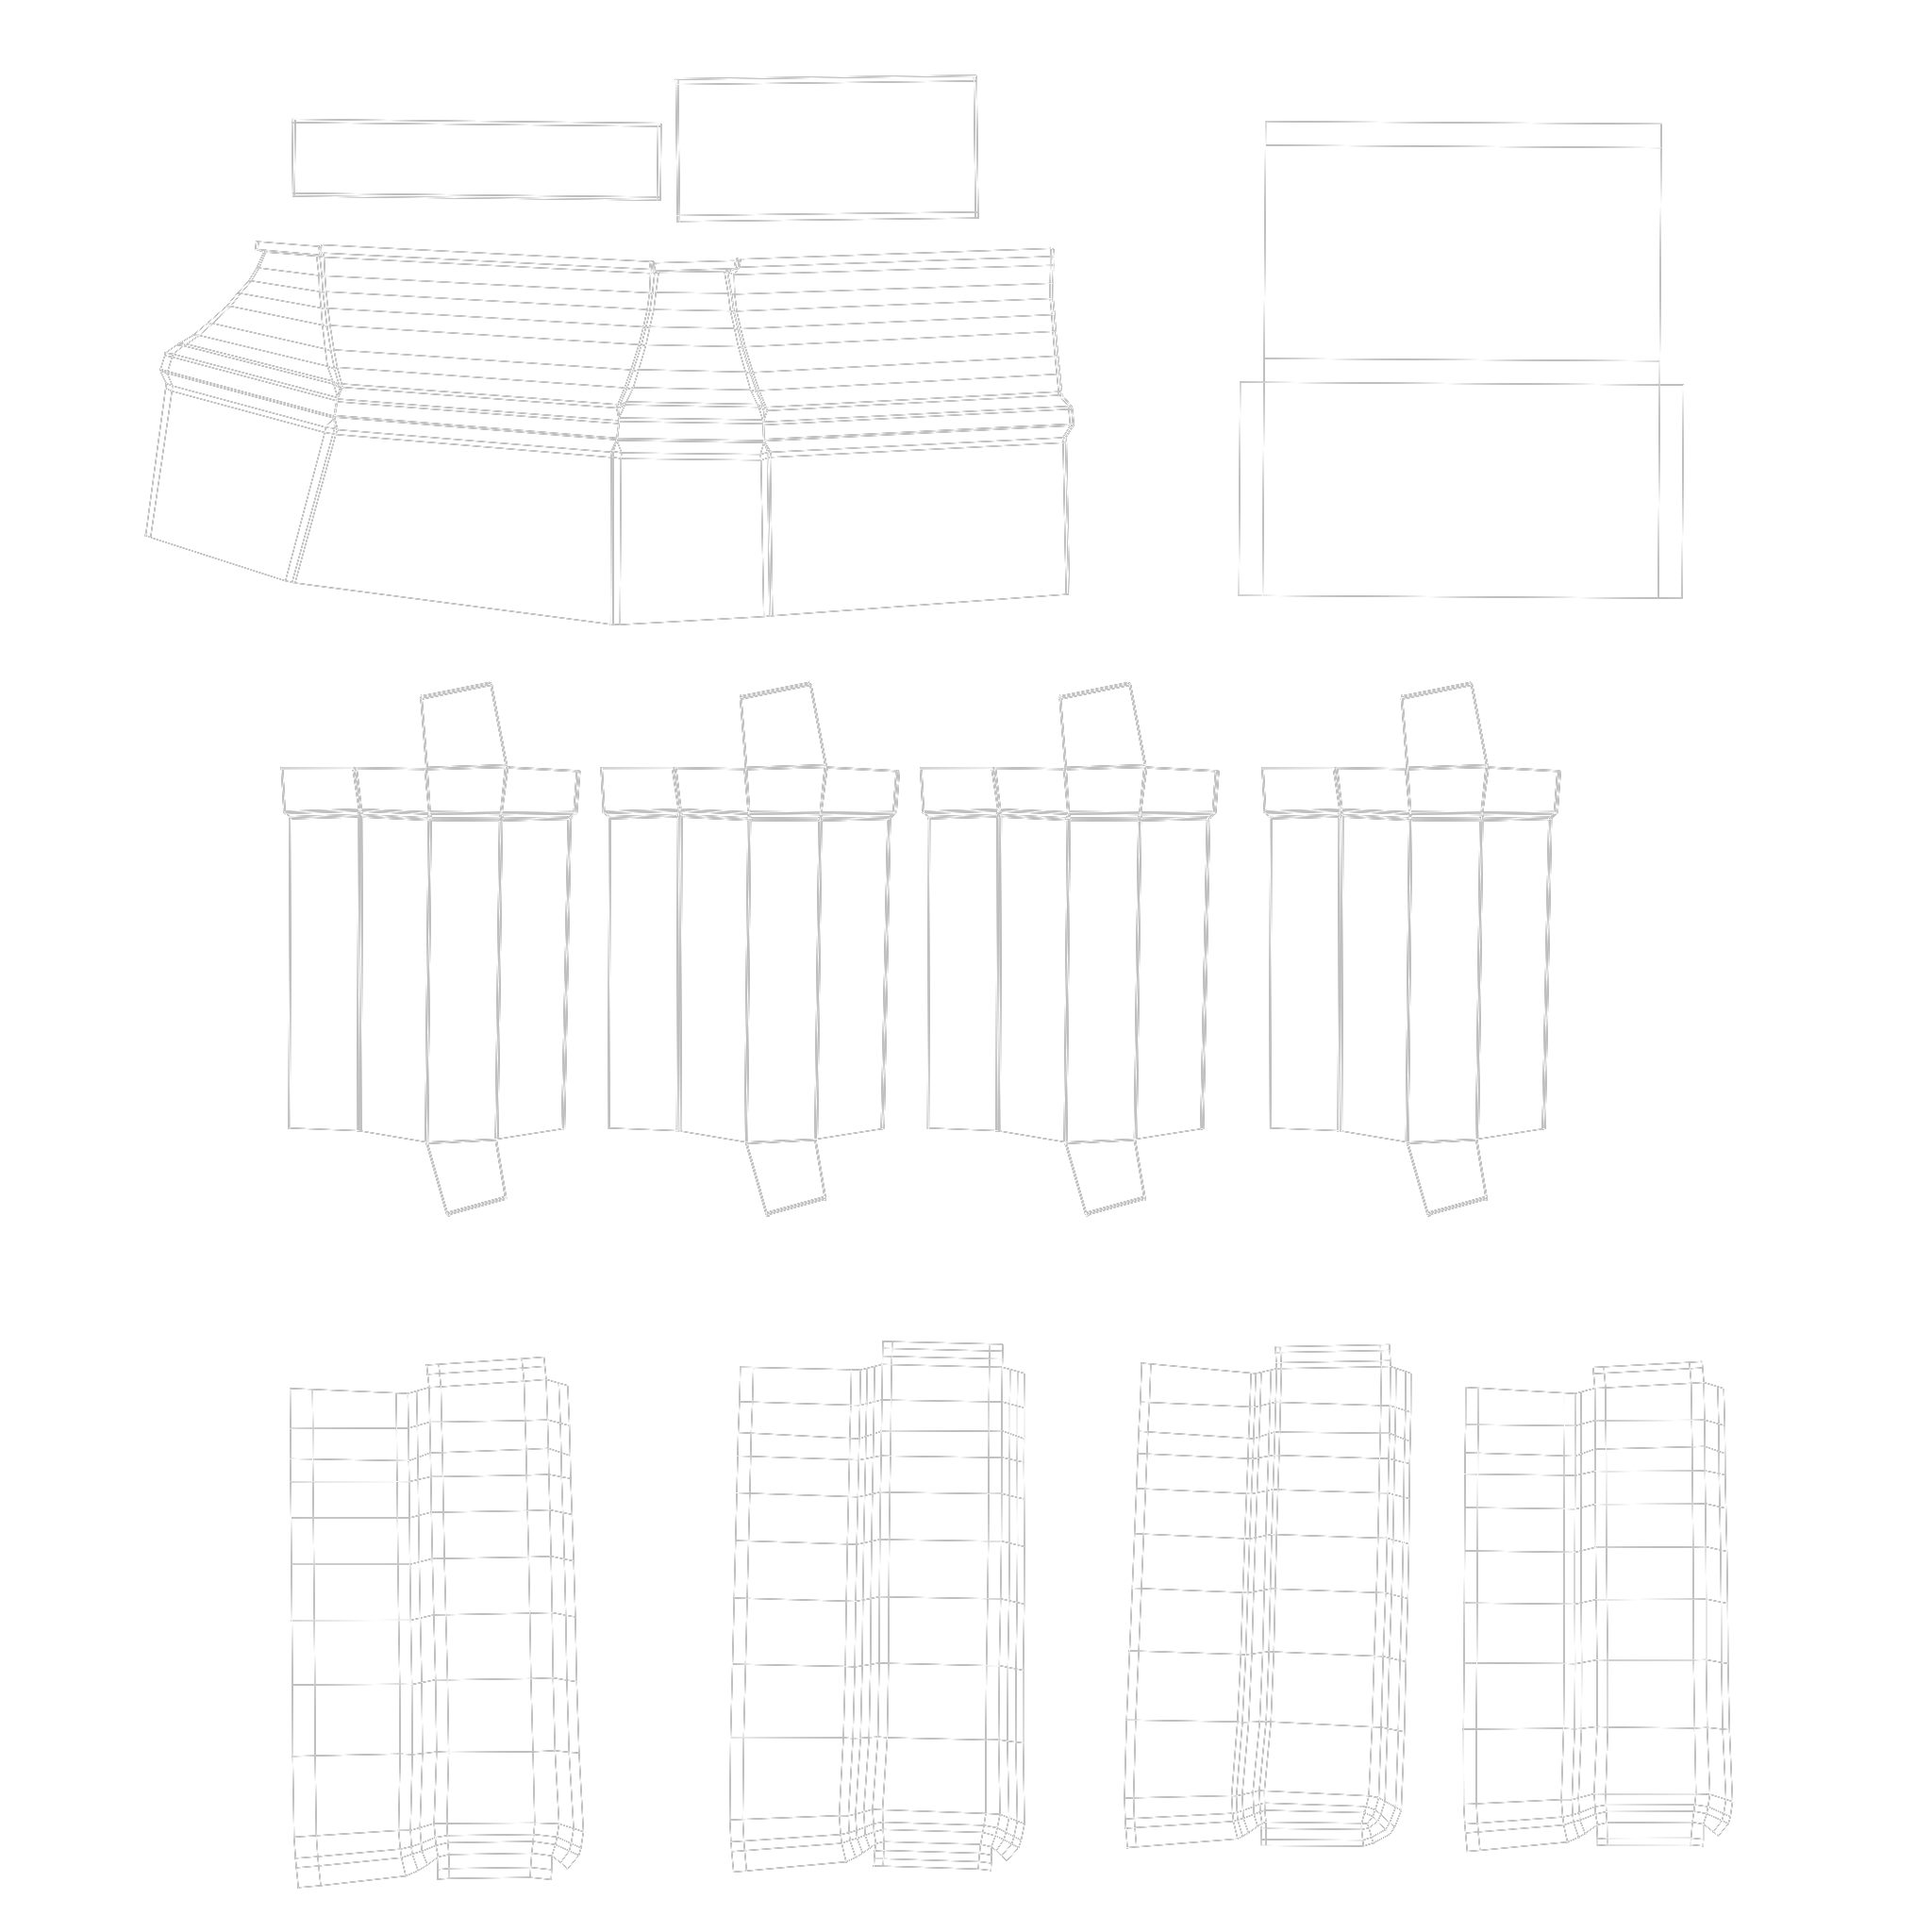
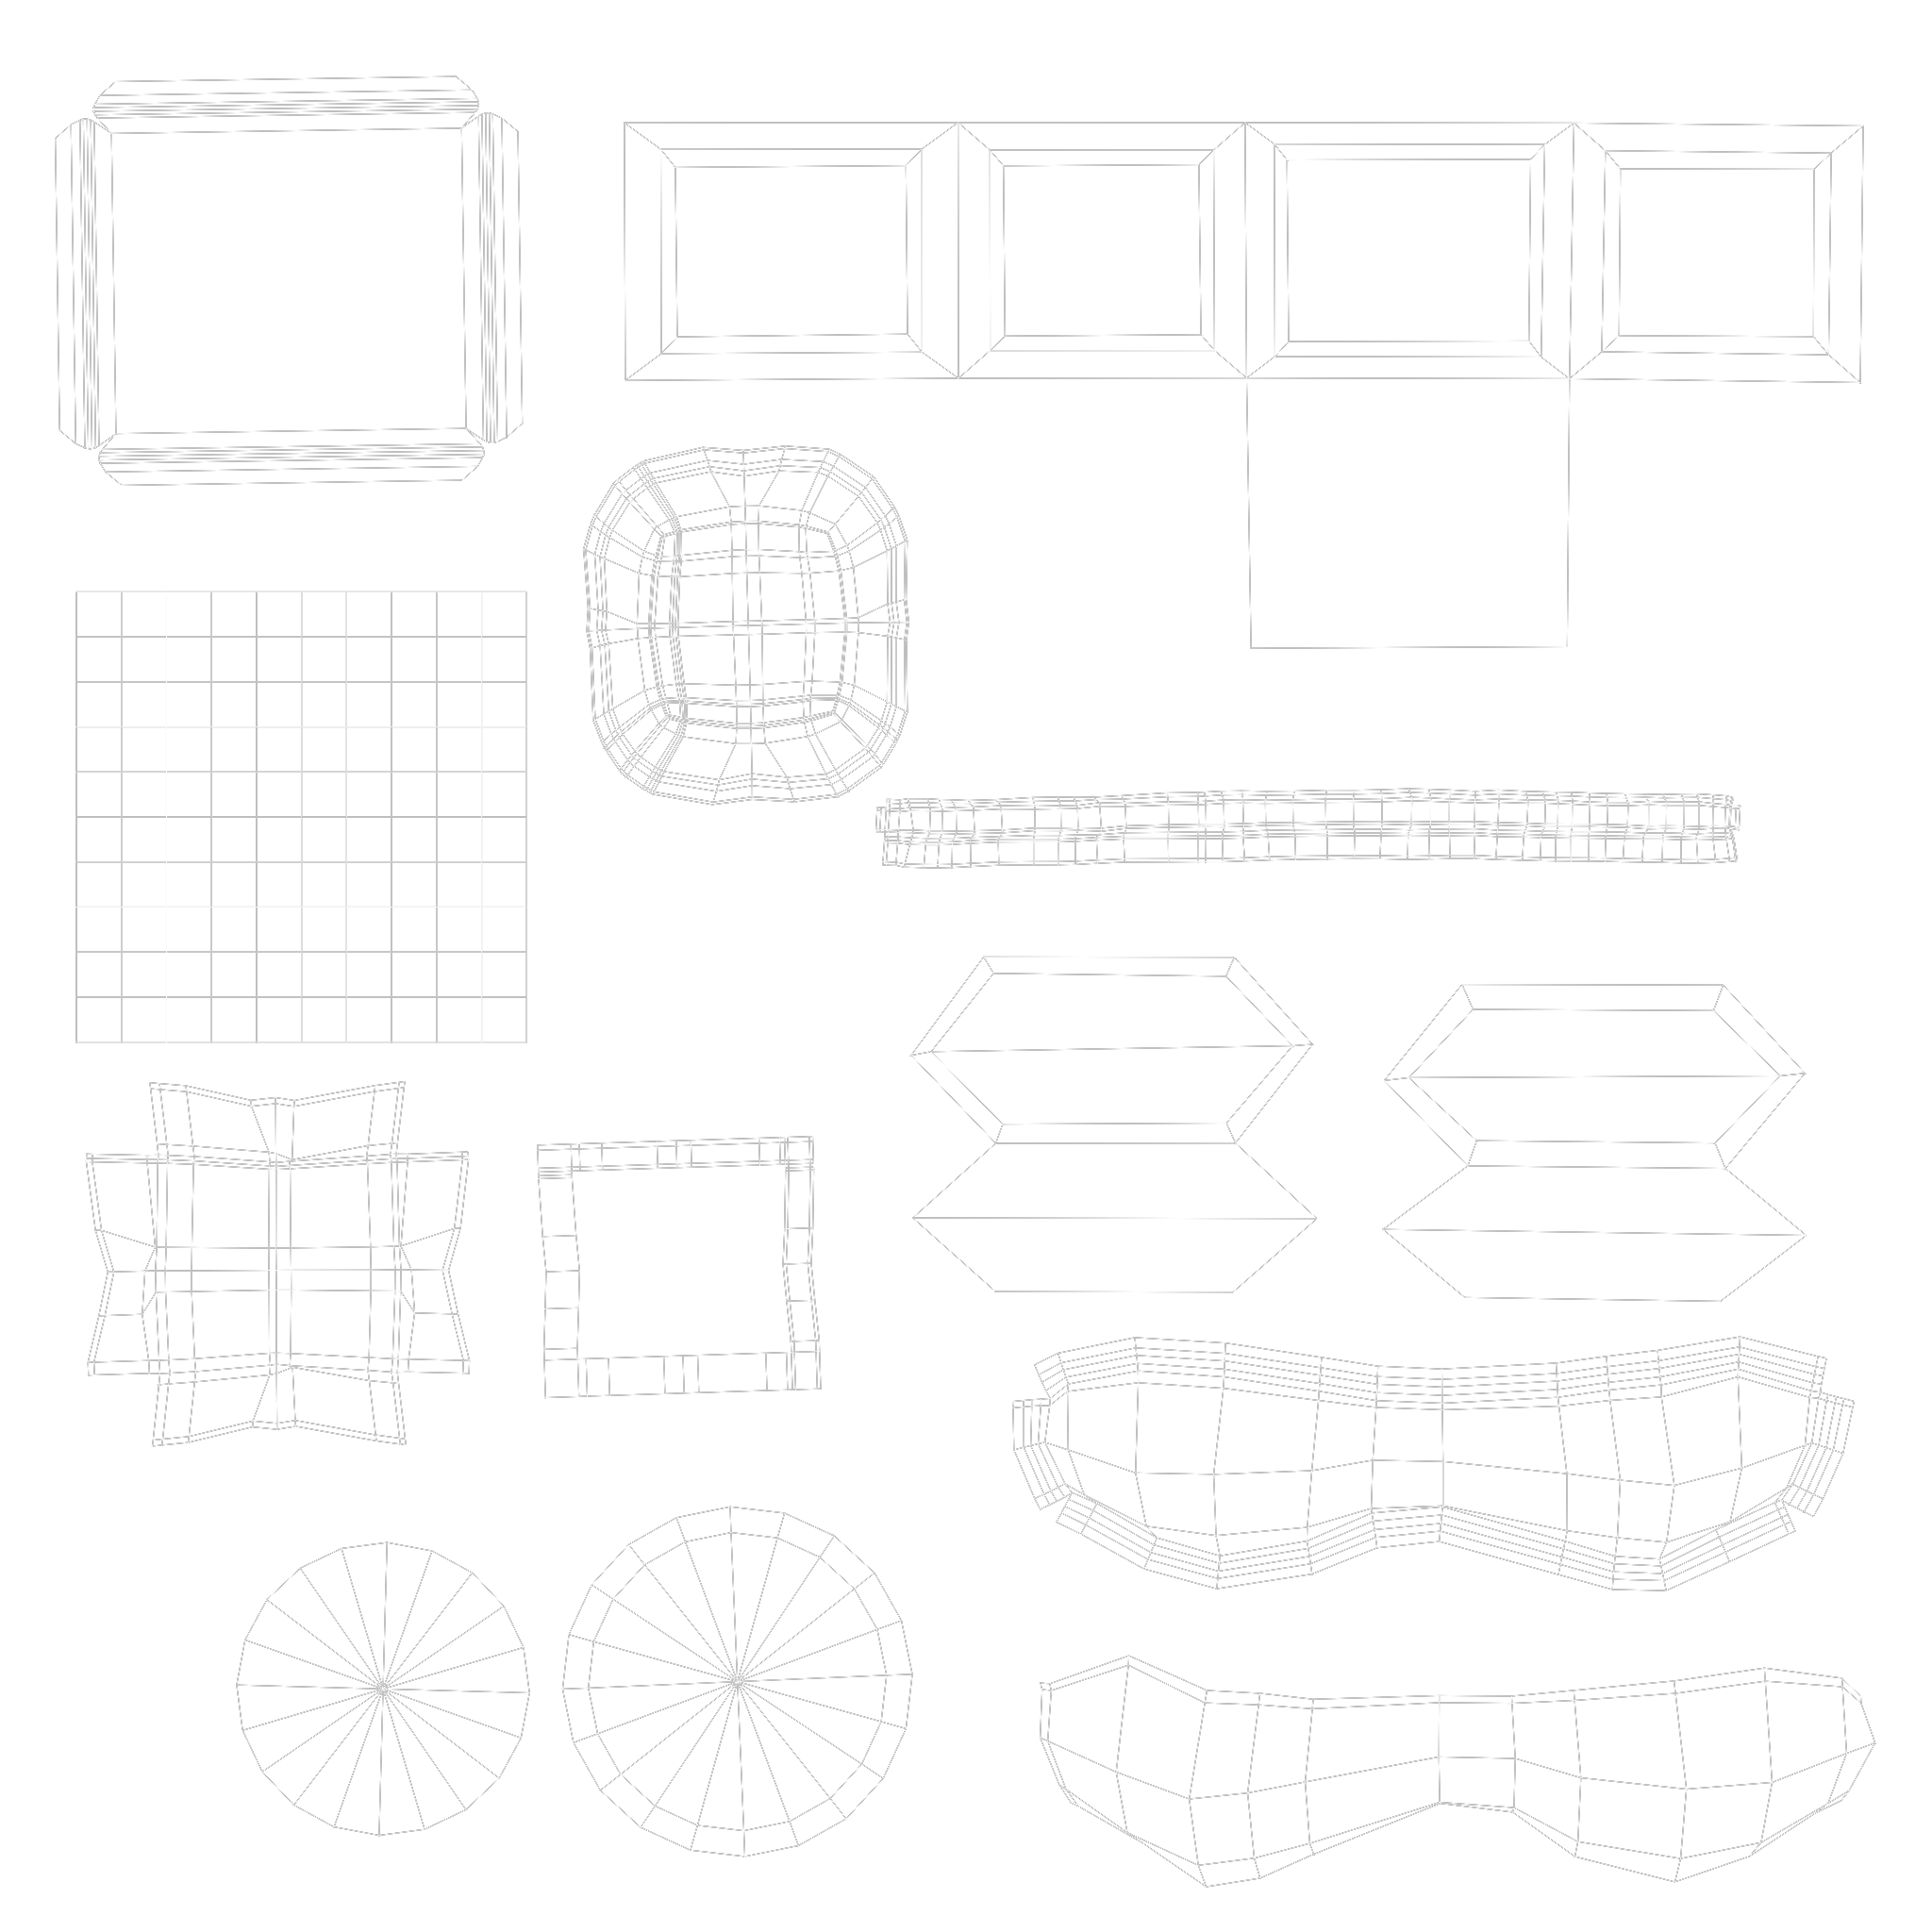
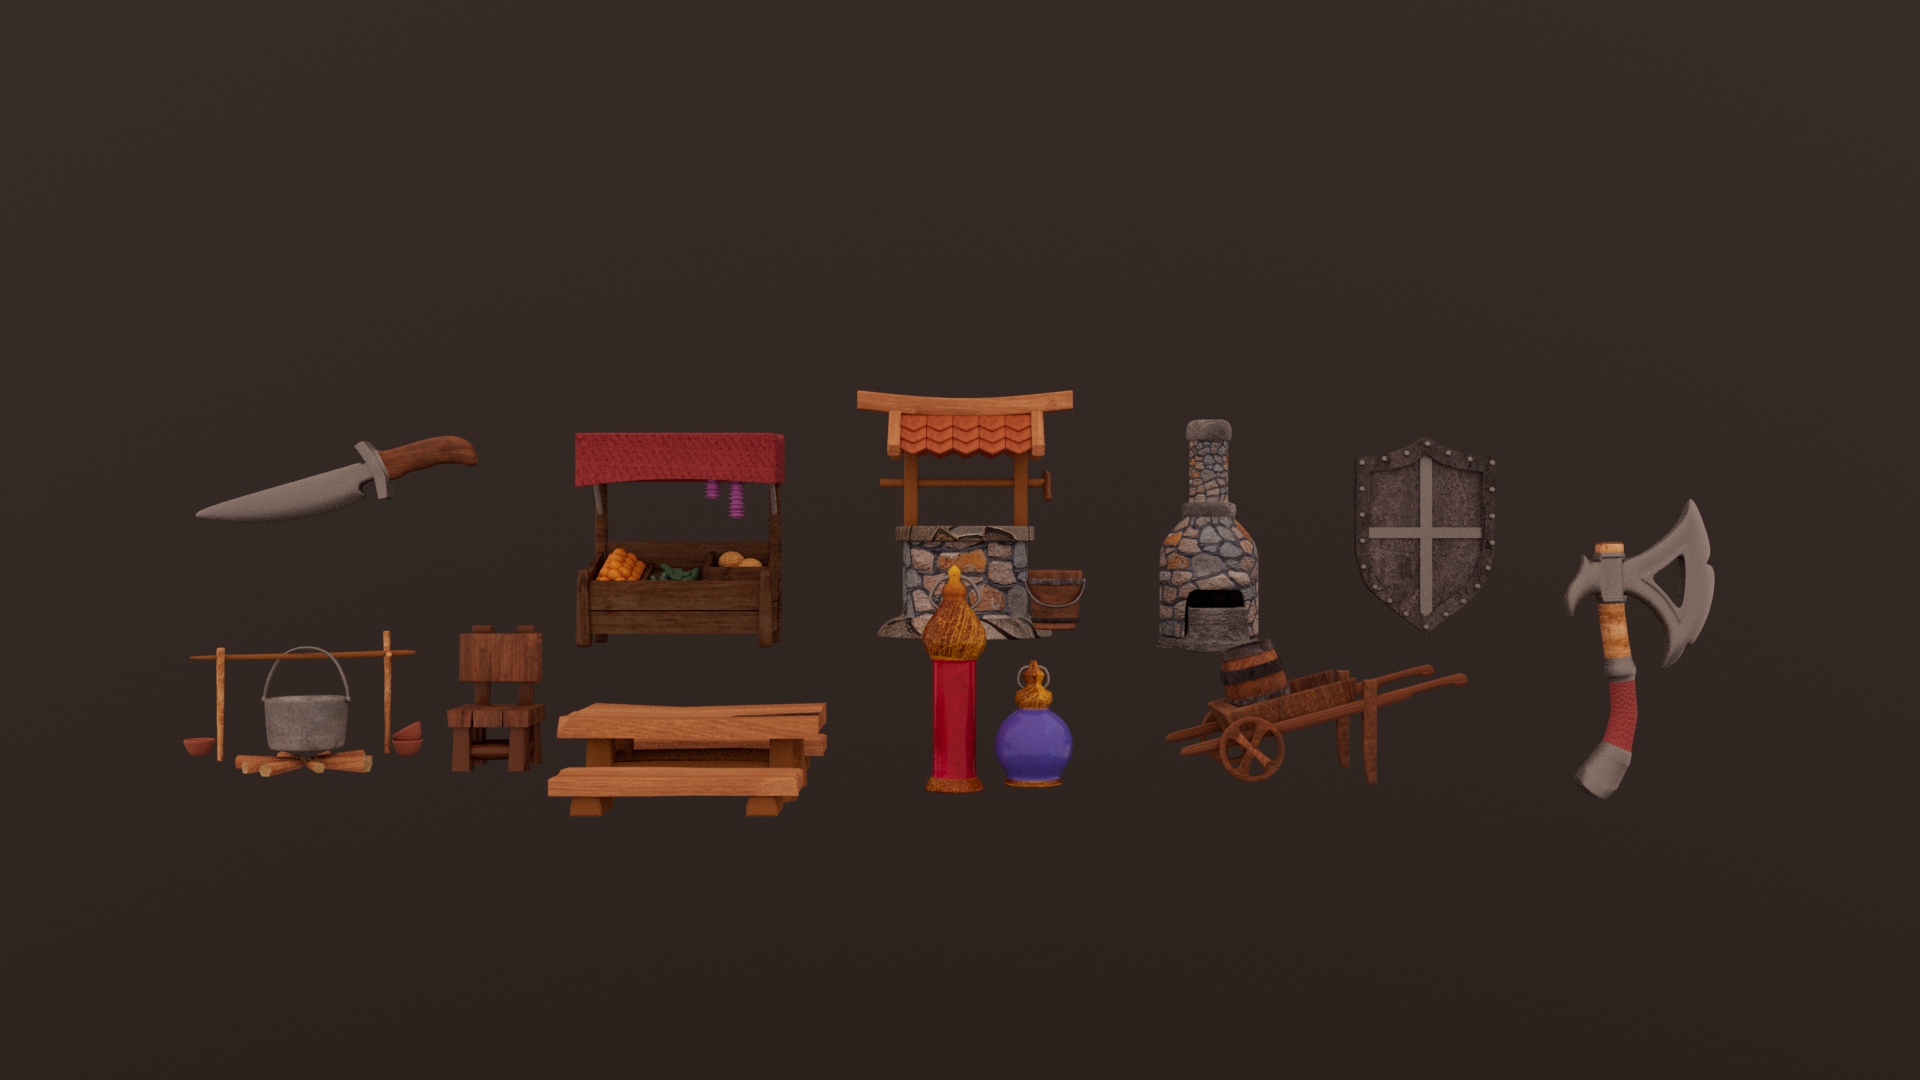
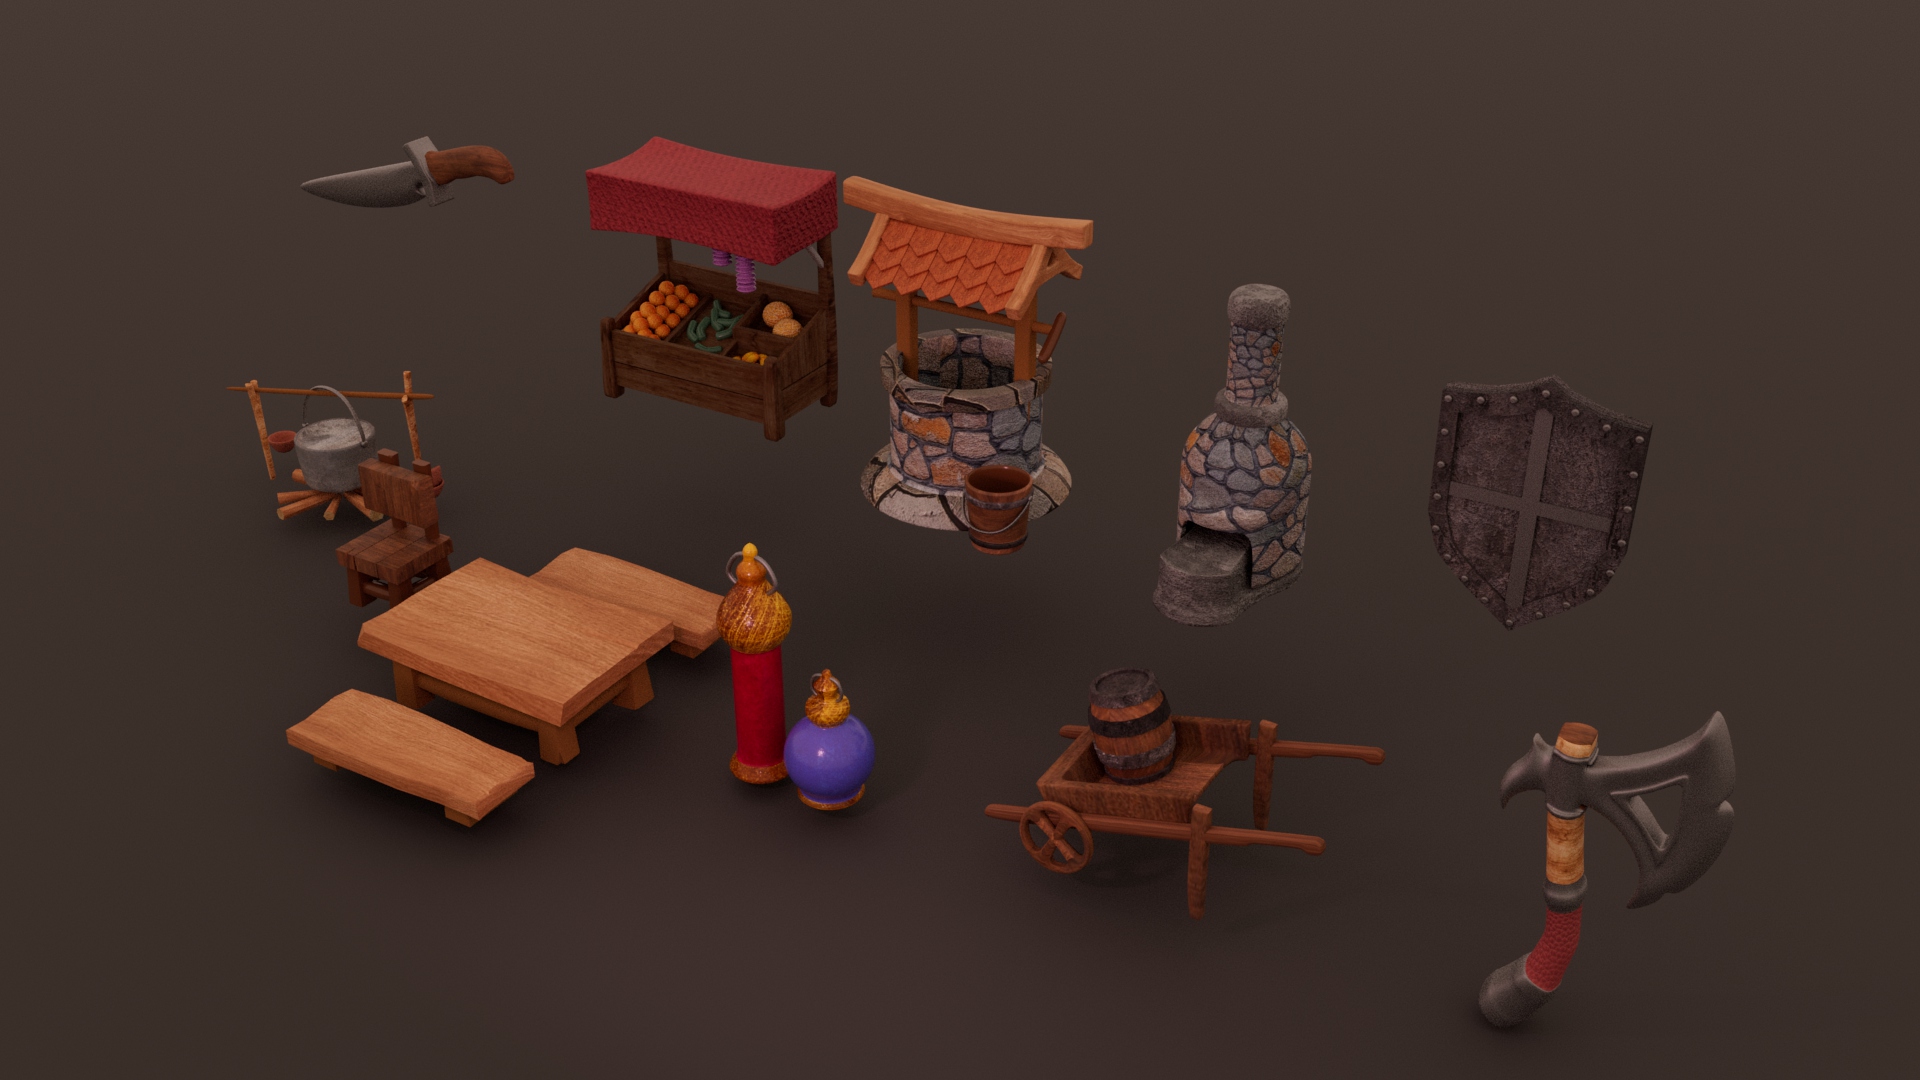
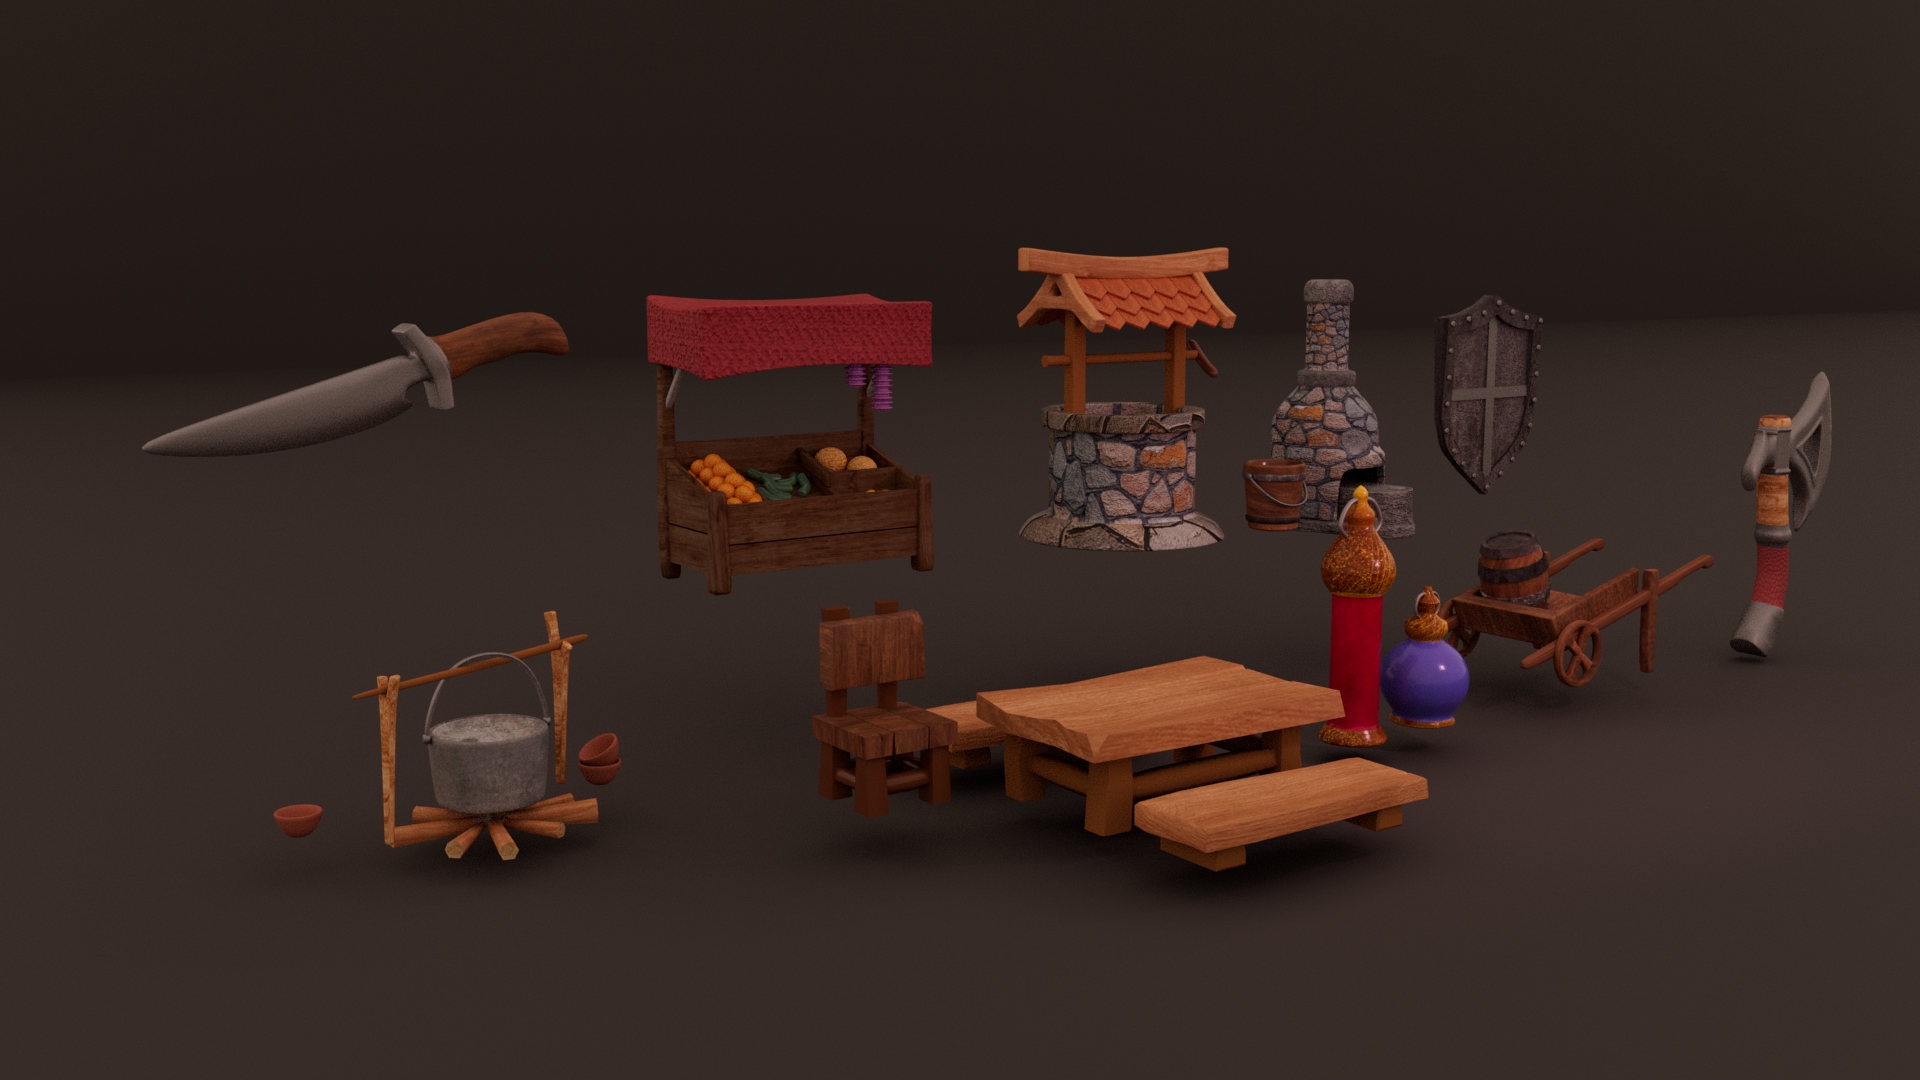
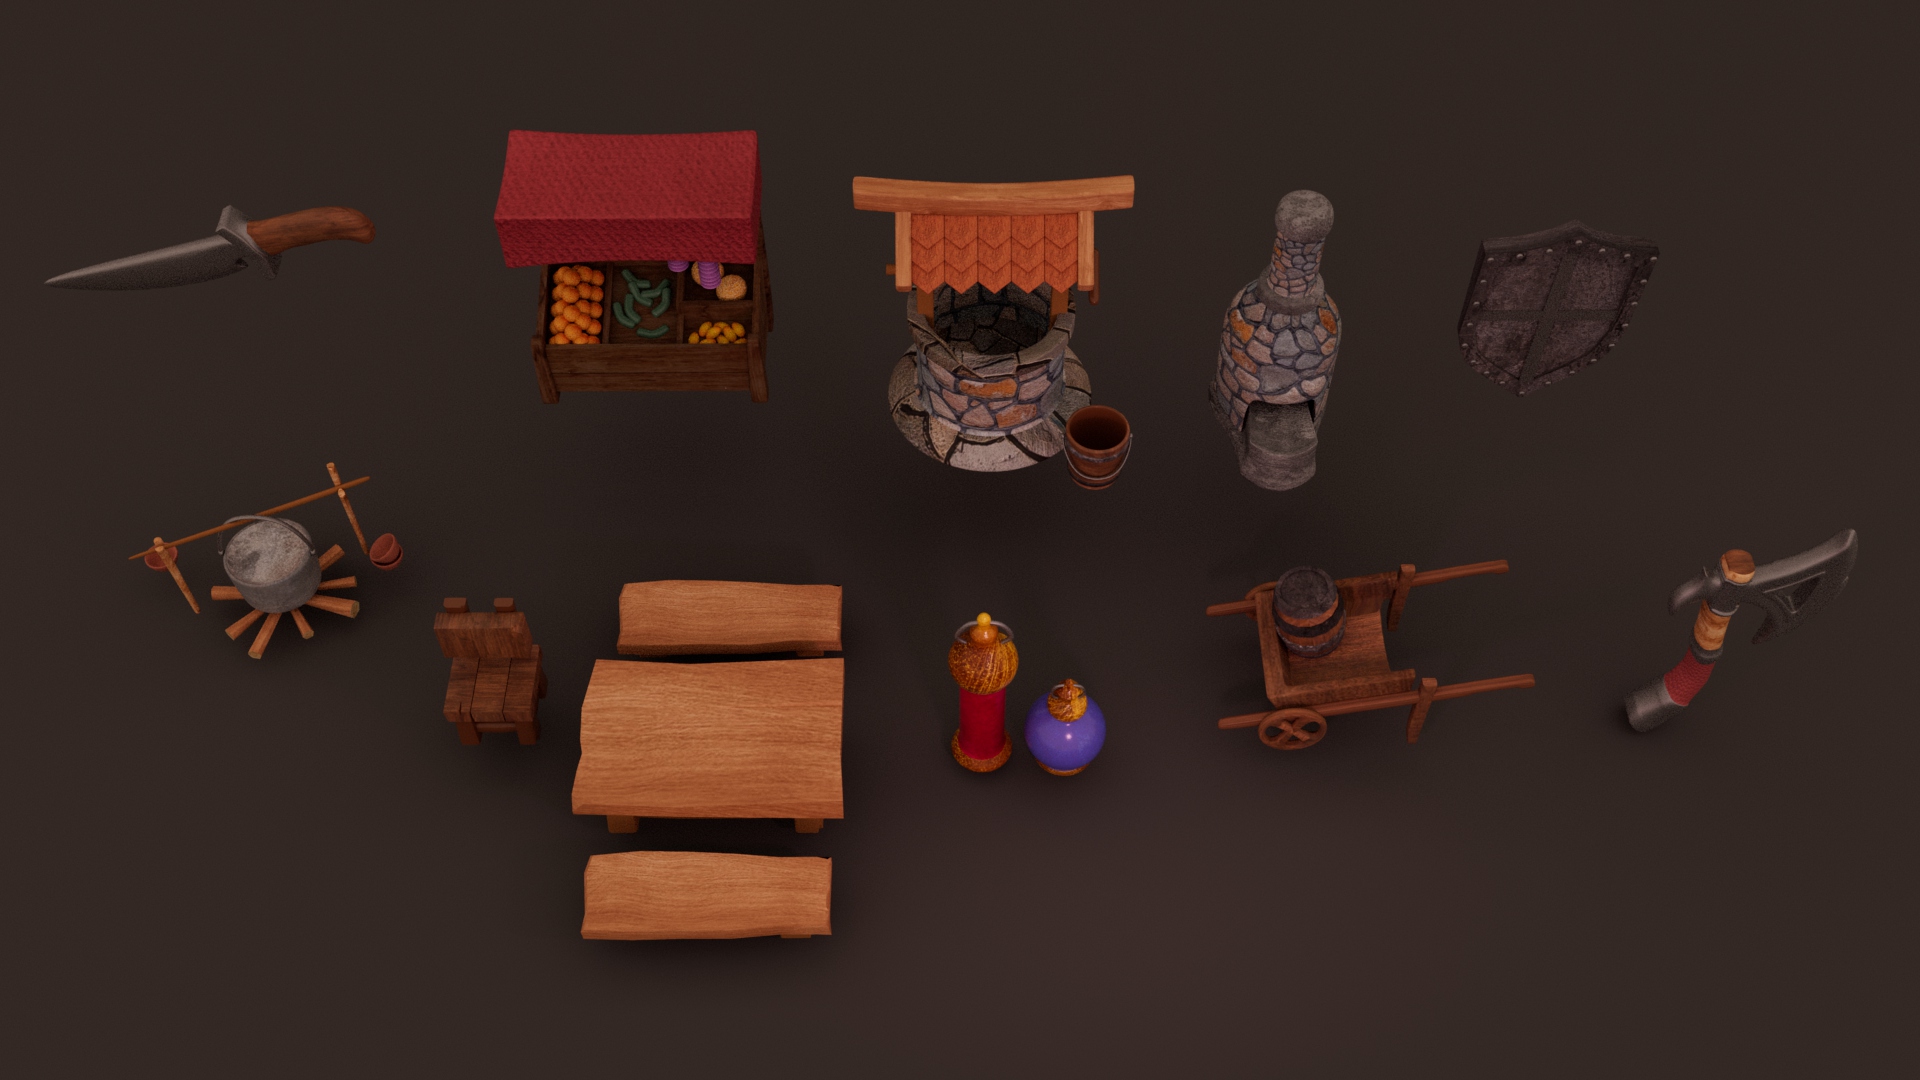
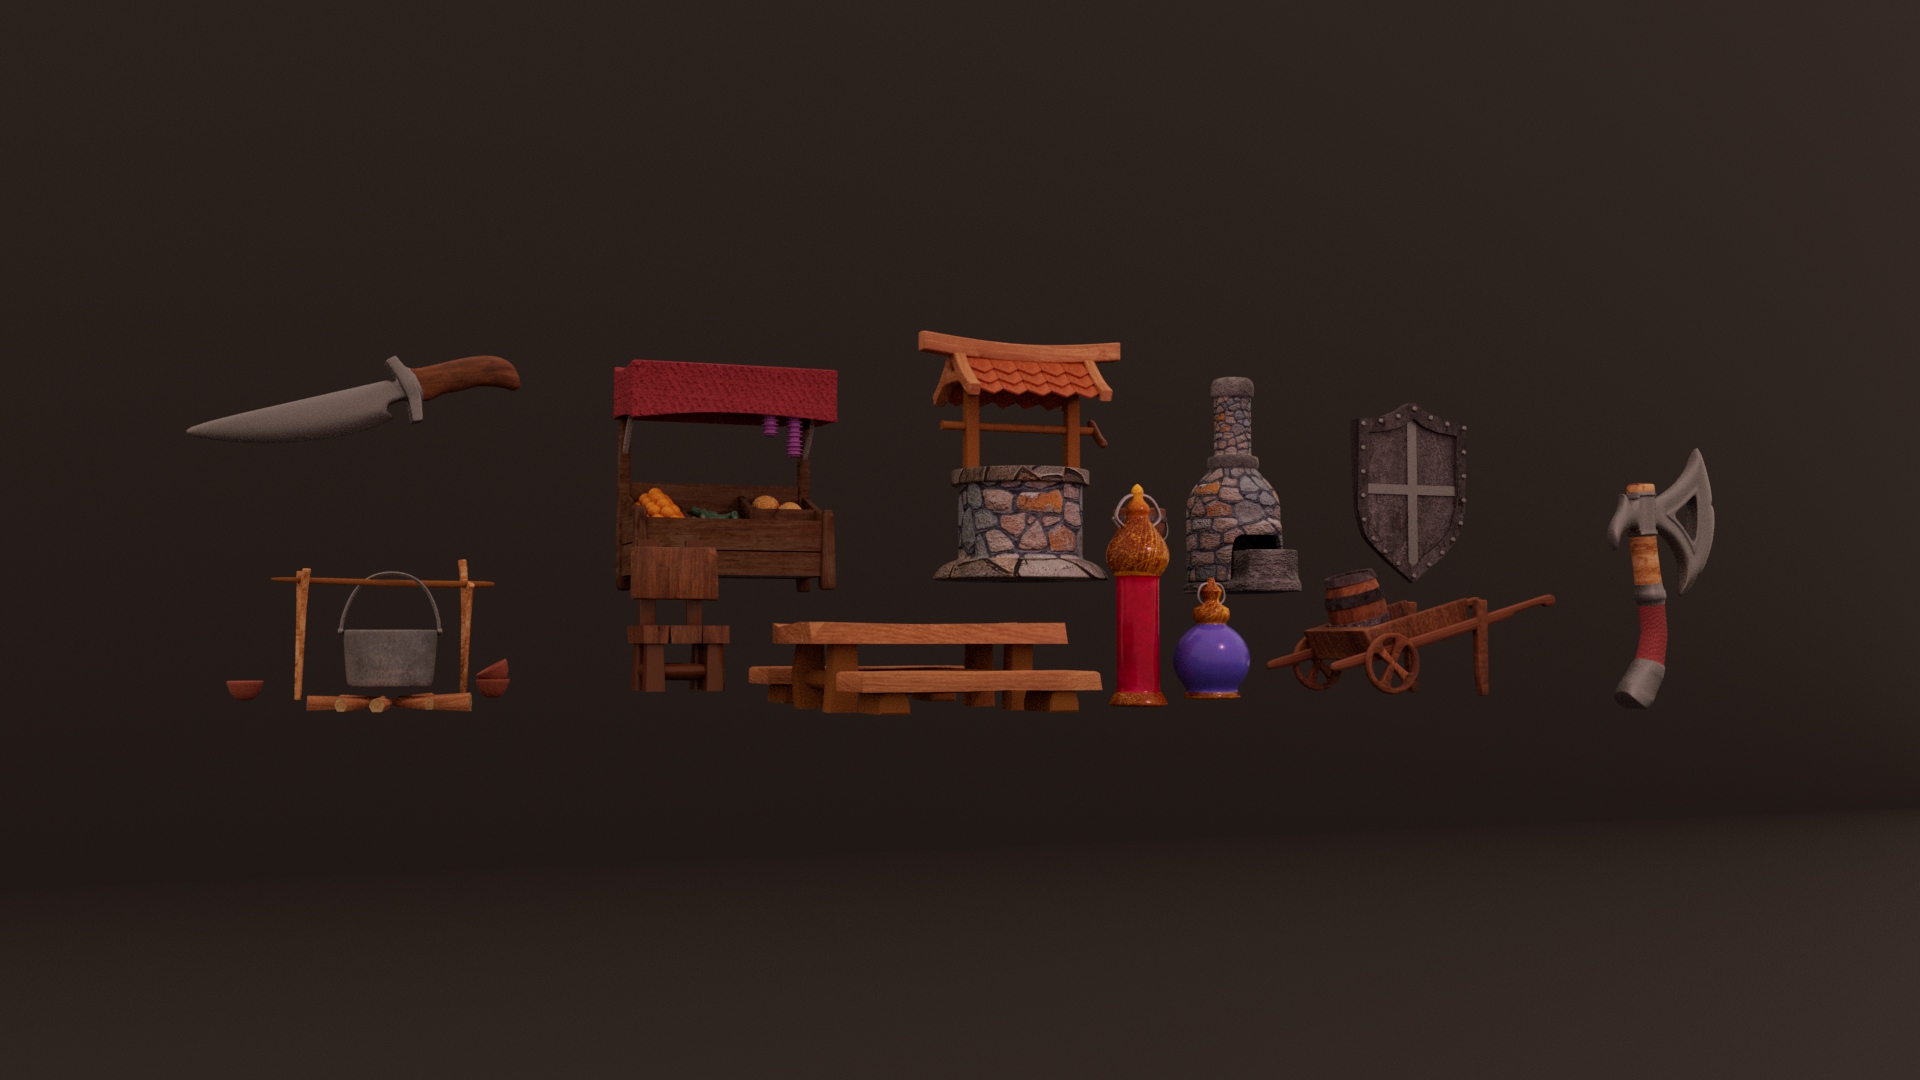
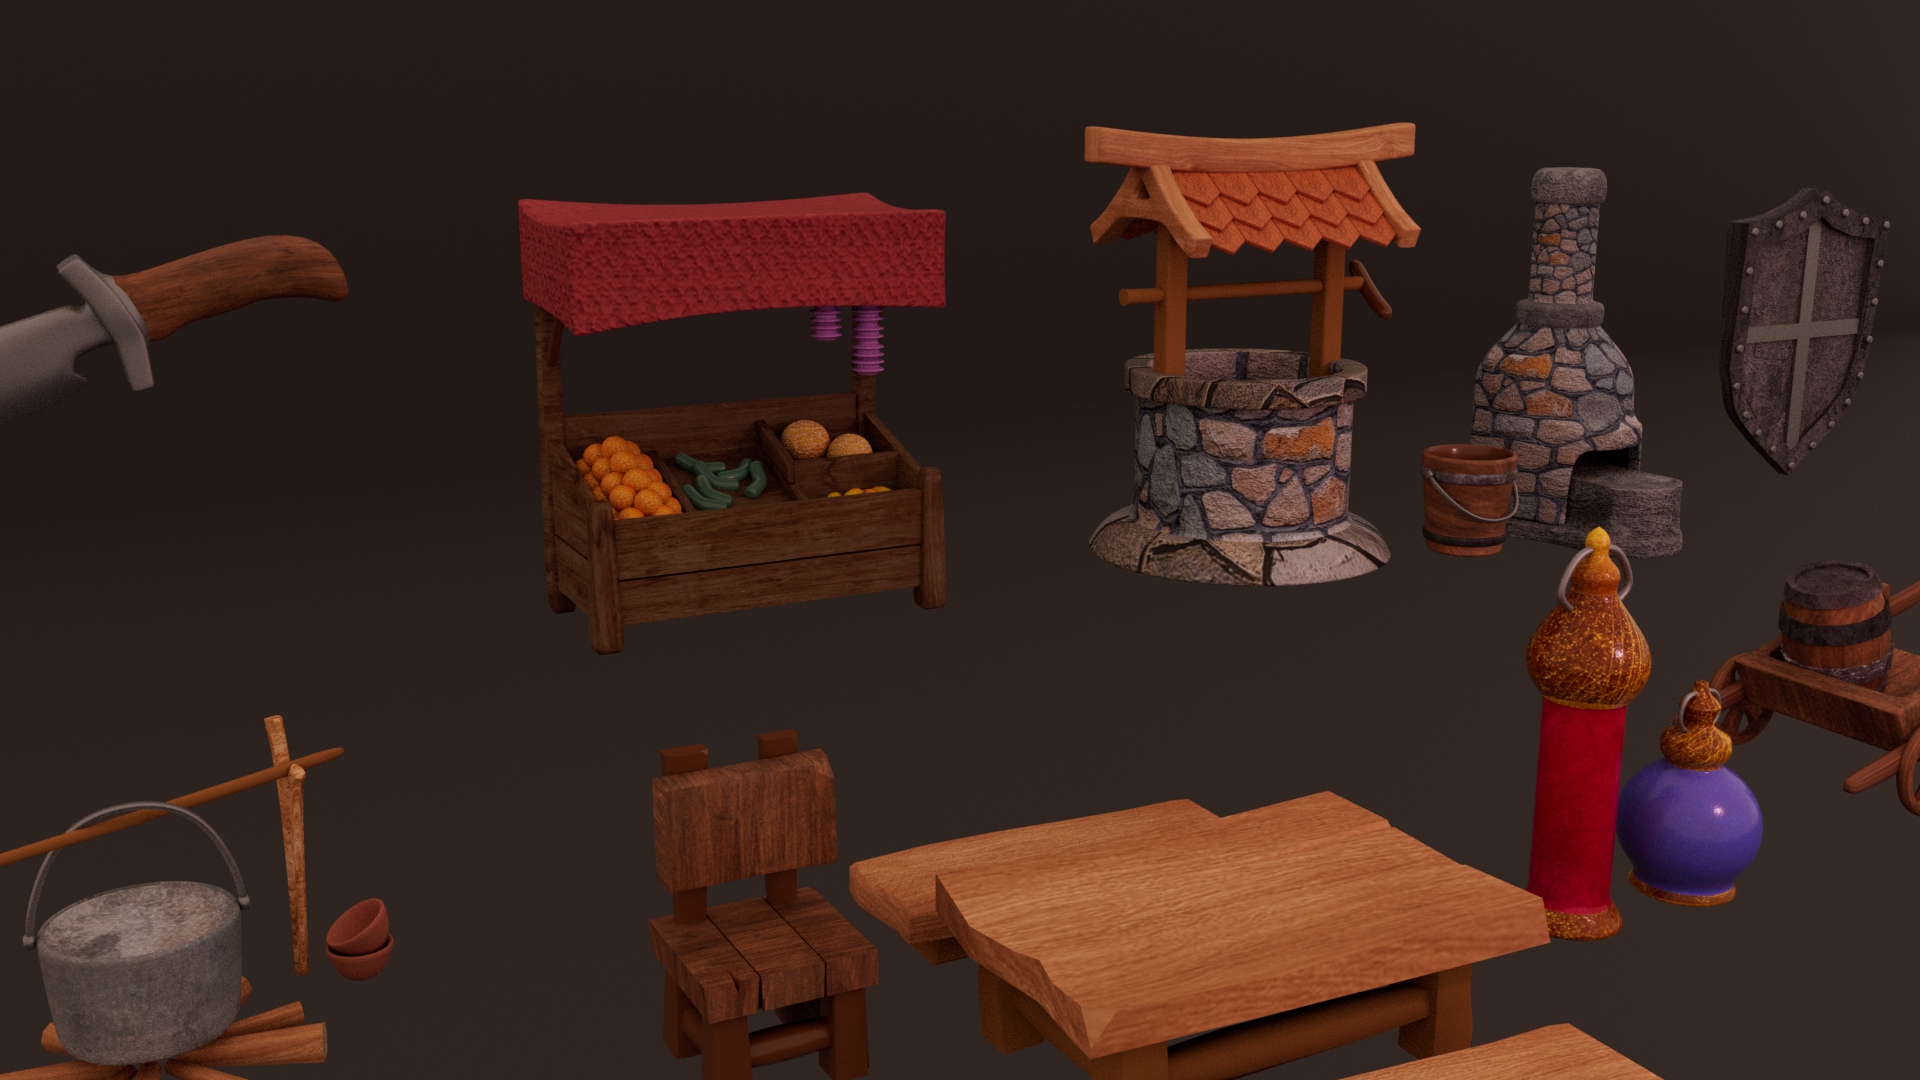
First, they were assigned to model 10 complex objects that belonged to a specific theme, with the aim of maintaining coherence with the models.
Modeling was assigned as it is important to have good topology while modeling, which helps with a smooth workflow.
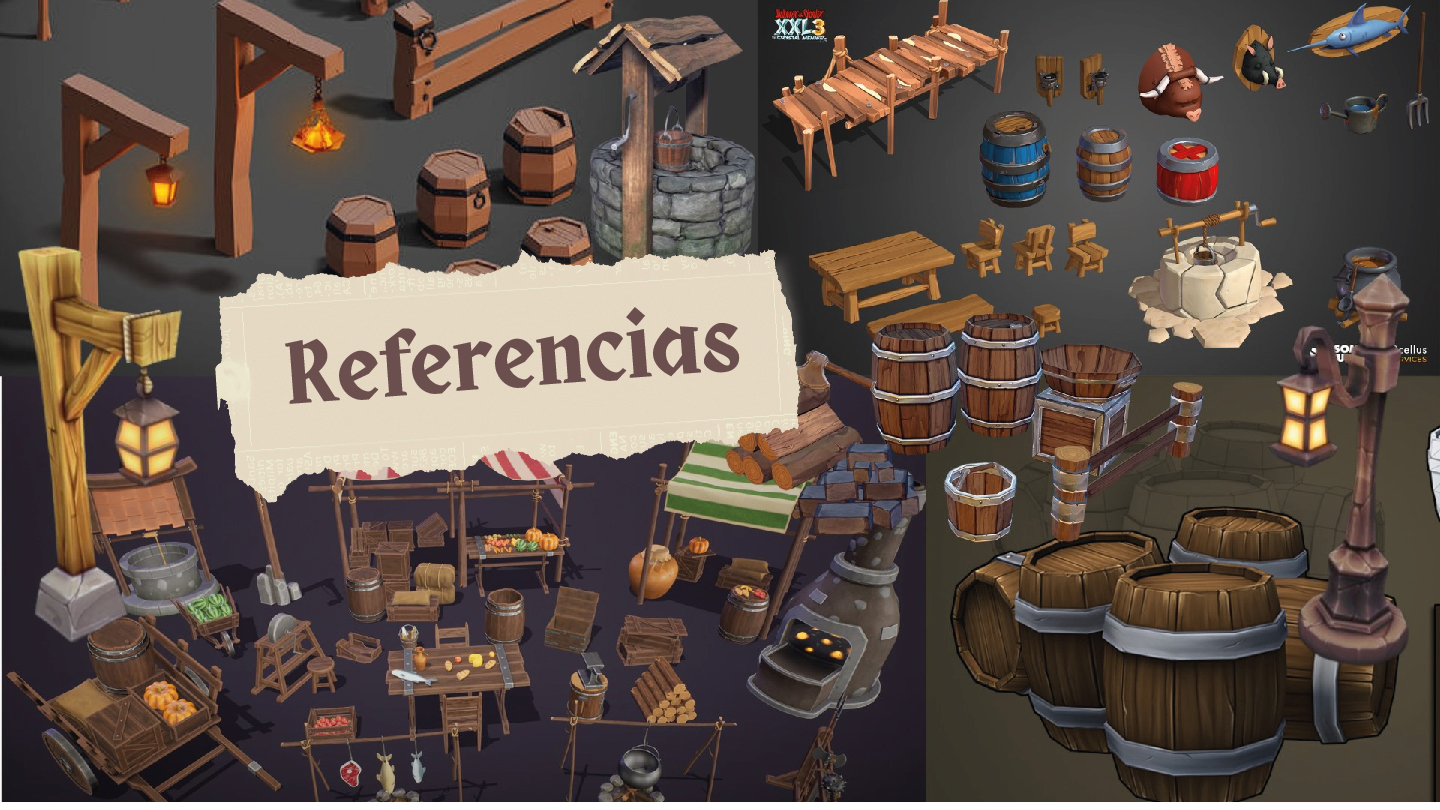
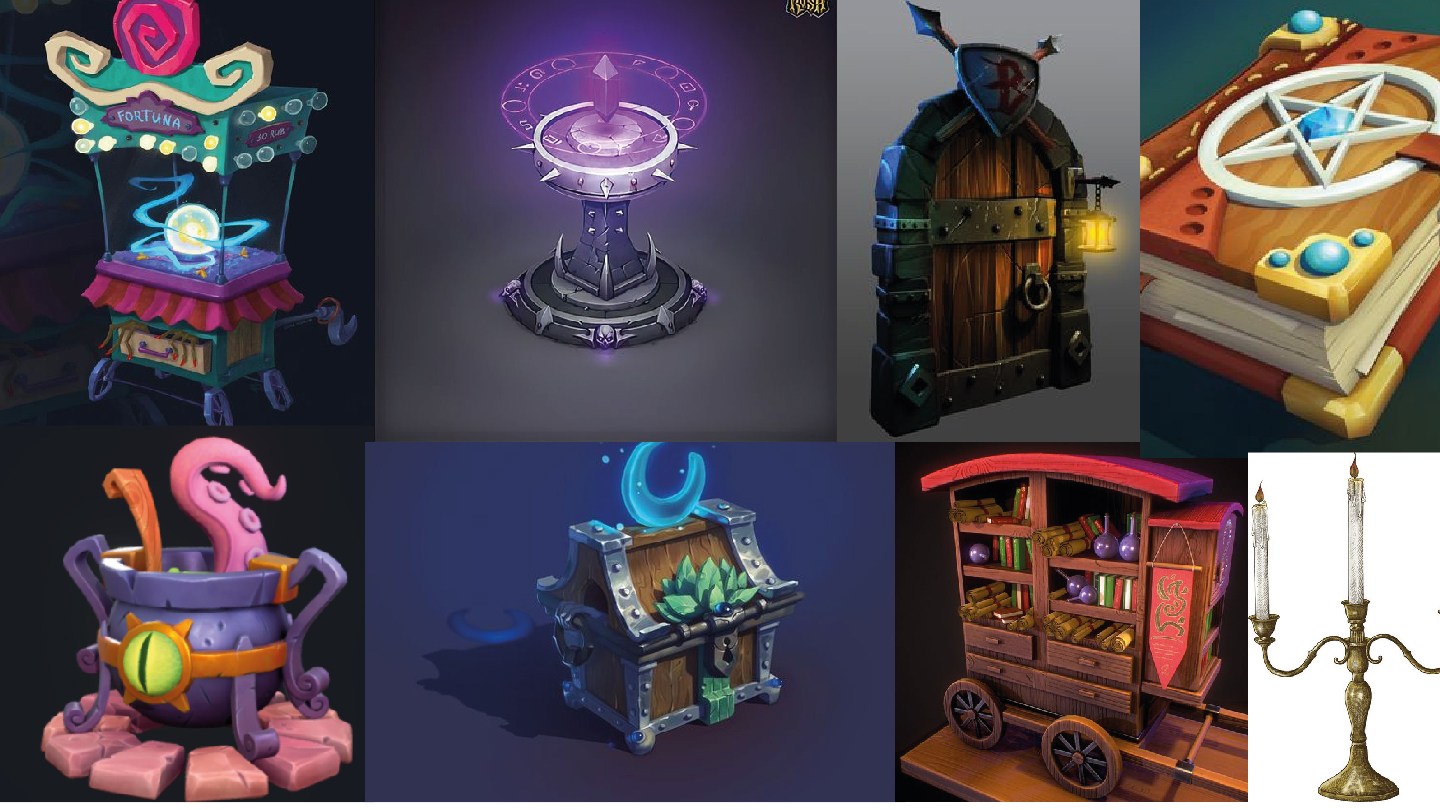
THEME OF THE OBJECTS
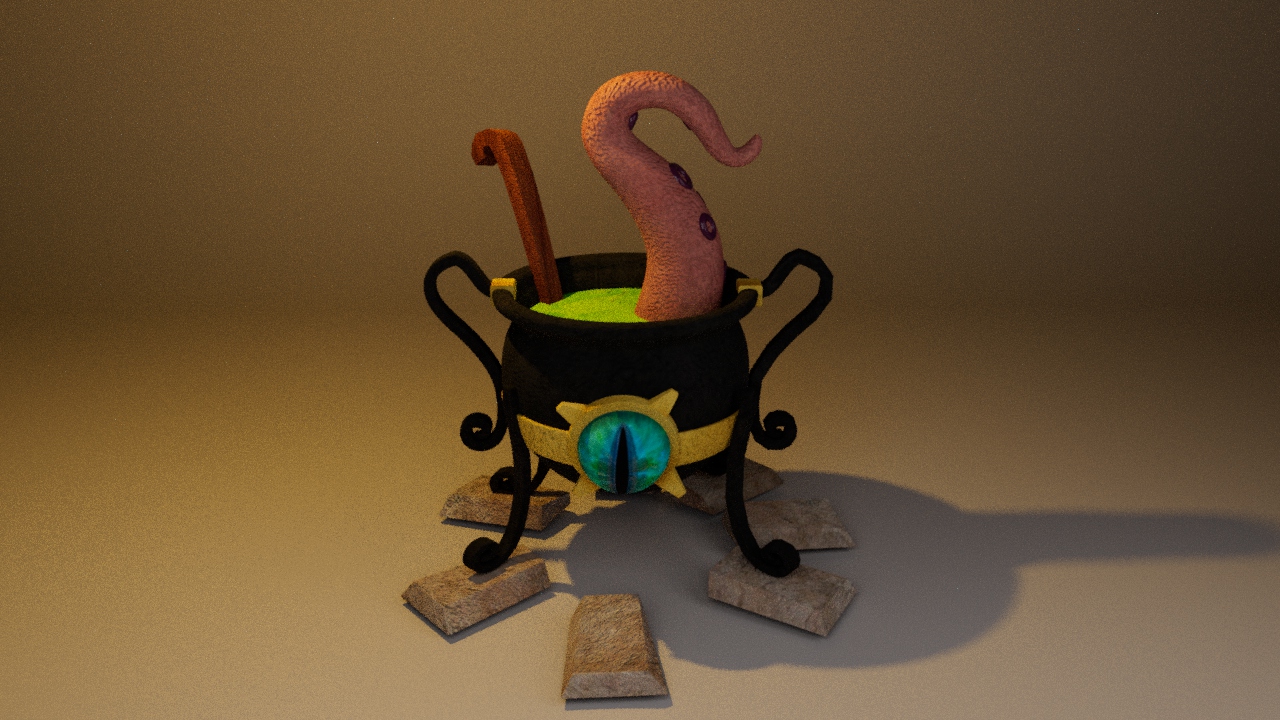
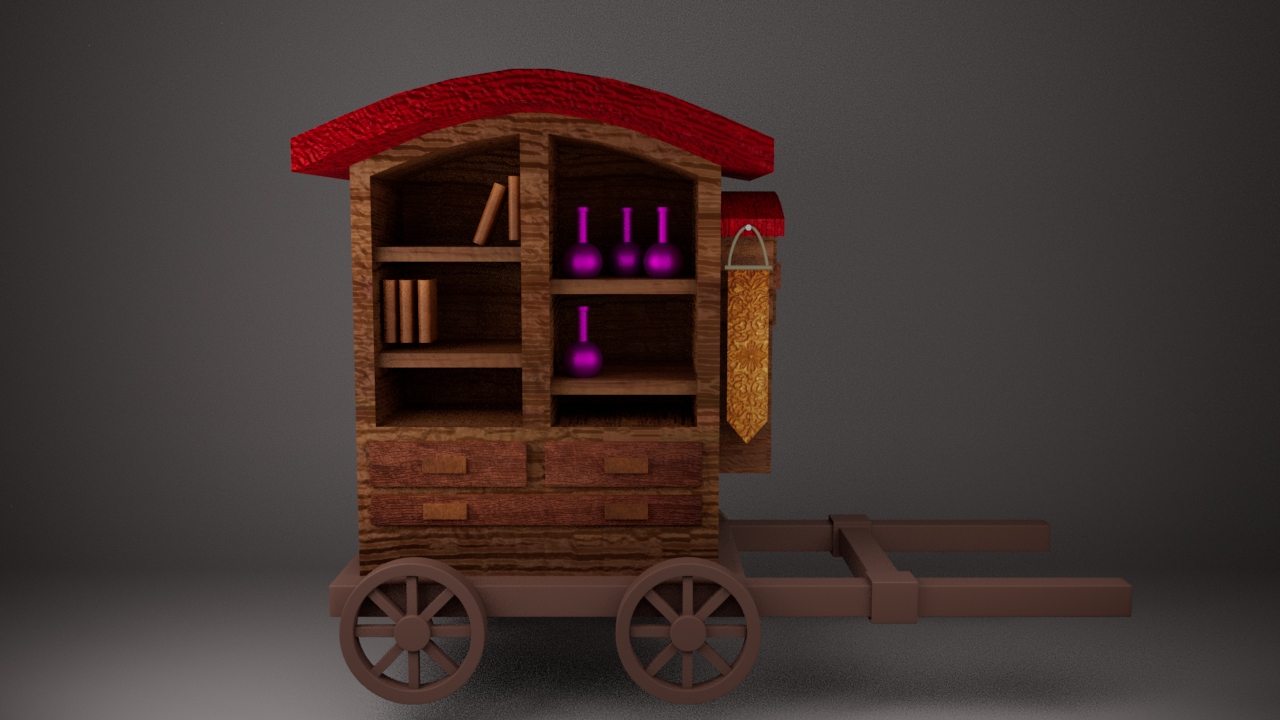
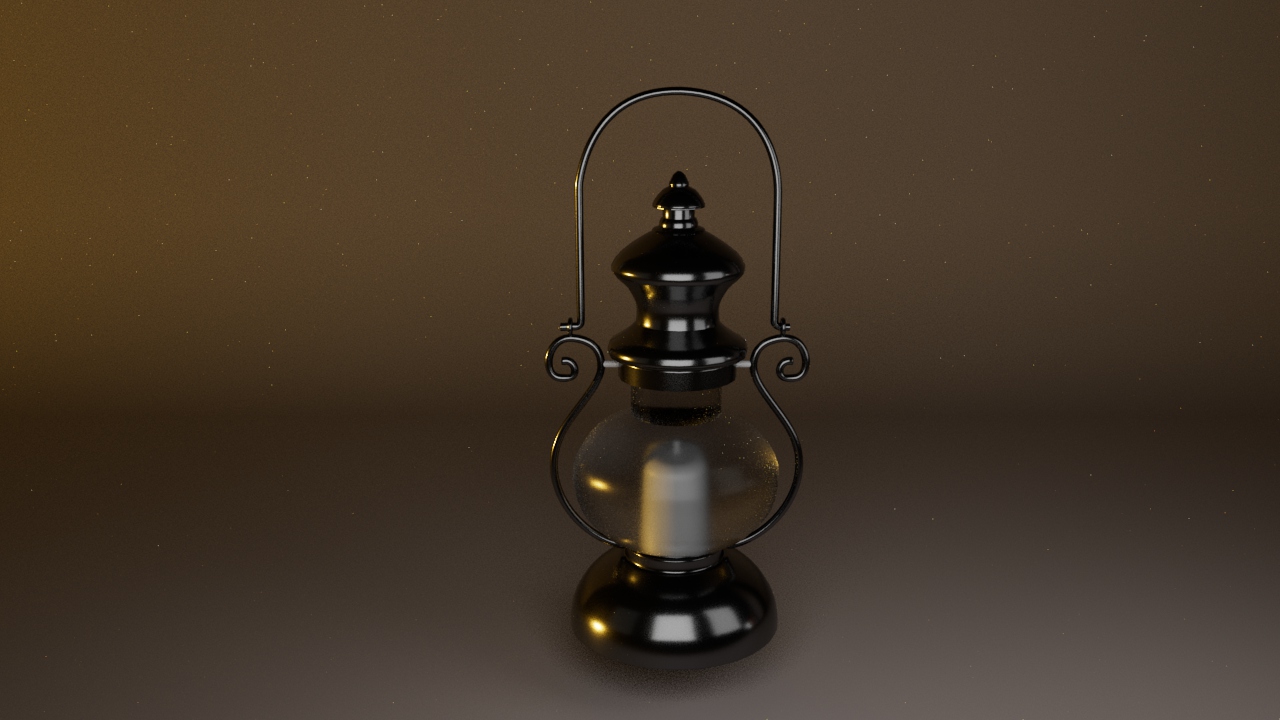
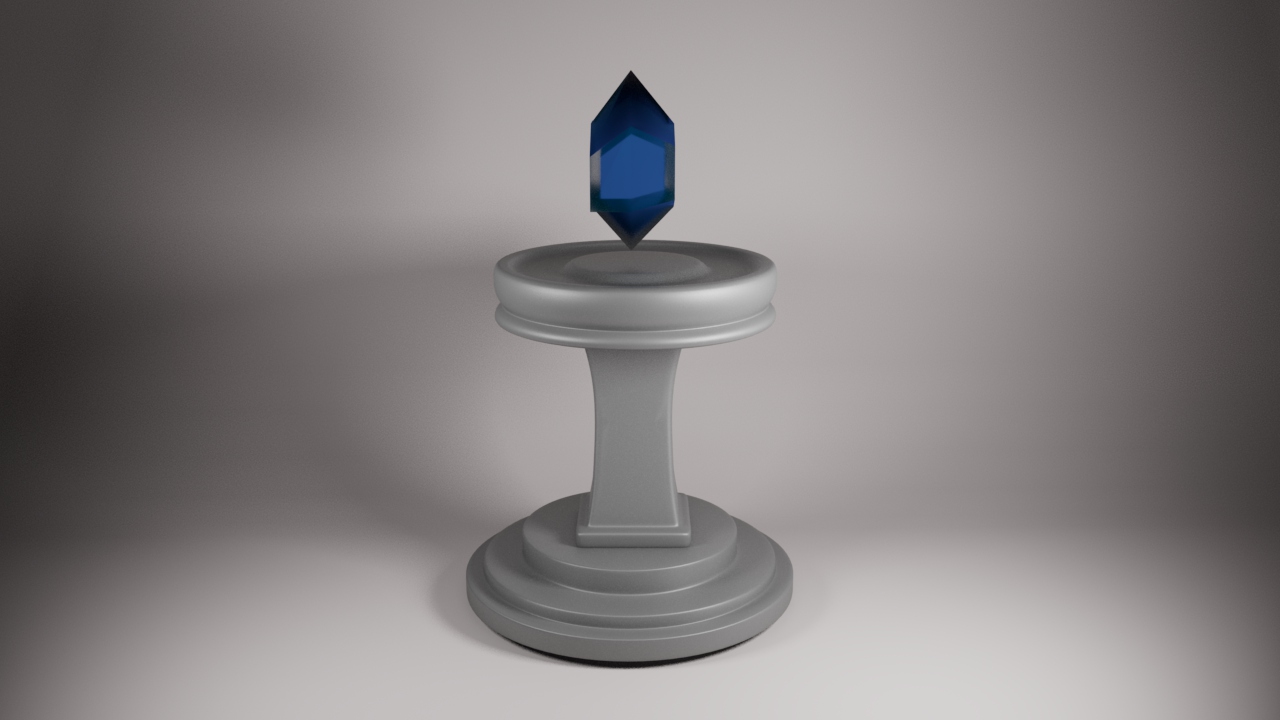
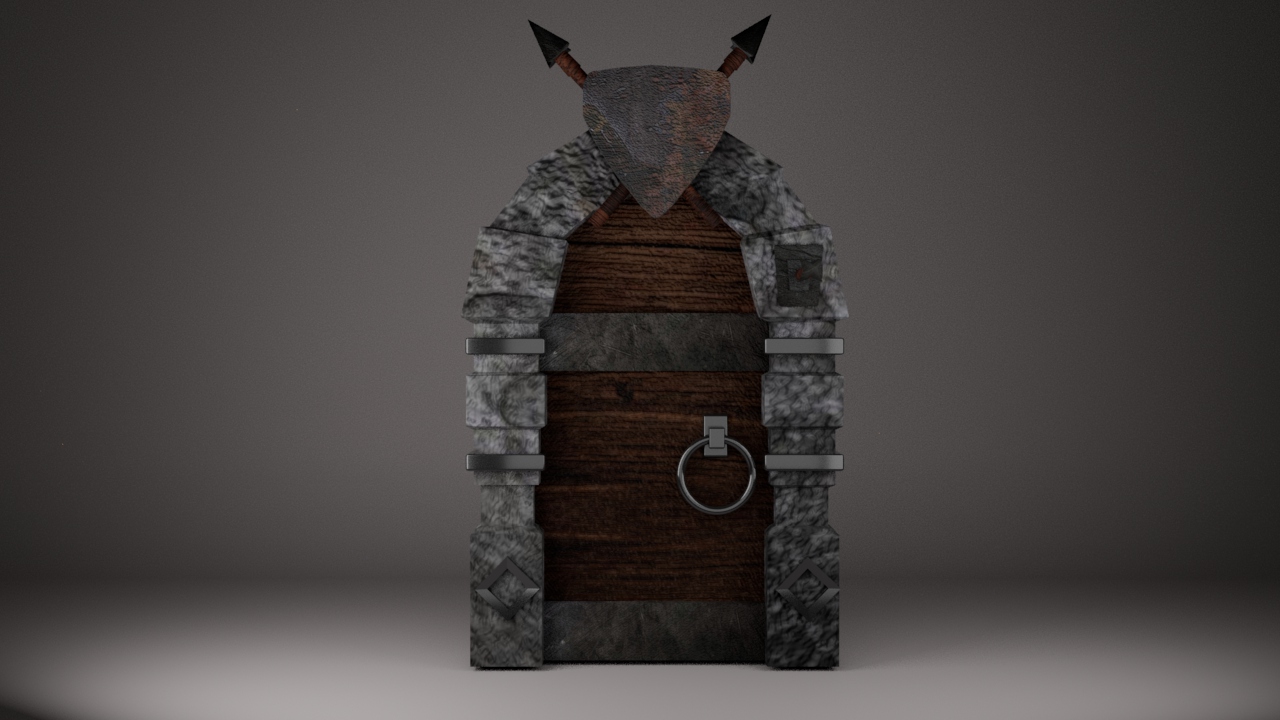
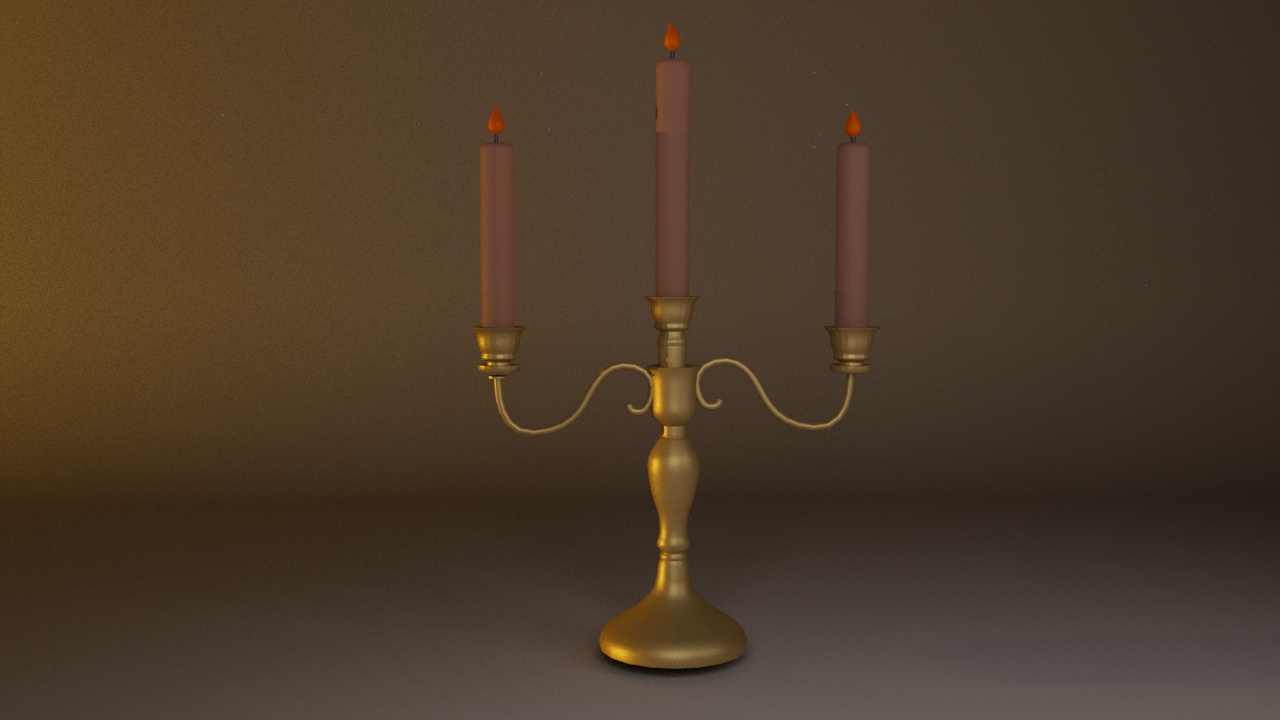
The chosen theme was to model objects with a medieval style.
Some examples of these objects include cauldrons, swords, shields, tables, jars, chandeliers, chests, books, wells, doors, and carts.
The students decided to recreate these objects with their intricate details and later give them the final style using shaders and textures.
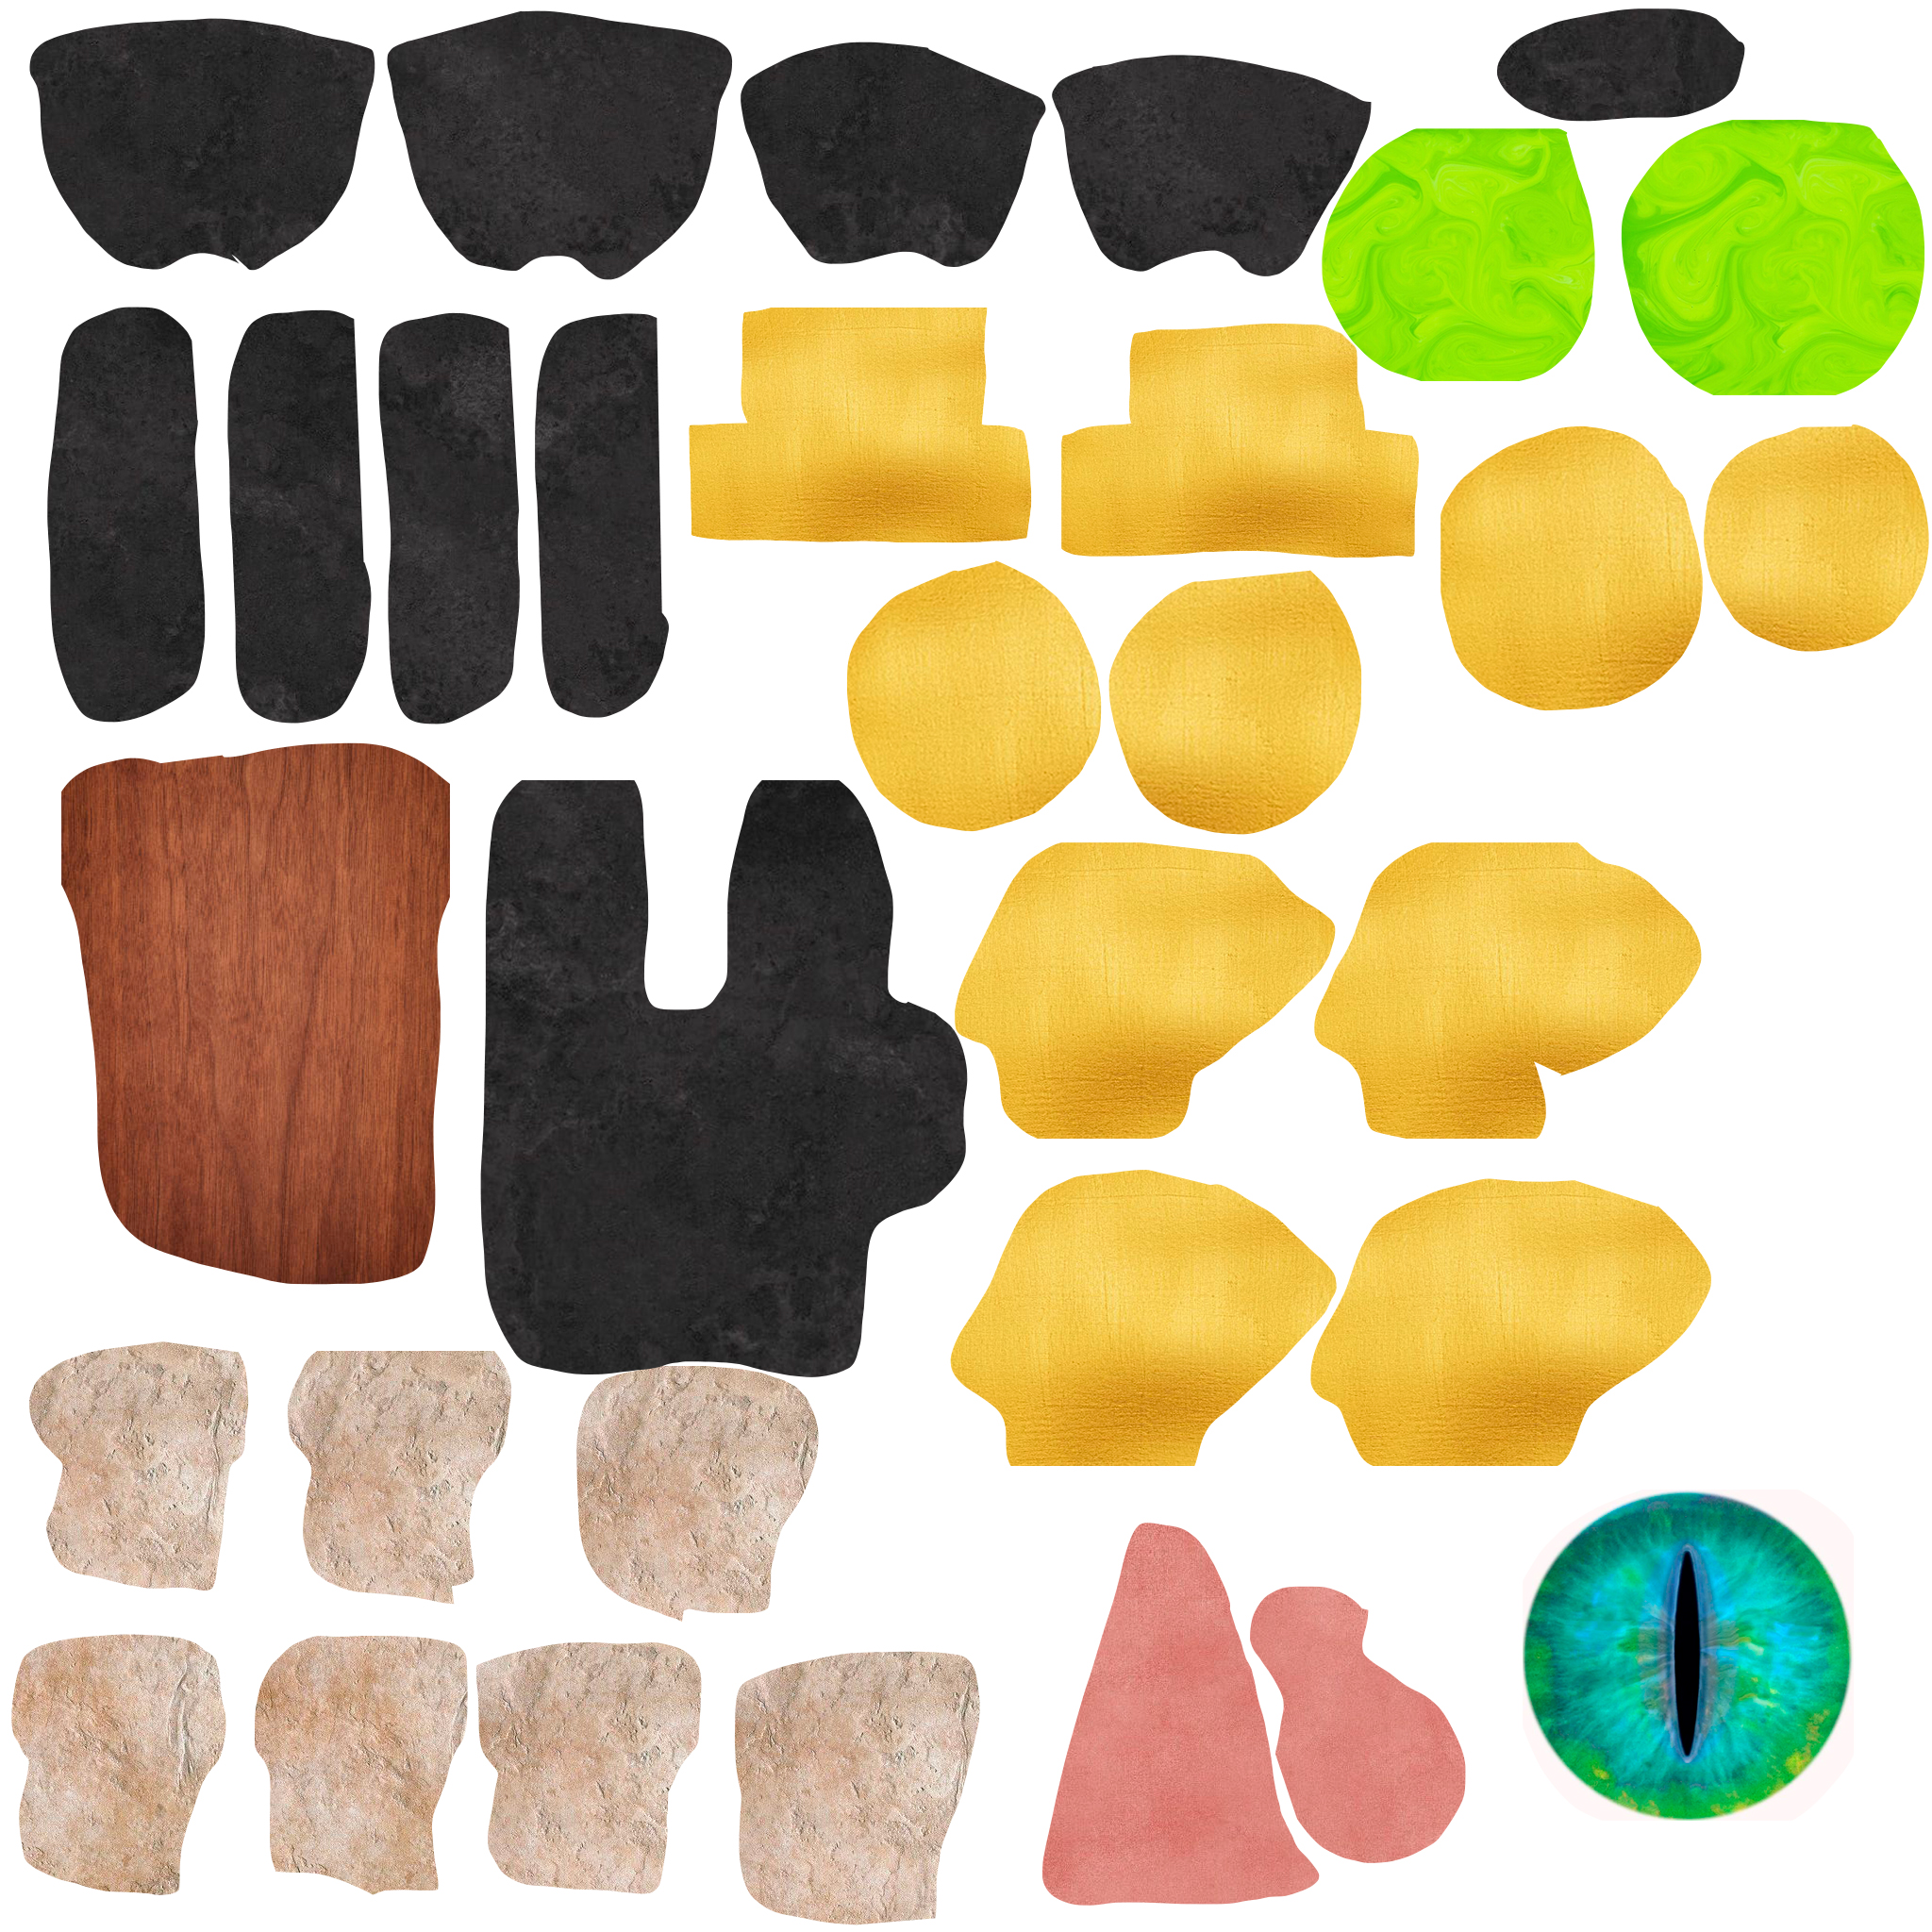
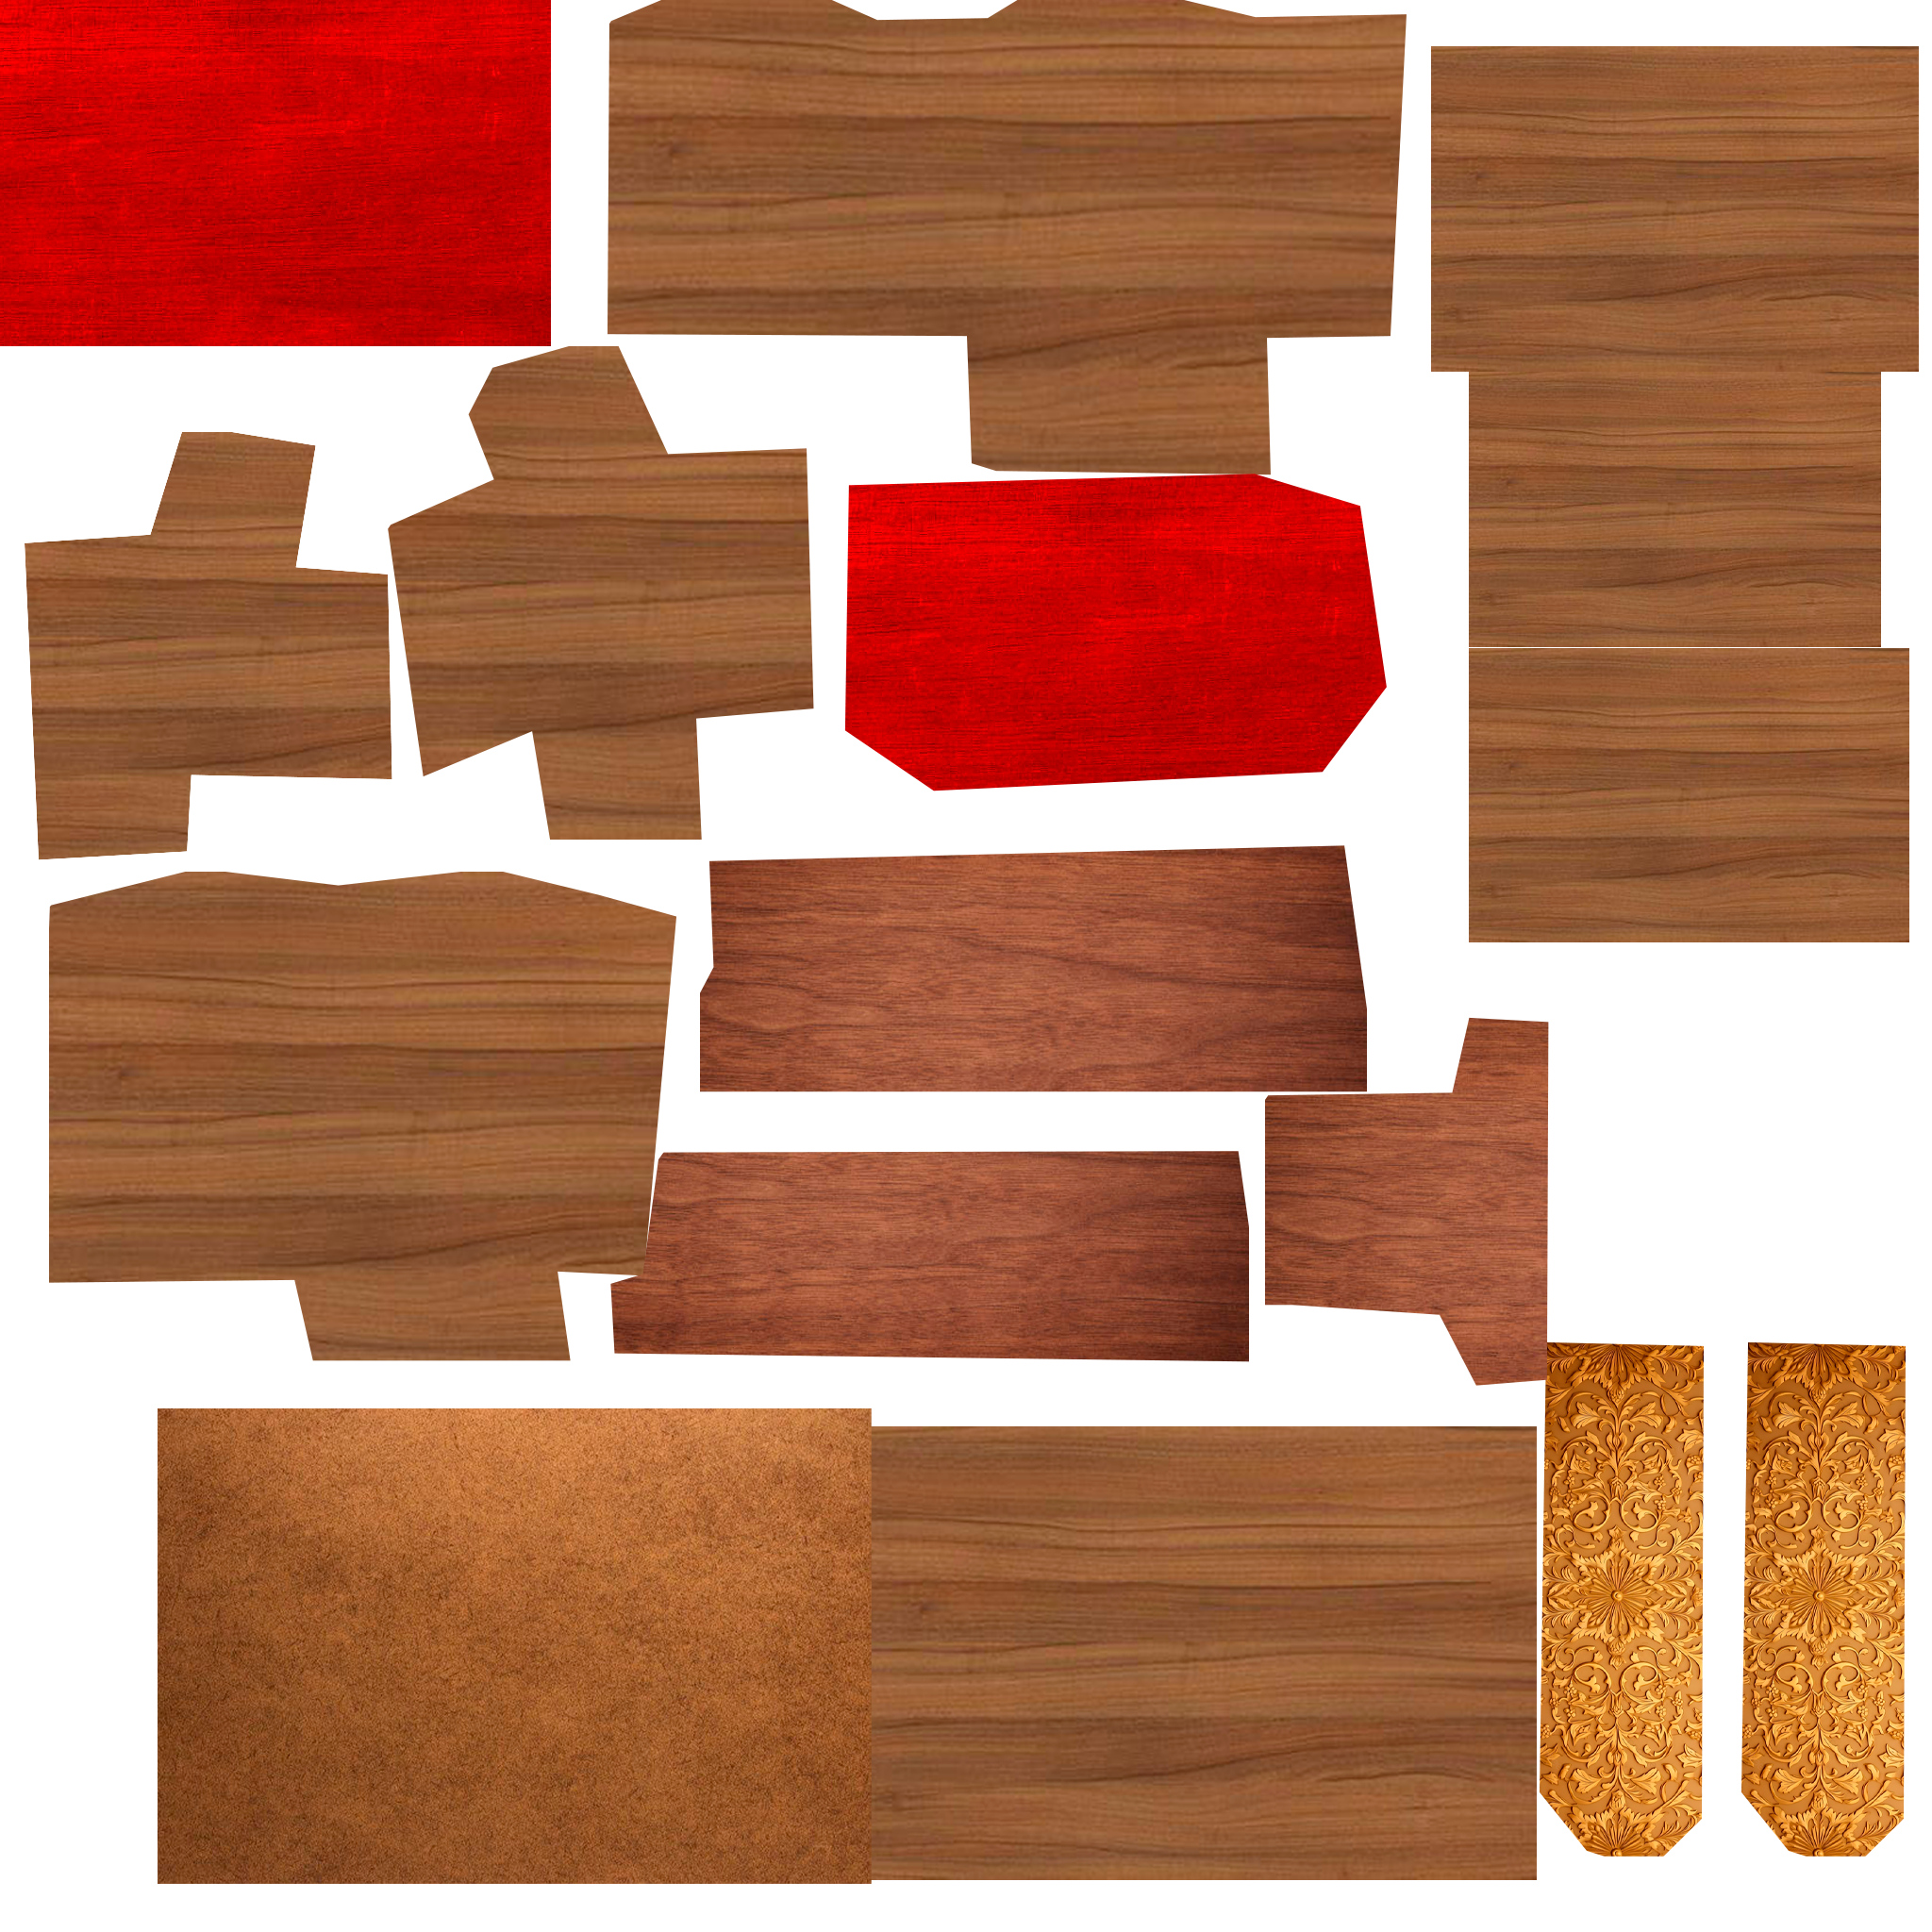
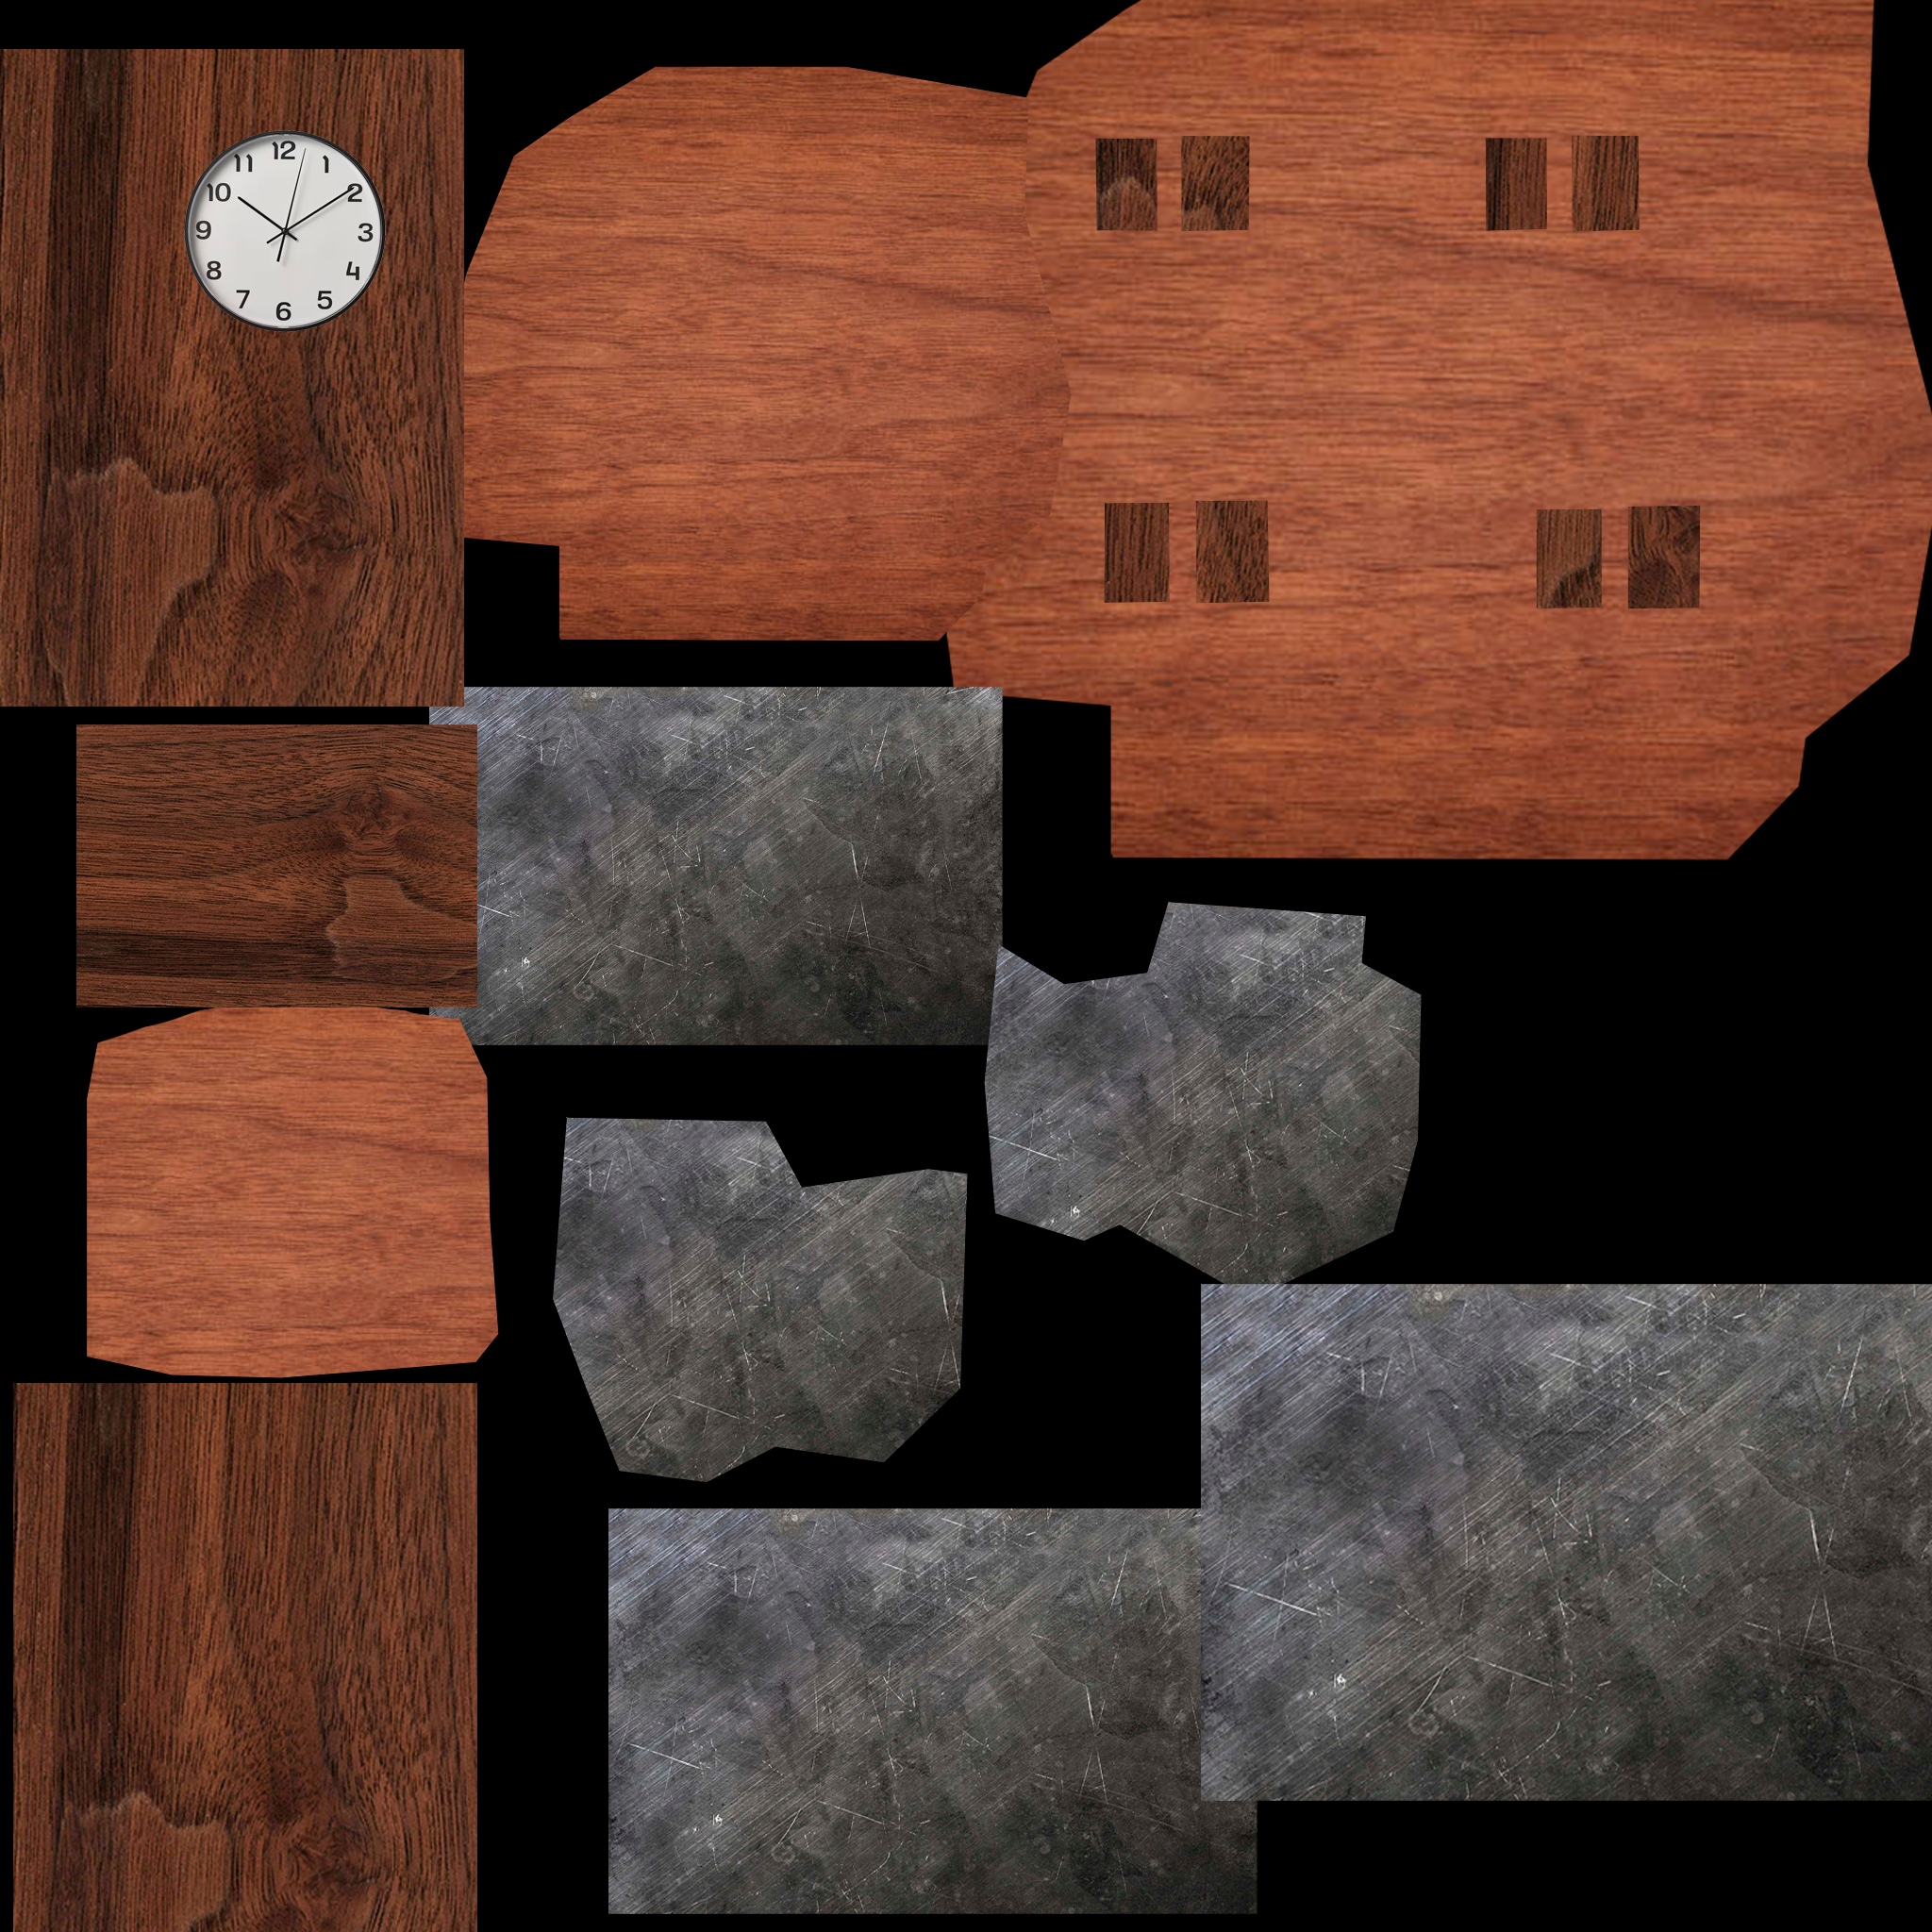
TIME TO WORK ON UV’s AND MAPS
Once the models were ready, a shader was assigned, which is the material that allows the object to have properties beyond just color.
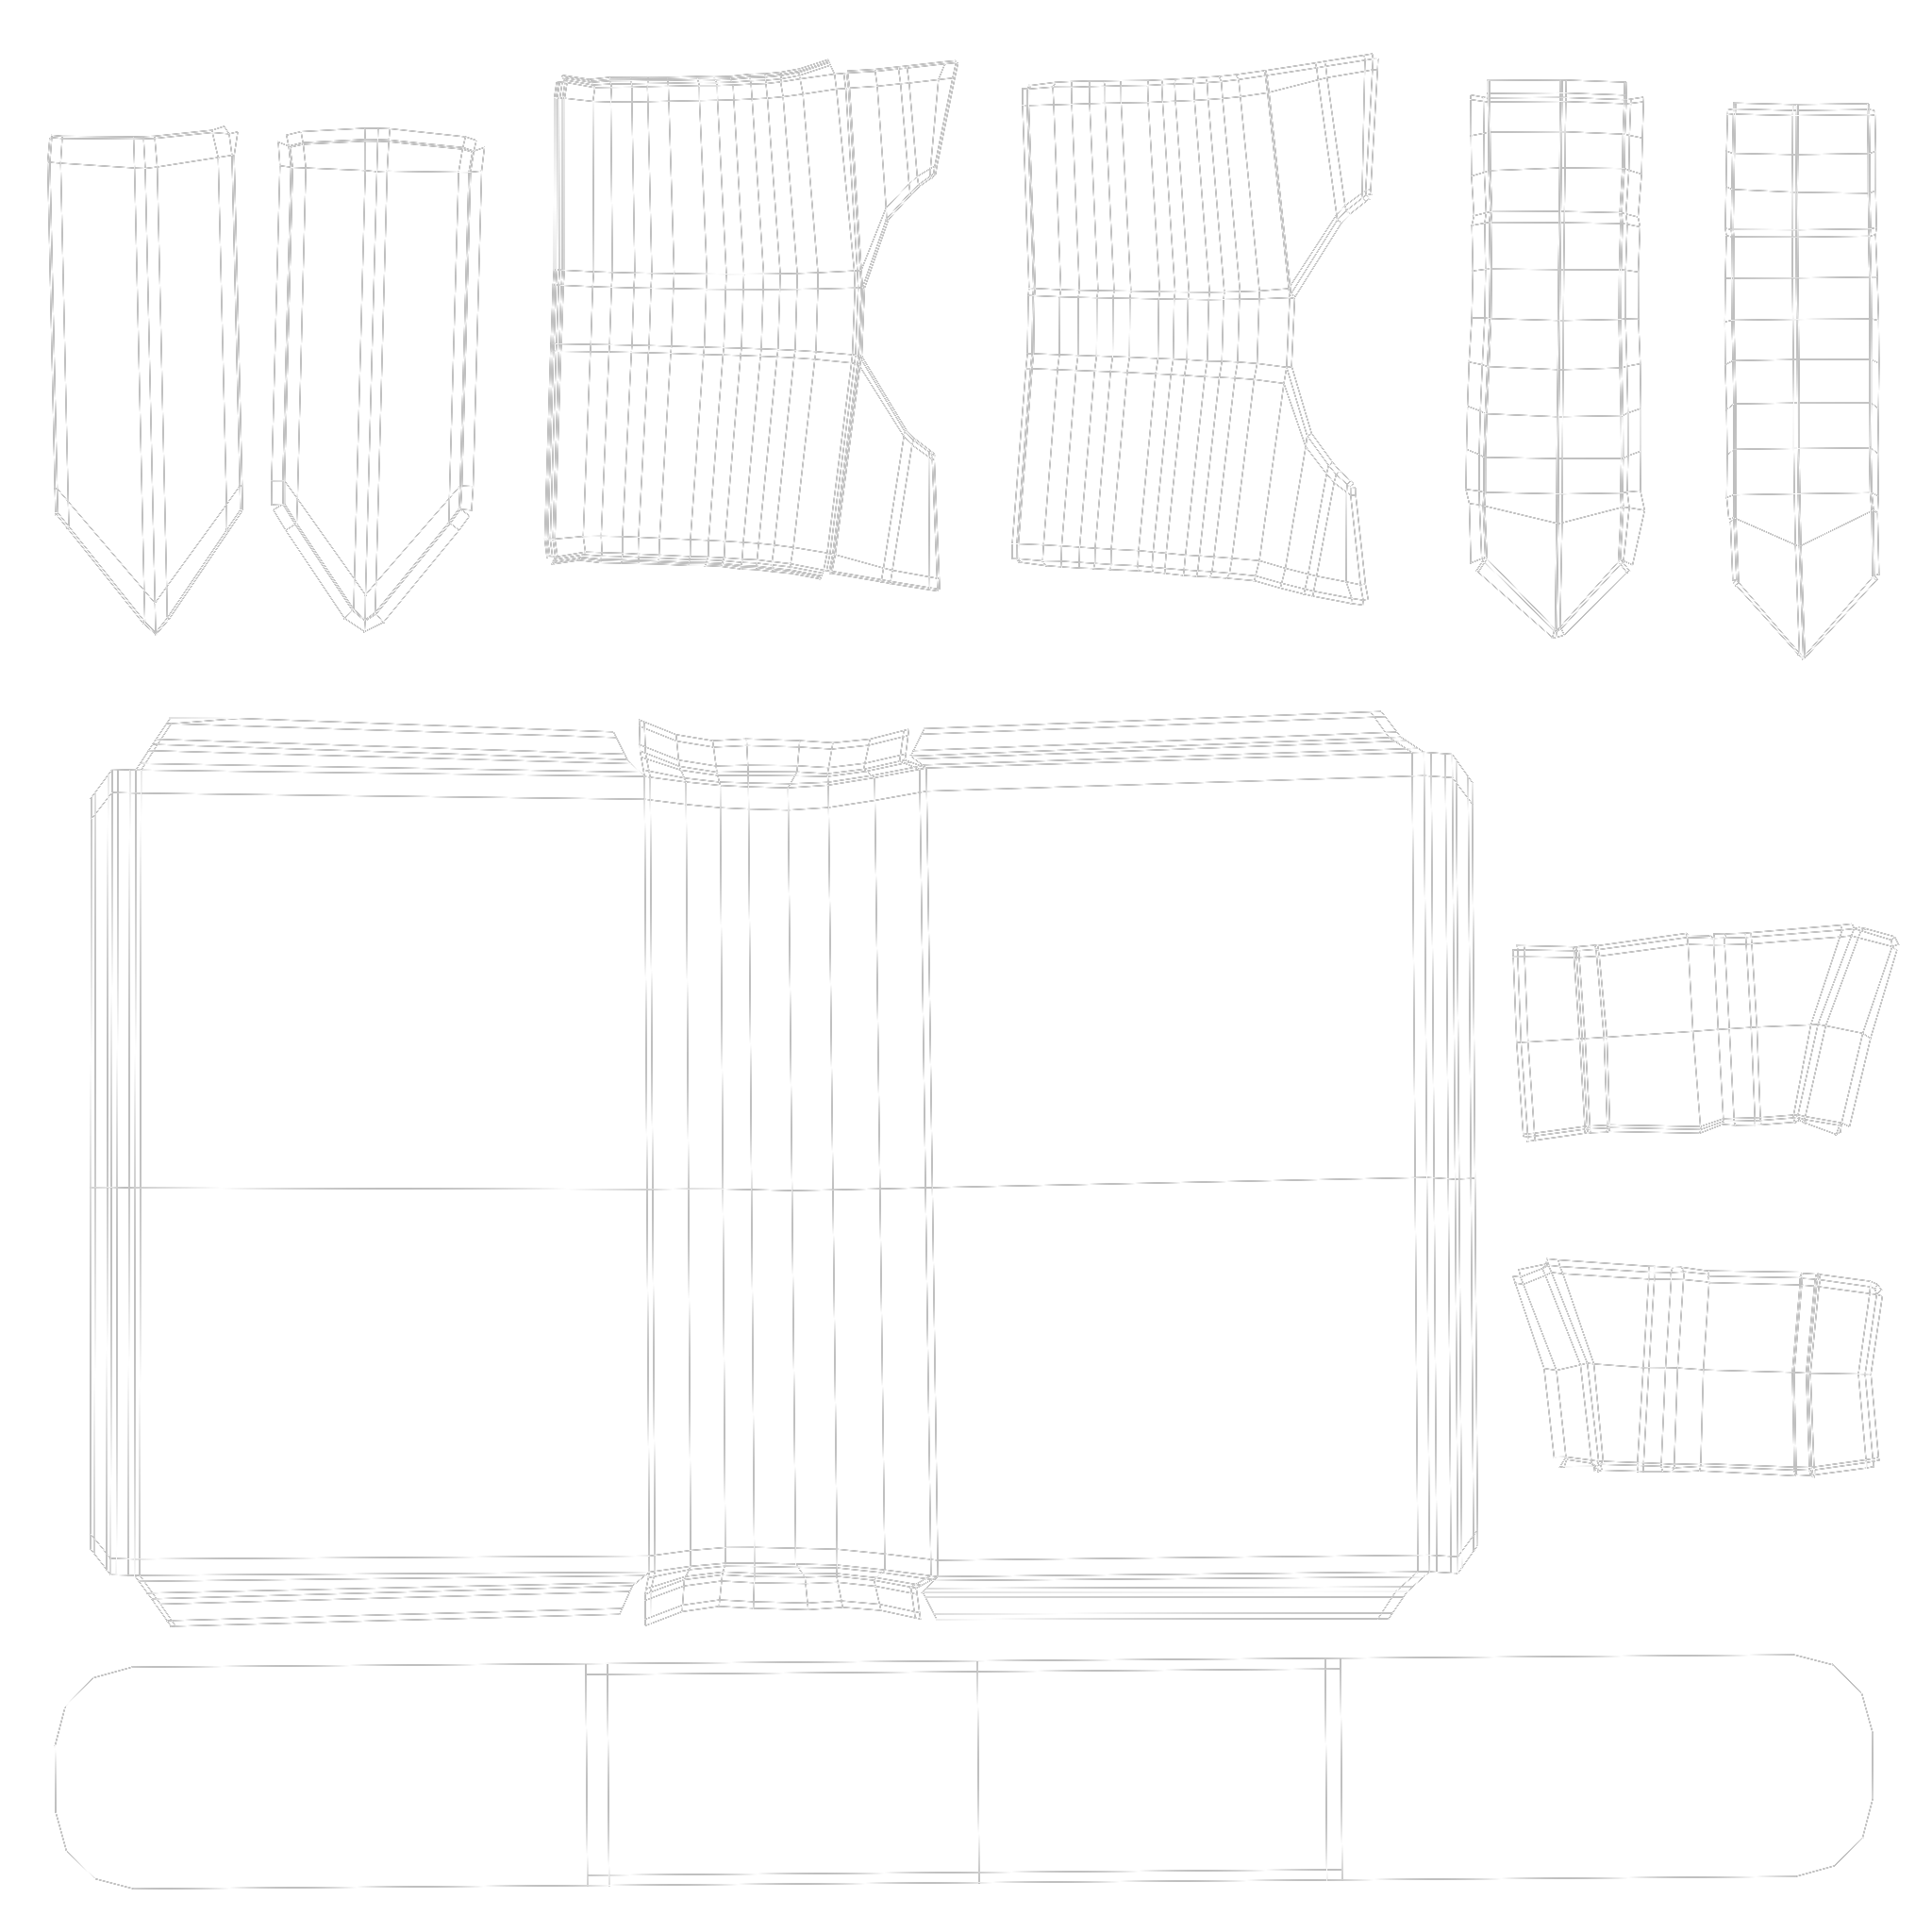
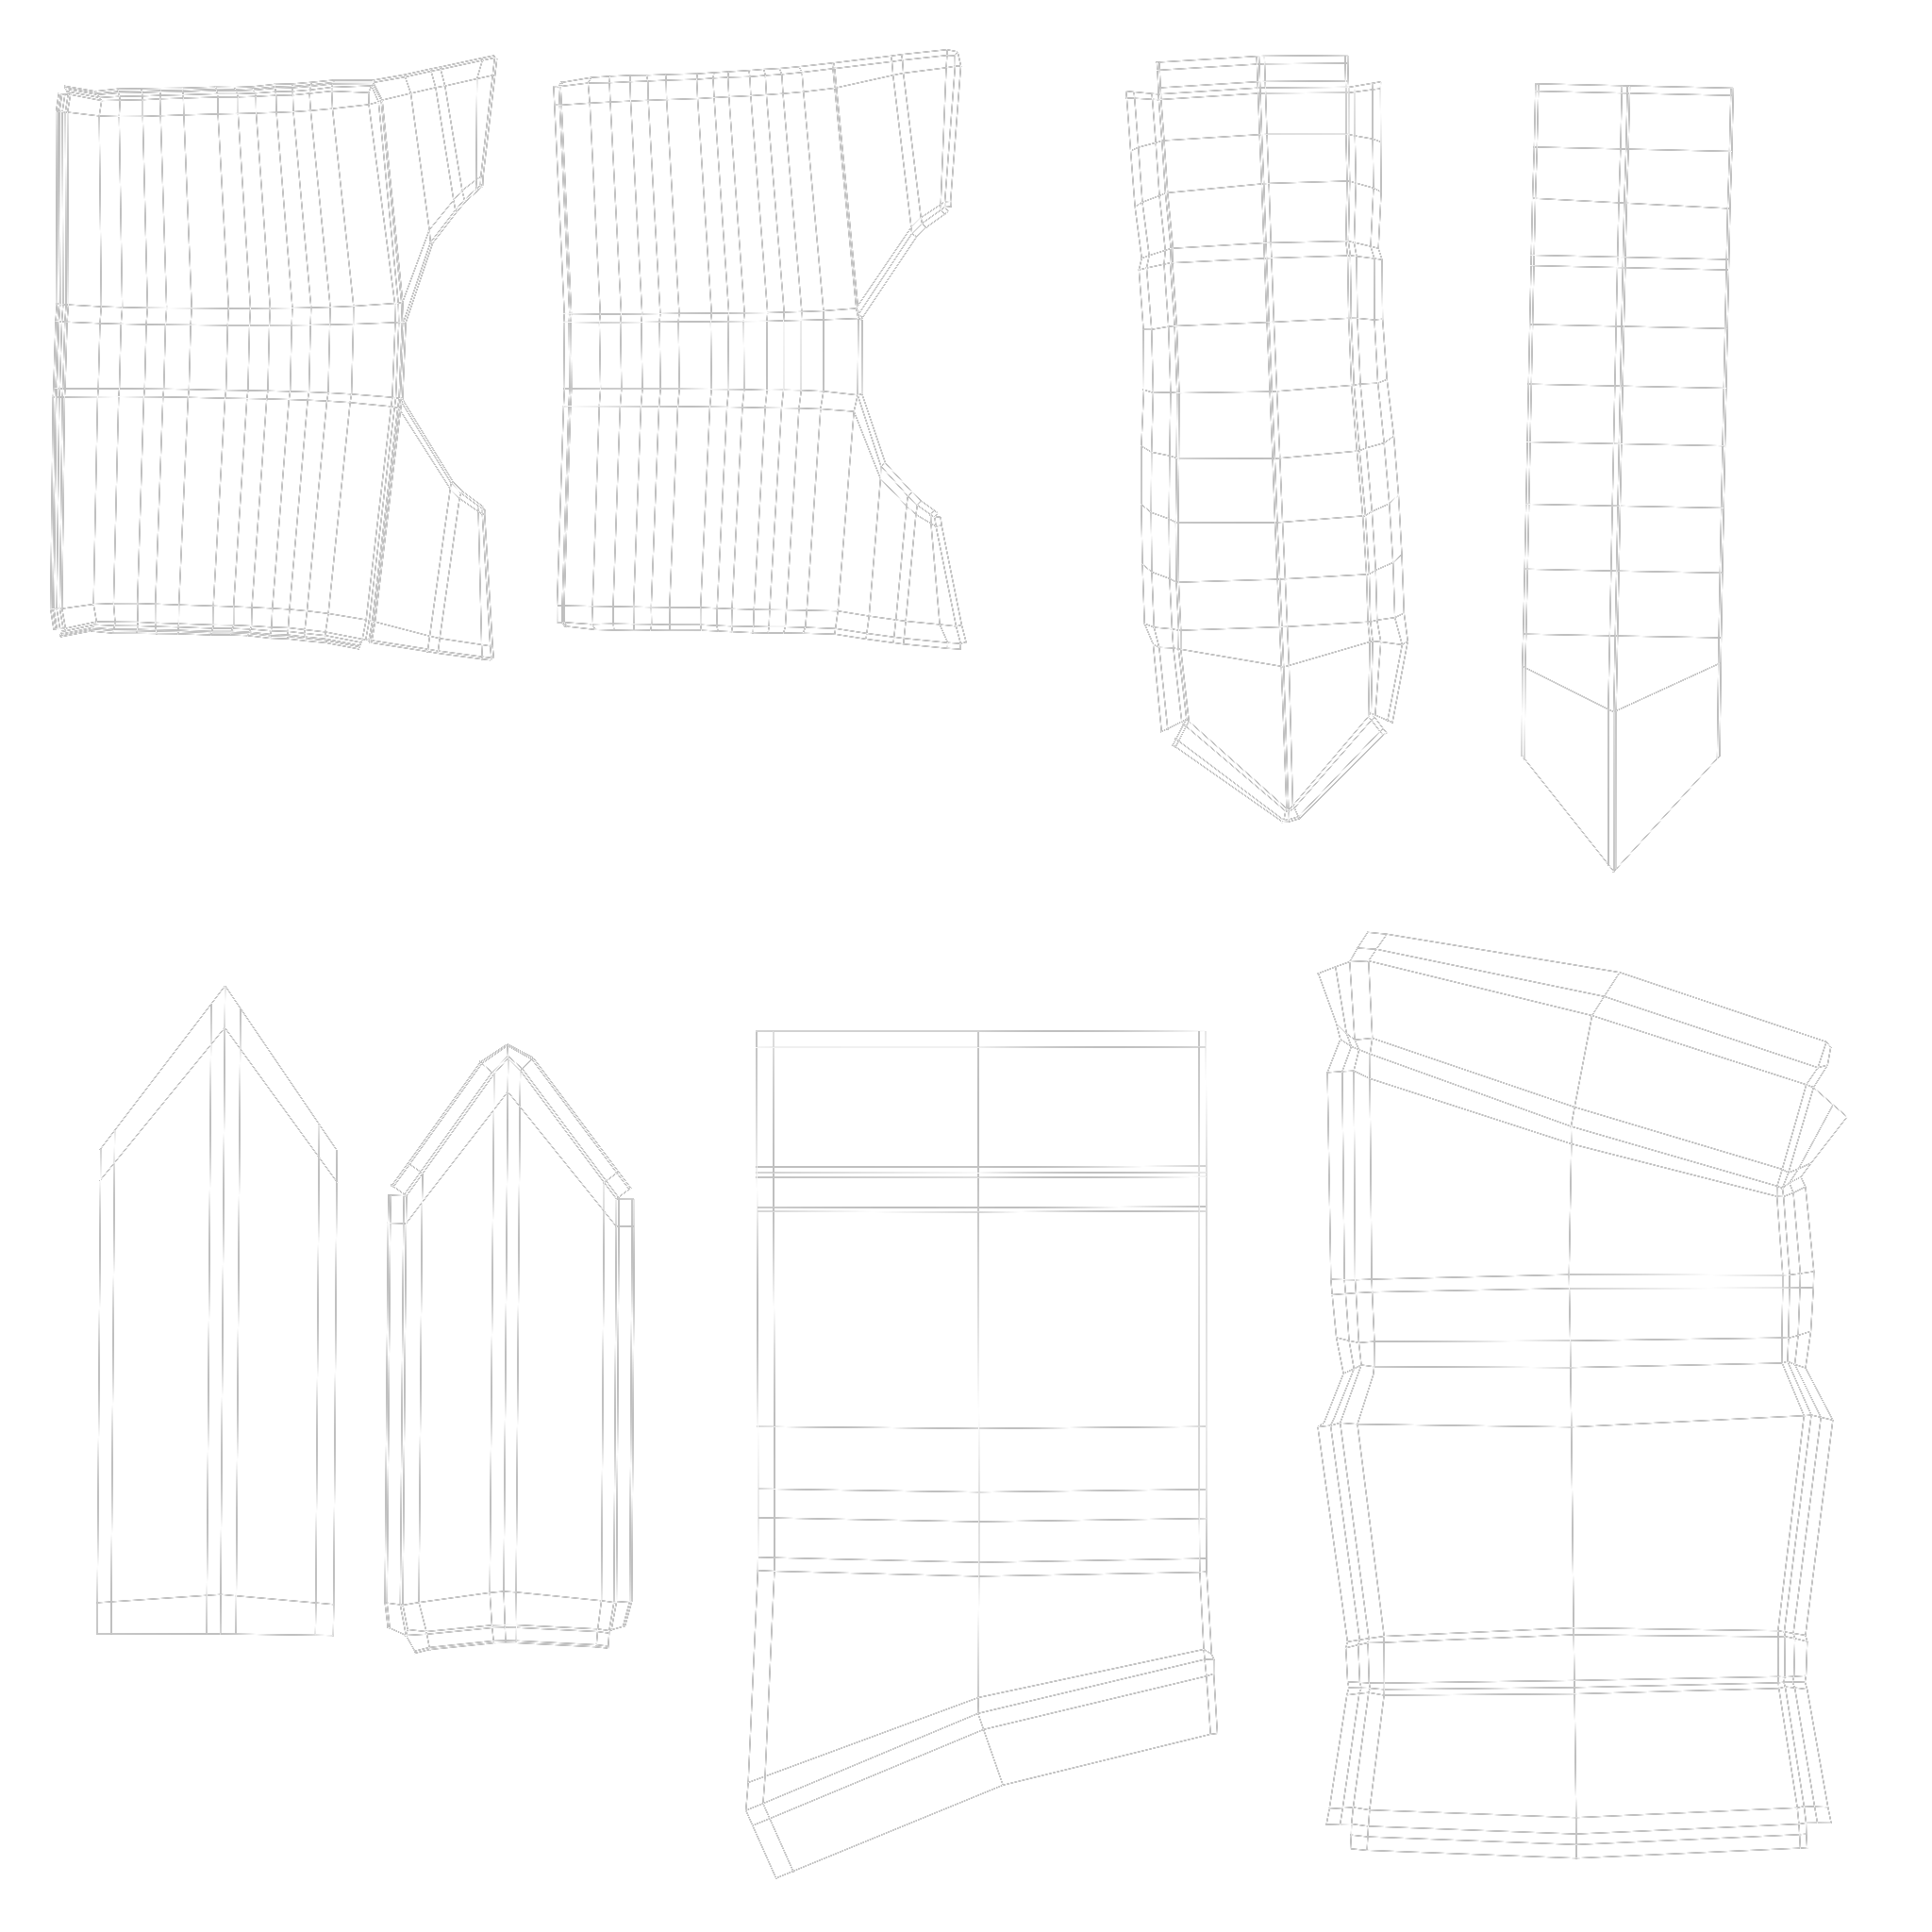
Each object was given its UV mapping, which is how we unwrap a 3D object to see its projection in 2D.
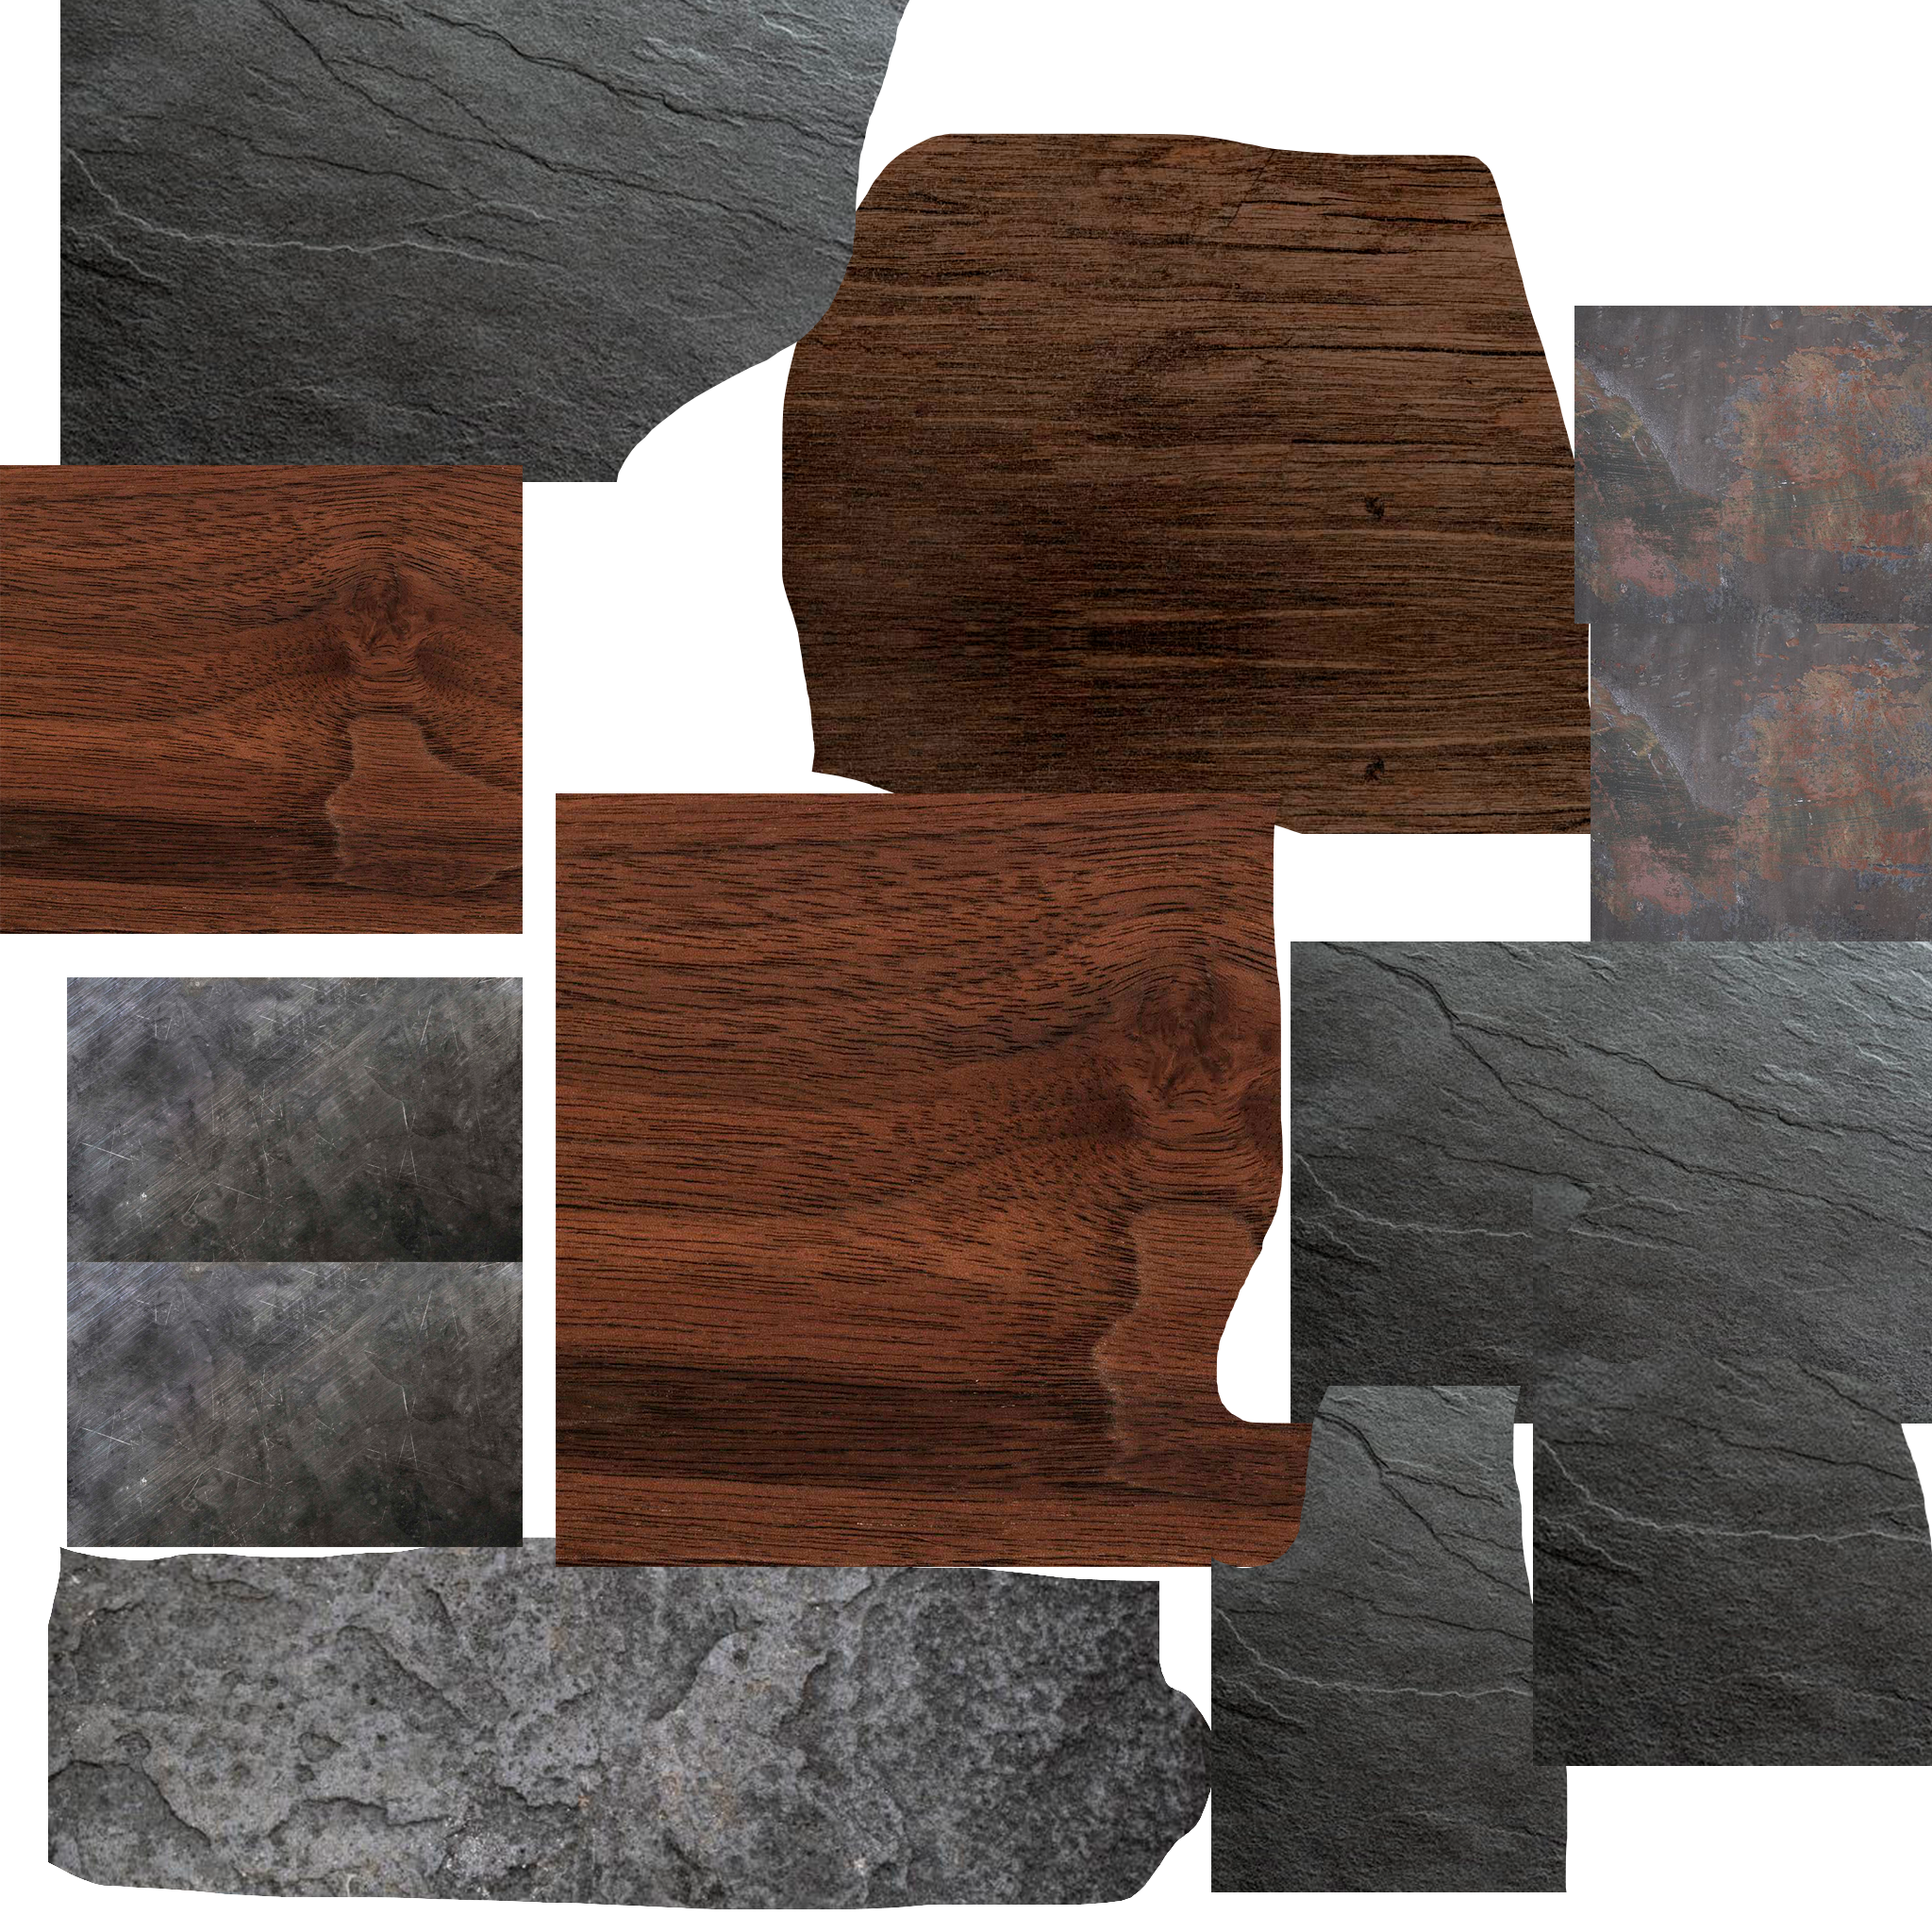
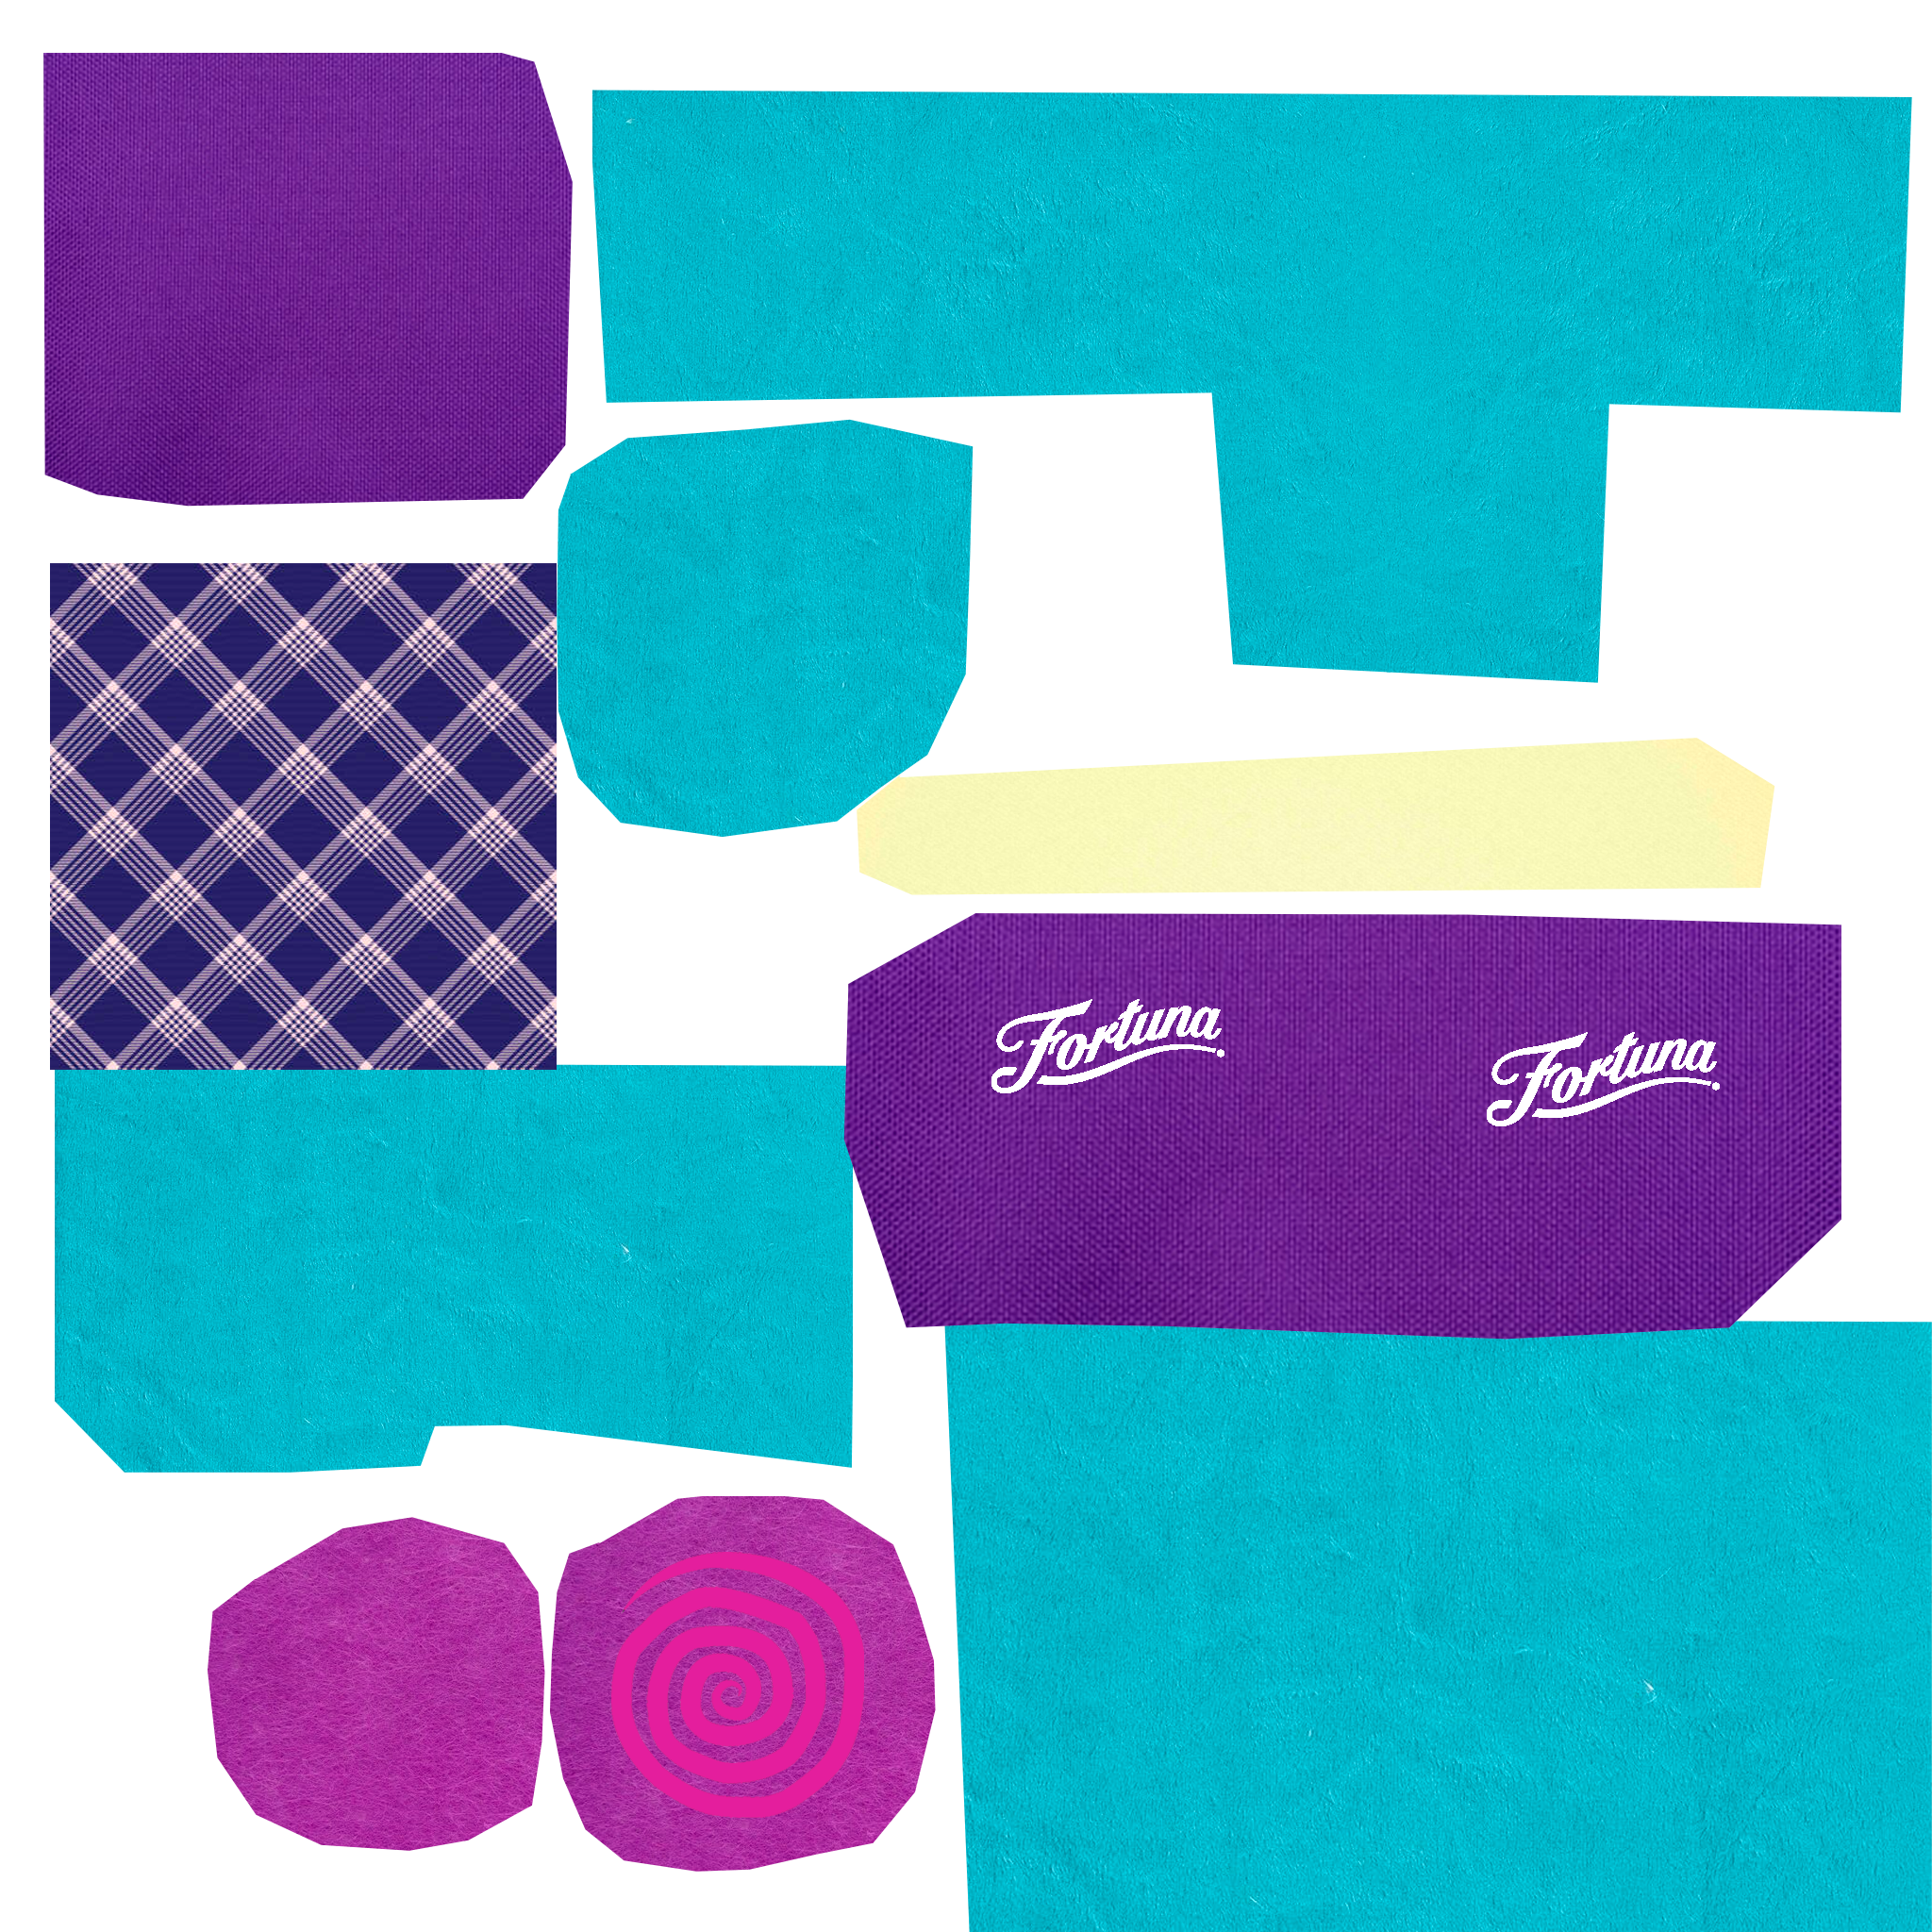
For each object, the UV map was created, which serves as a guide to place the customized texture, created and chosen by the students.
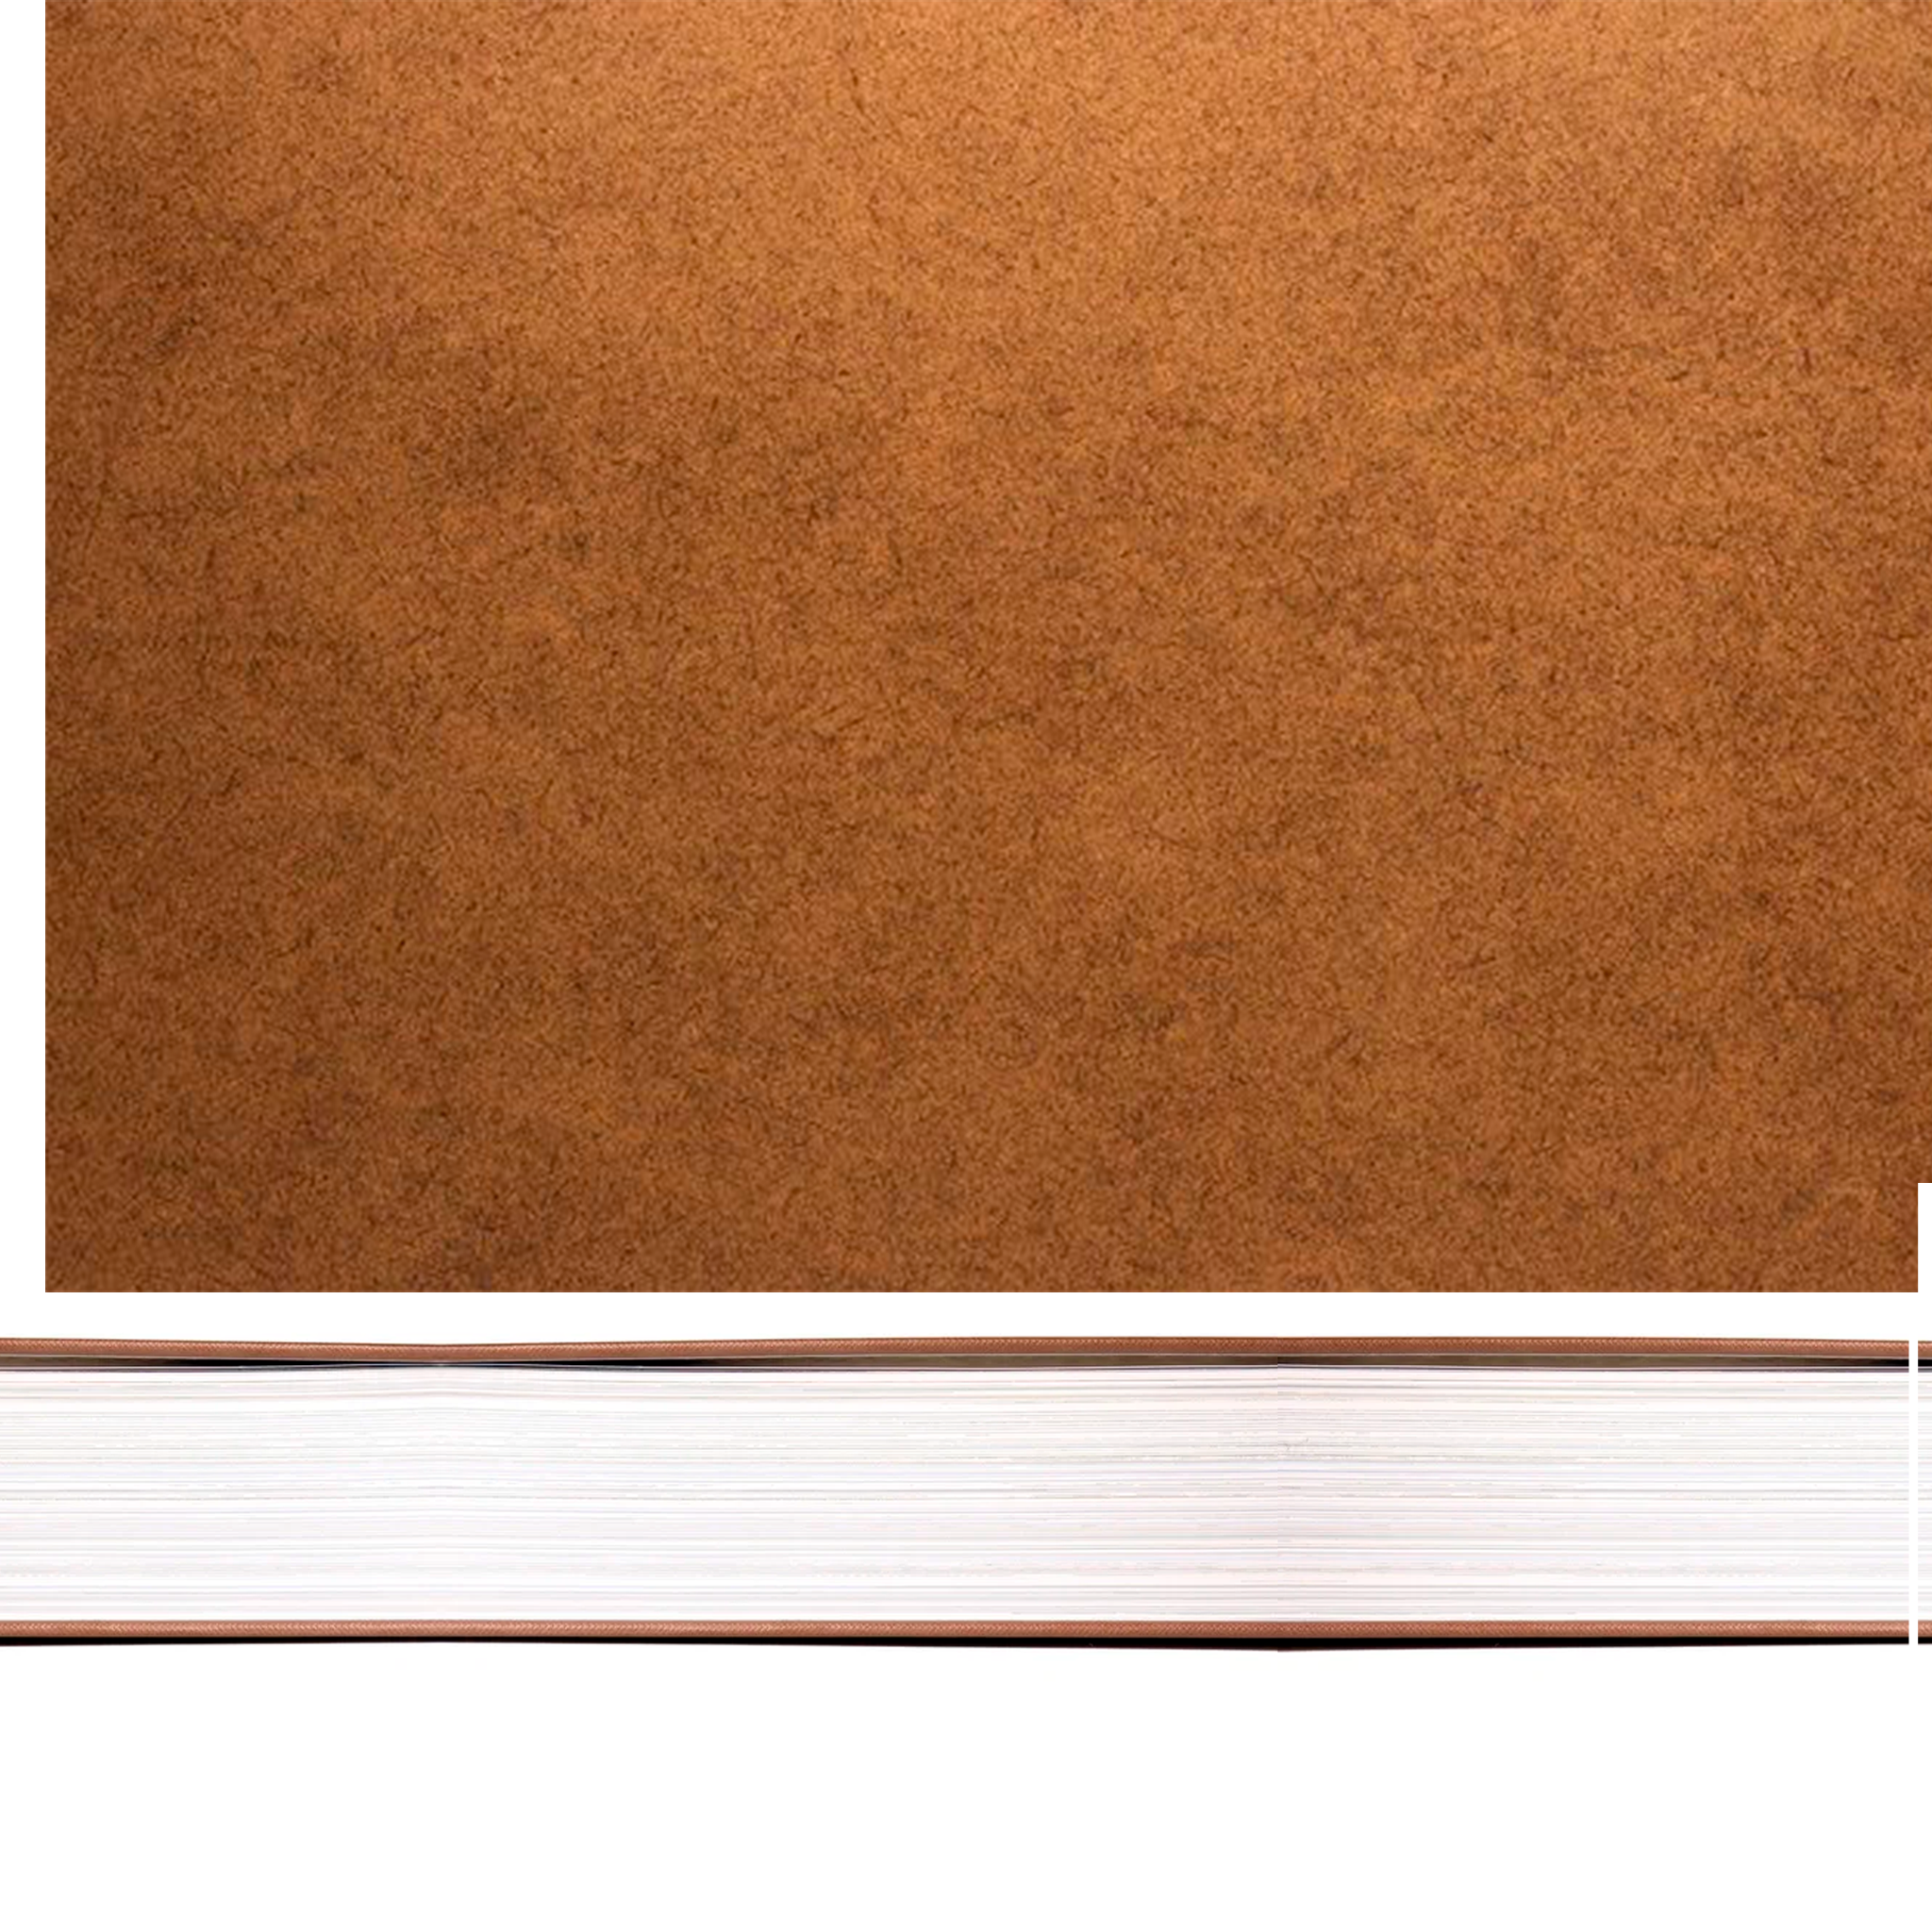
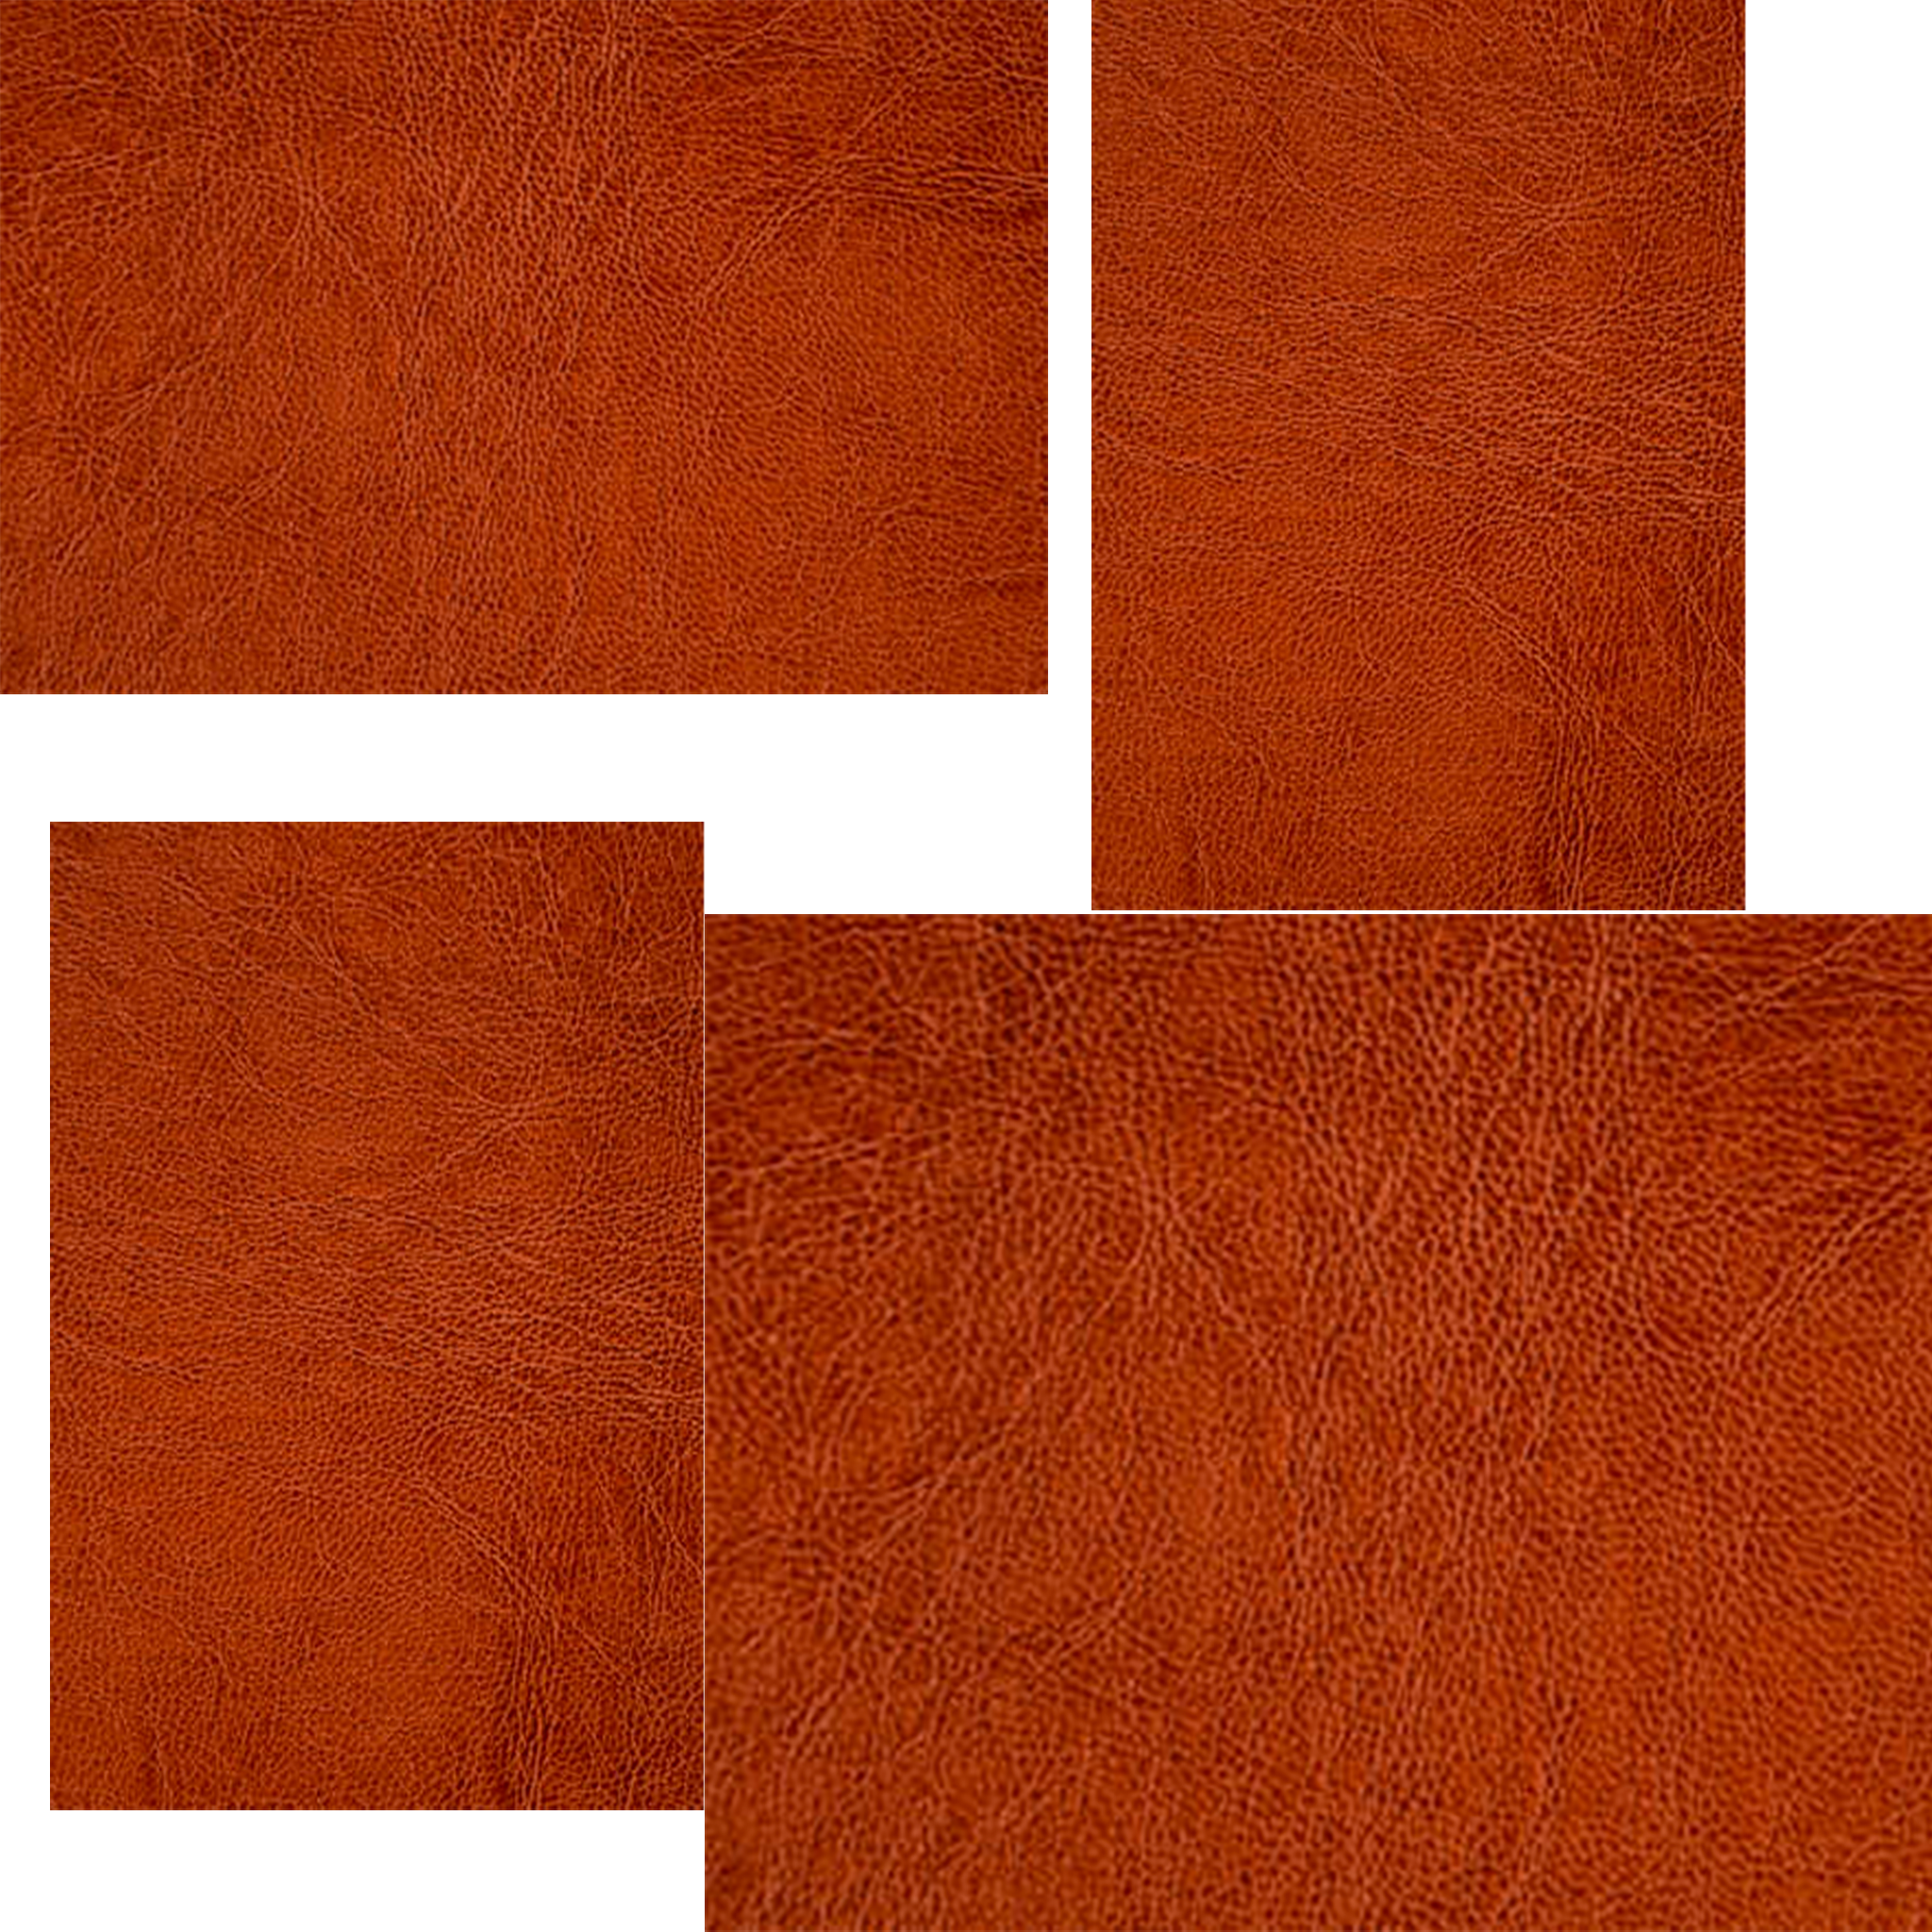
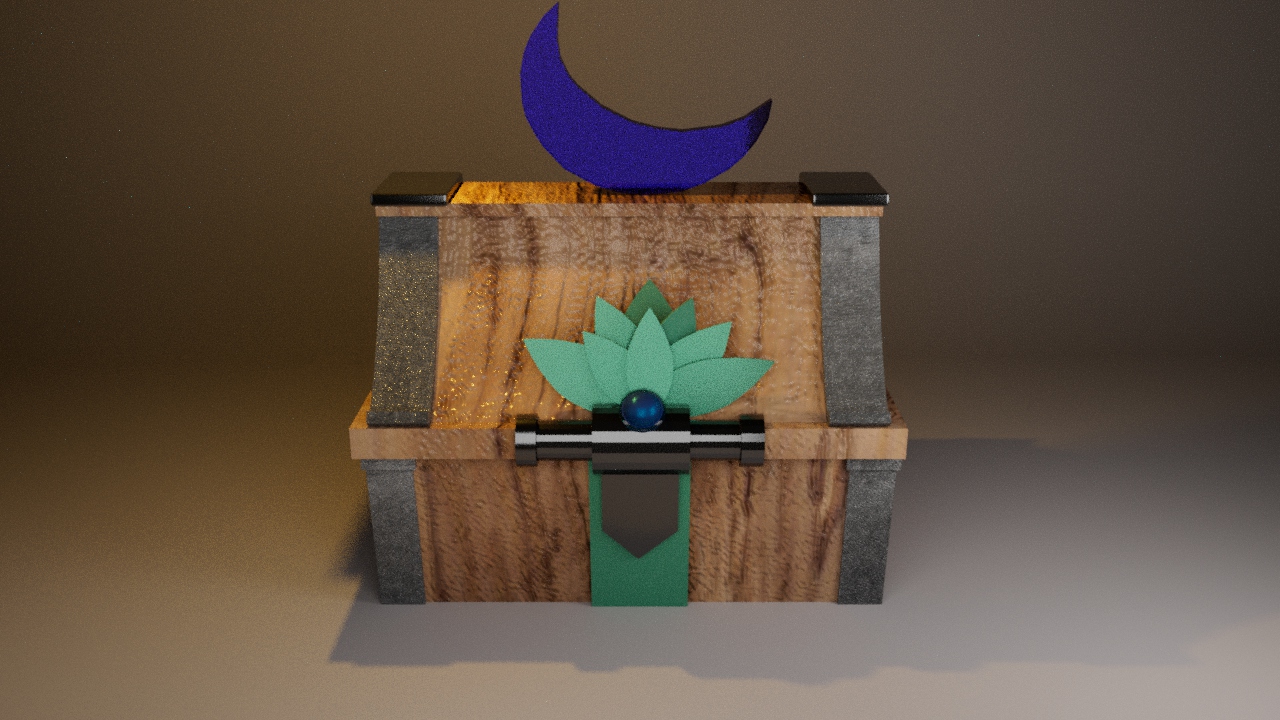
Once the customized texture is applied and aligned with the UV map, different maps such as normal, bump, or displacement, as well as roughness or diffuse, are obtained.
These maps, when assigned to the shader, give the model a more realistic finish, which, combined with lighting and rendering, results in a higher quality image.

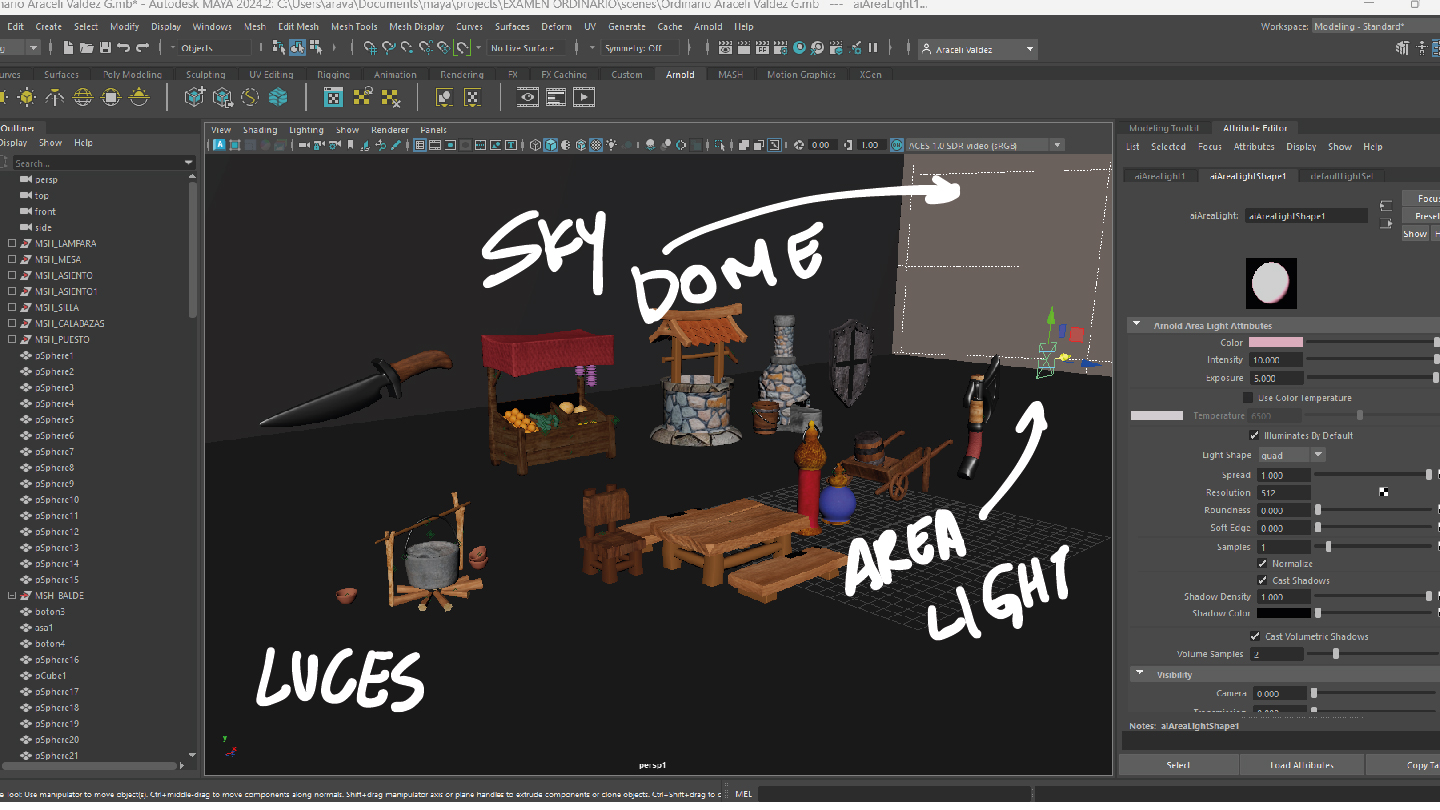
LET’S ADD LIGHTING
Once the models have shaders and textures, we proceed to add lights to illuminate the scene and the models.
The interesting part of lighting is how light interacts with the material and the interplay of reflections and shadows on the model.
TIME TO RENDER
With the lights set up and everything loaded in the scene, we proceed to render, which gives us the final result of the work in an image.
This is the last step in the prop development process.

VIDEO DEMO REEL
To showcase the work done, students were asked to create a video of the models.
This video will serve to demonstrate the work done and be part of their portfolio.
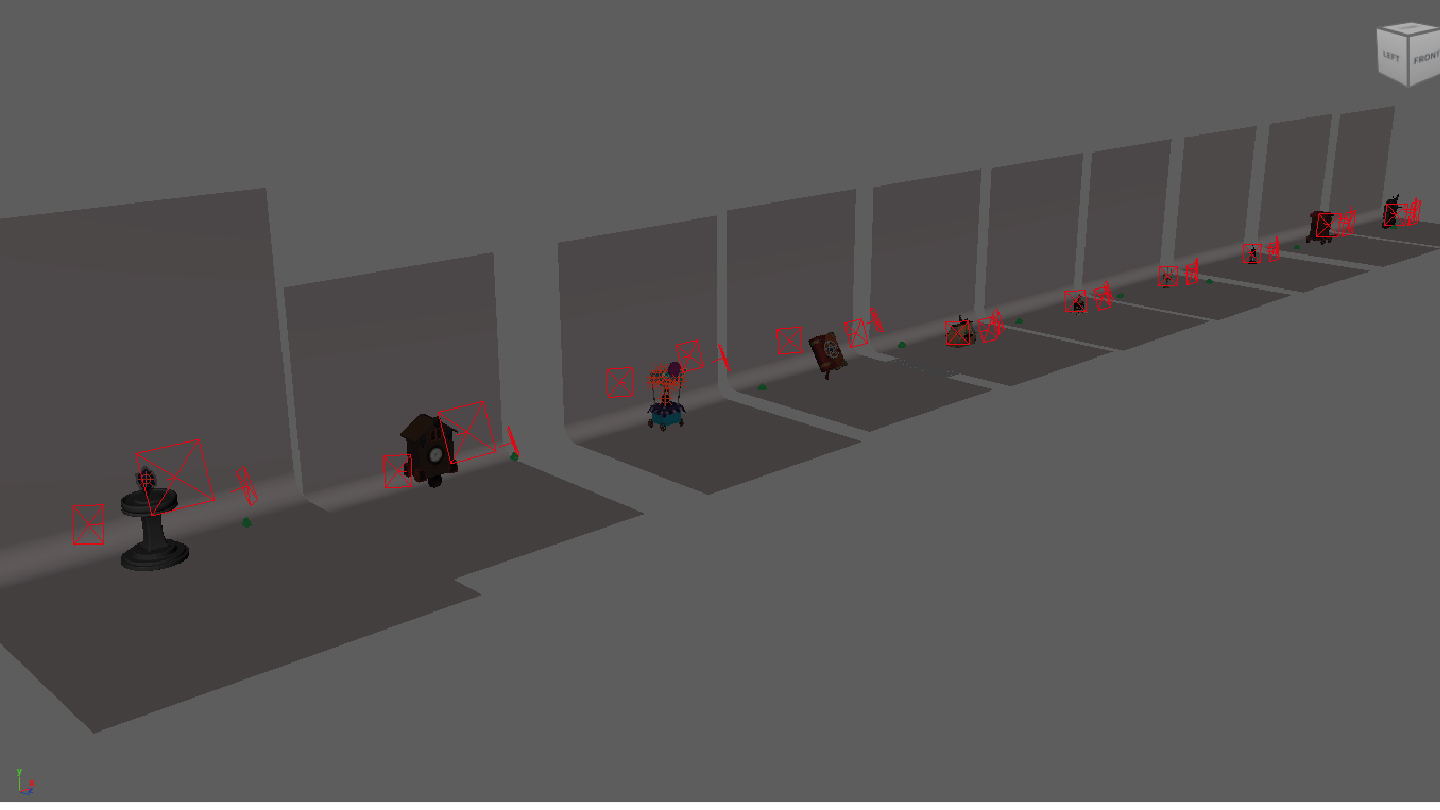
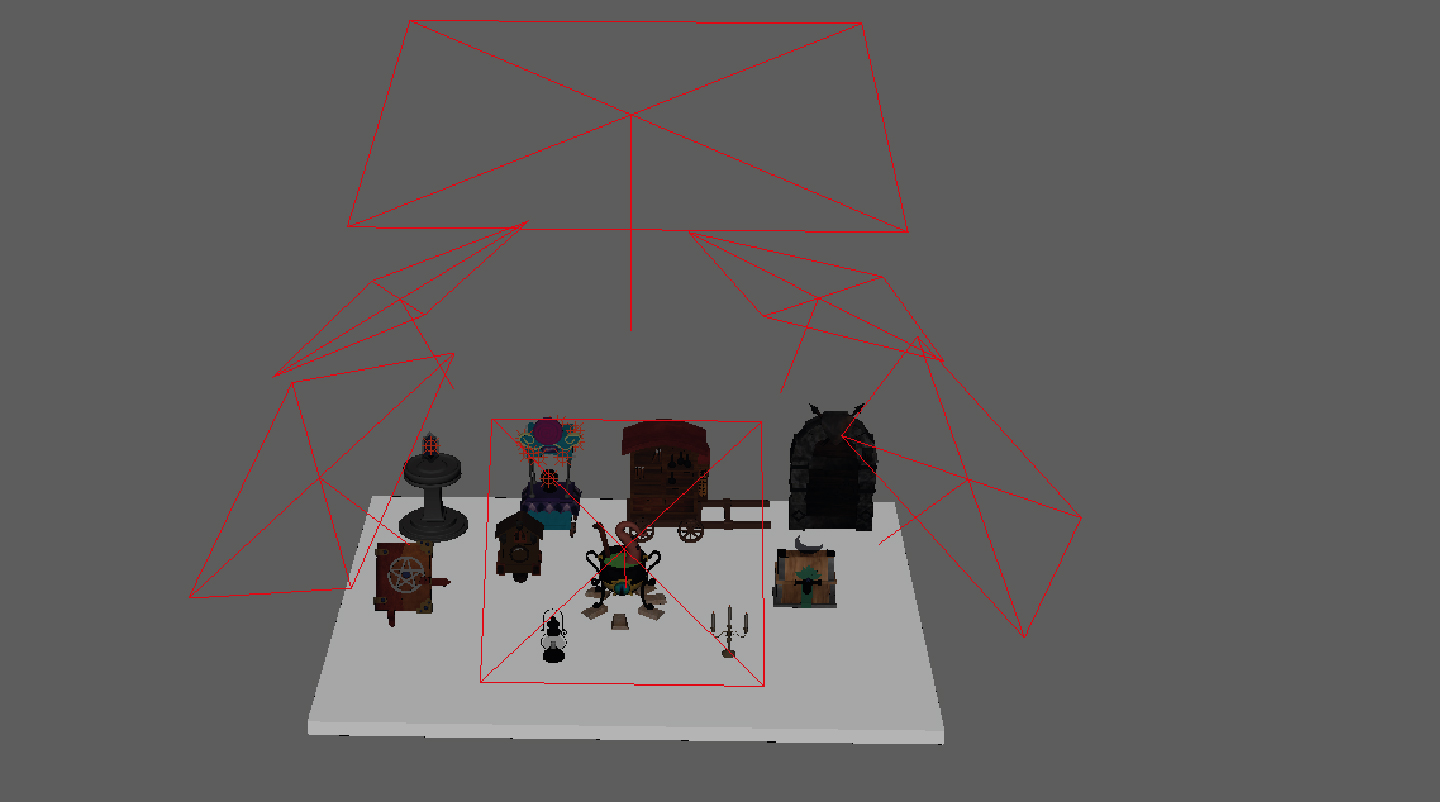
For the video, they were required to render in Turnaround mode, which involves placing a camera that rotates around the object(s) in the scene, resulting in the final video.
In addition to the normal texture render, they had to create versions in Clay (AOV) and Wireframe. This is to give viewers an idea of how the model looks in its base material, with its topology, and the final result with shaders and textures.
STUDENTS’ WORK
Below is the demo of the students’ work:
Ana D.
Asamali V.
Source: Student´s work
Bachelor’s Degree in Animation and Digital Design
More news about Animation and Digital Design…
