In the 2D Design and Animation class, students will learn the entire process required to create a 2D animated project.
To better explain the work involved, a project created by three students, Danyari Zurita, Sofia Coria, and Karen Rojas, titled “Manos Atadas,” will be showcased.
The three students worked throughout the semester to achieve the result they presented, and this serves as an example of what future Animation students can achieve with effort and dedication.
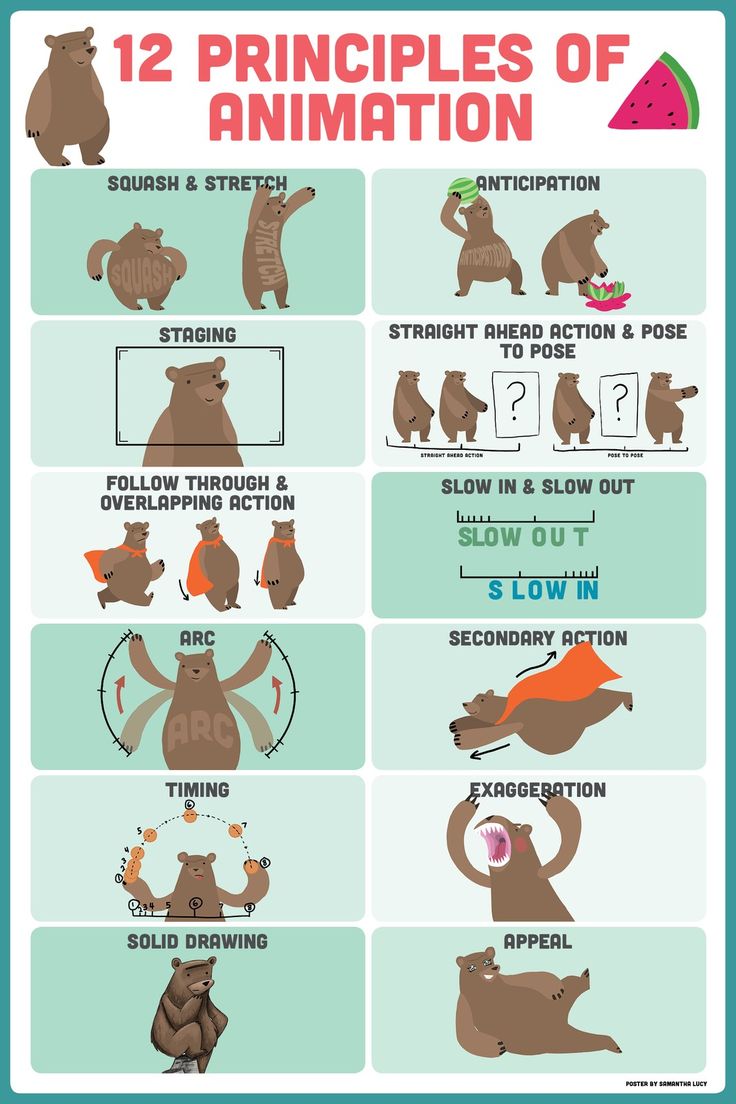
FIRST THINGS FIRST – THE 12 PRINCIPLES OF ANIMATION
At the beginning of the course, students are taught the basics and fundamentals of all animation, the 12 principles of animation, which are essential for the construction of any animated work.
In the following image, you can see a graphical representation of these principles.
Students learn that a frame is a drawing, and to create one second of animation, at least 24 frames are needed.
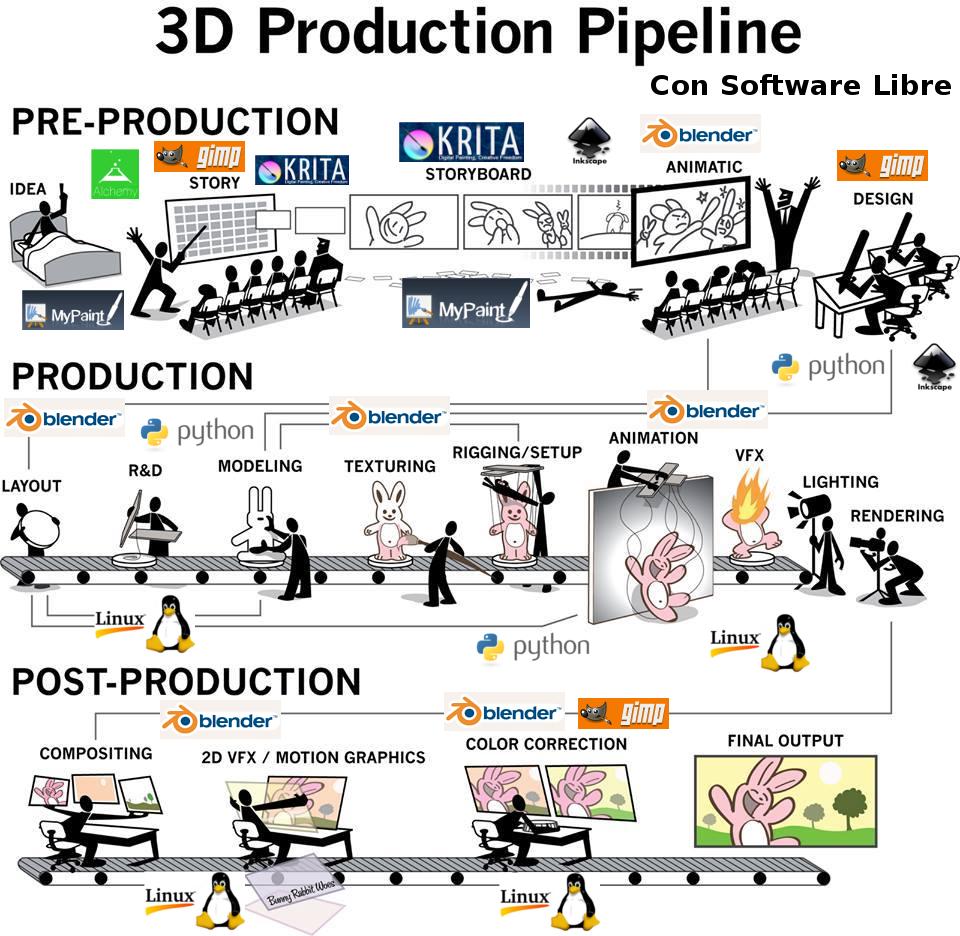
ANIMATION PIPELINE
After covering the principles, the pipeline is explained. This is the workflow followed in the production of a project.
Here, we see the phases that must always be followed when creating a project, understanding that each phase involves directors who supervise the work and artists who produce it.
The following image is an example of the pipeline.
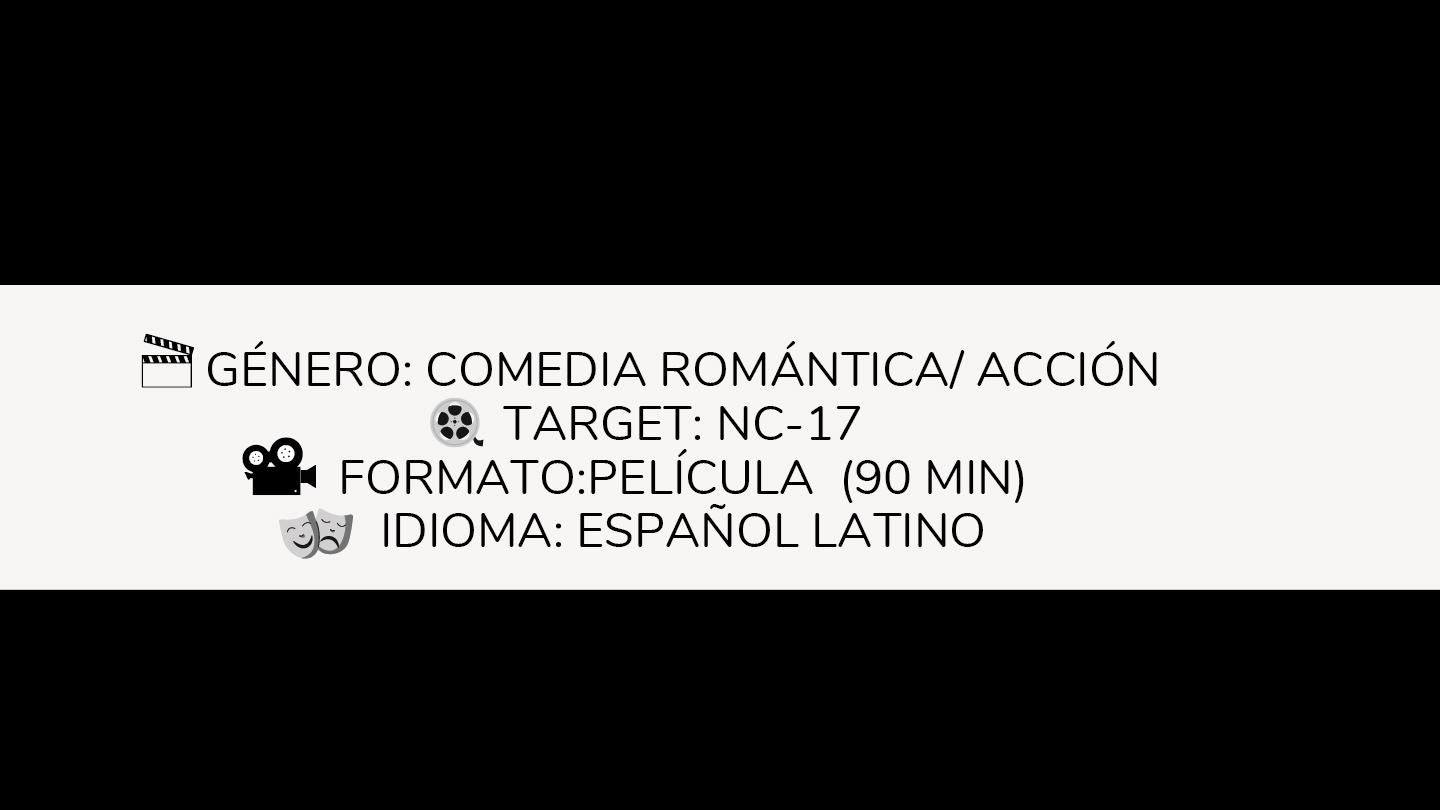
STARTING WITH THE IDEA
As seen in the pipeline, the first step is to have the idea, so we can develop the project and determine what it will be about.
The type of work and genre are defined here: will it be a series, a movie, a short film, shorts, or web projects?
The genre is also established: action, comedy, drama, thriller, sci-fi, among others.
Here, the project is also named, and a logline is written, which is the premise of the story. Subsequently, the script is developed, which is crucial for creating the storyboard.

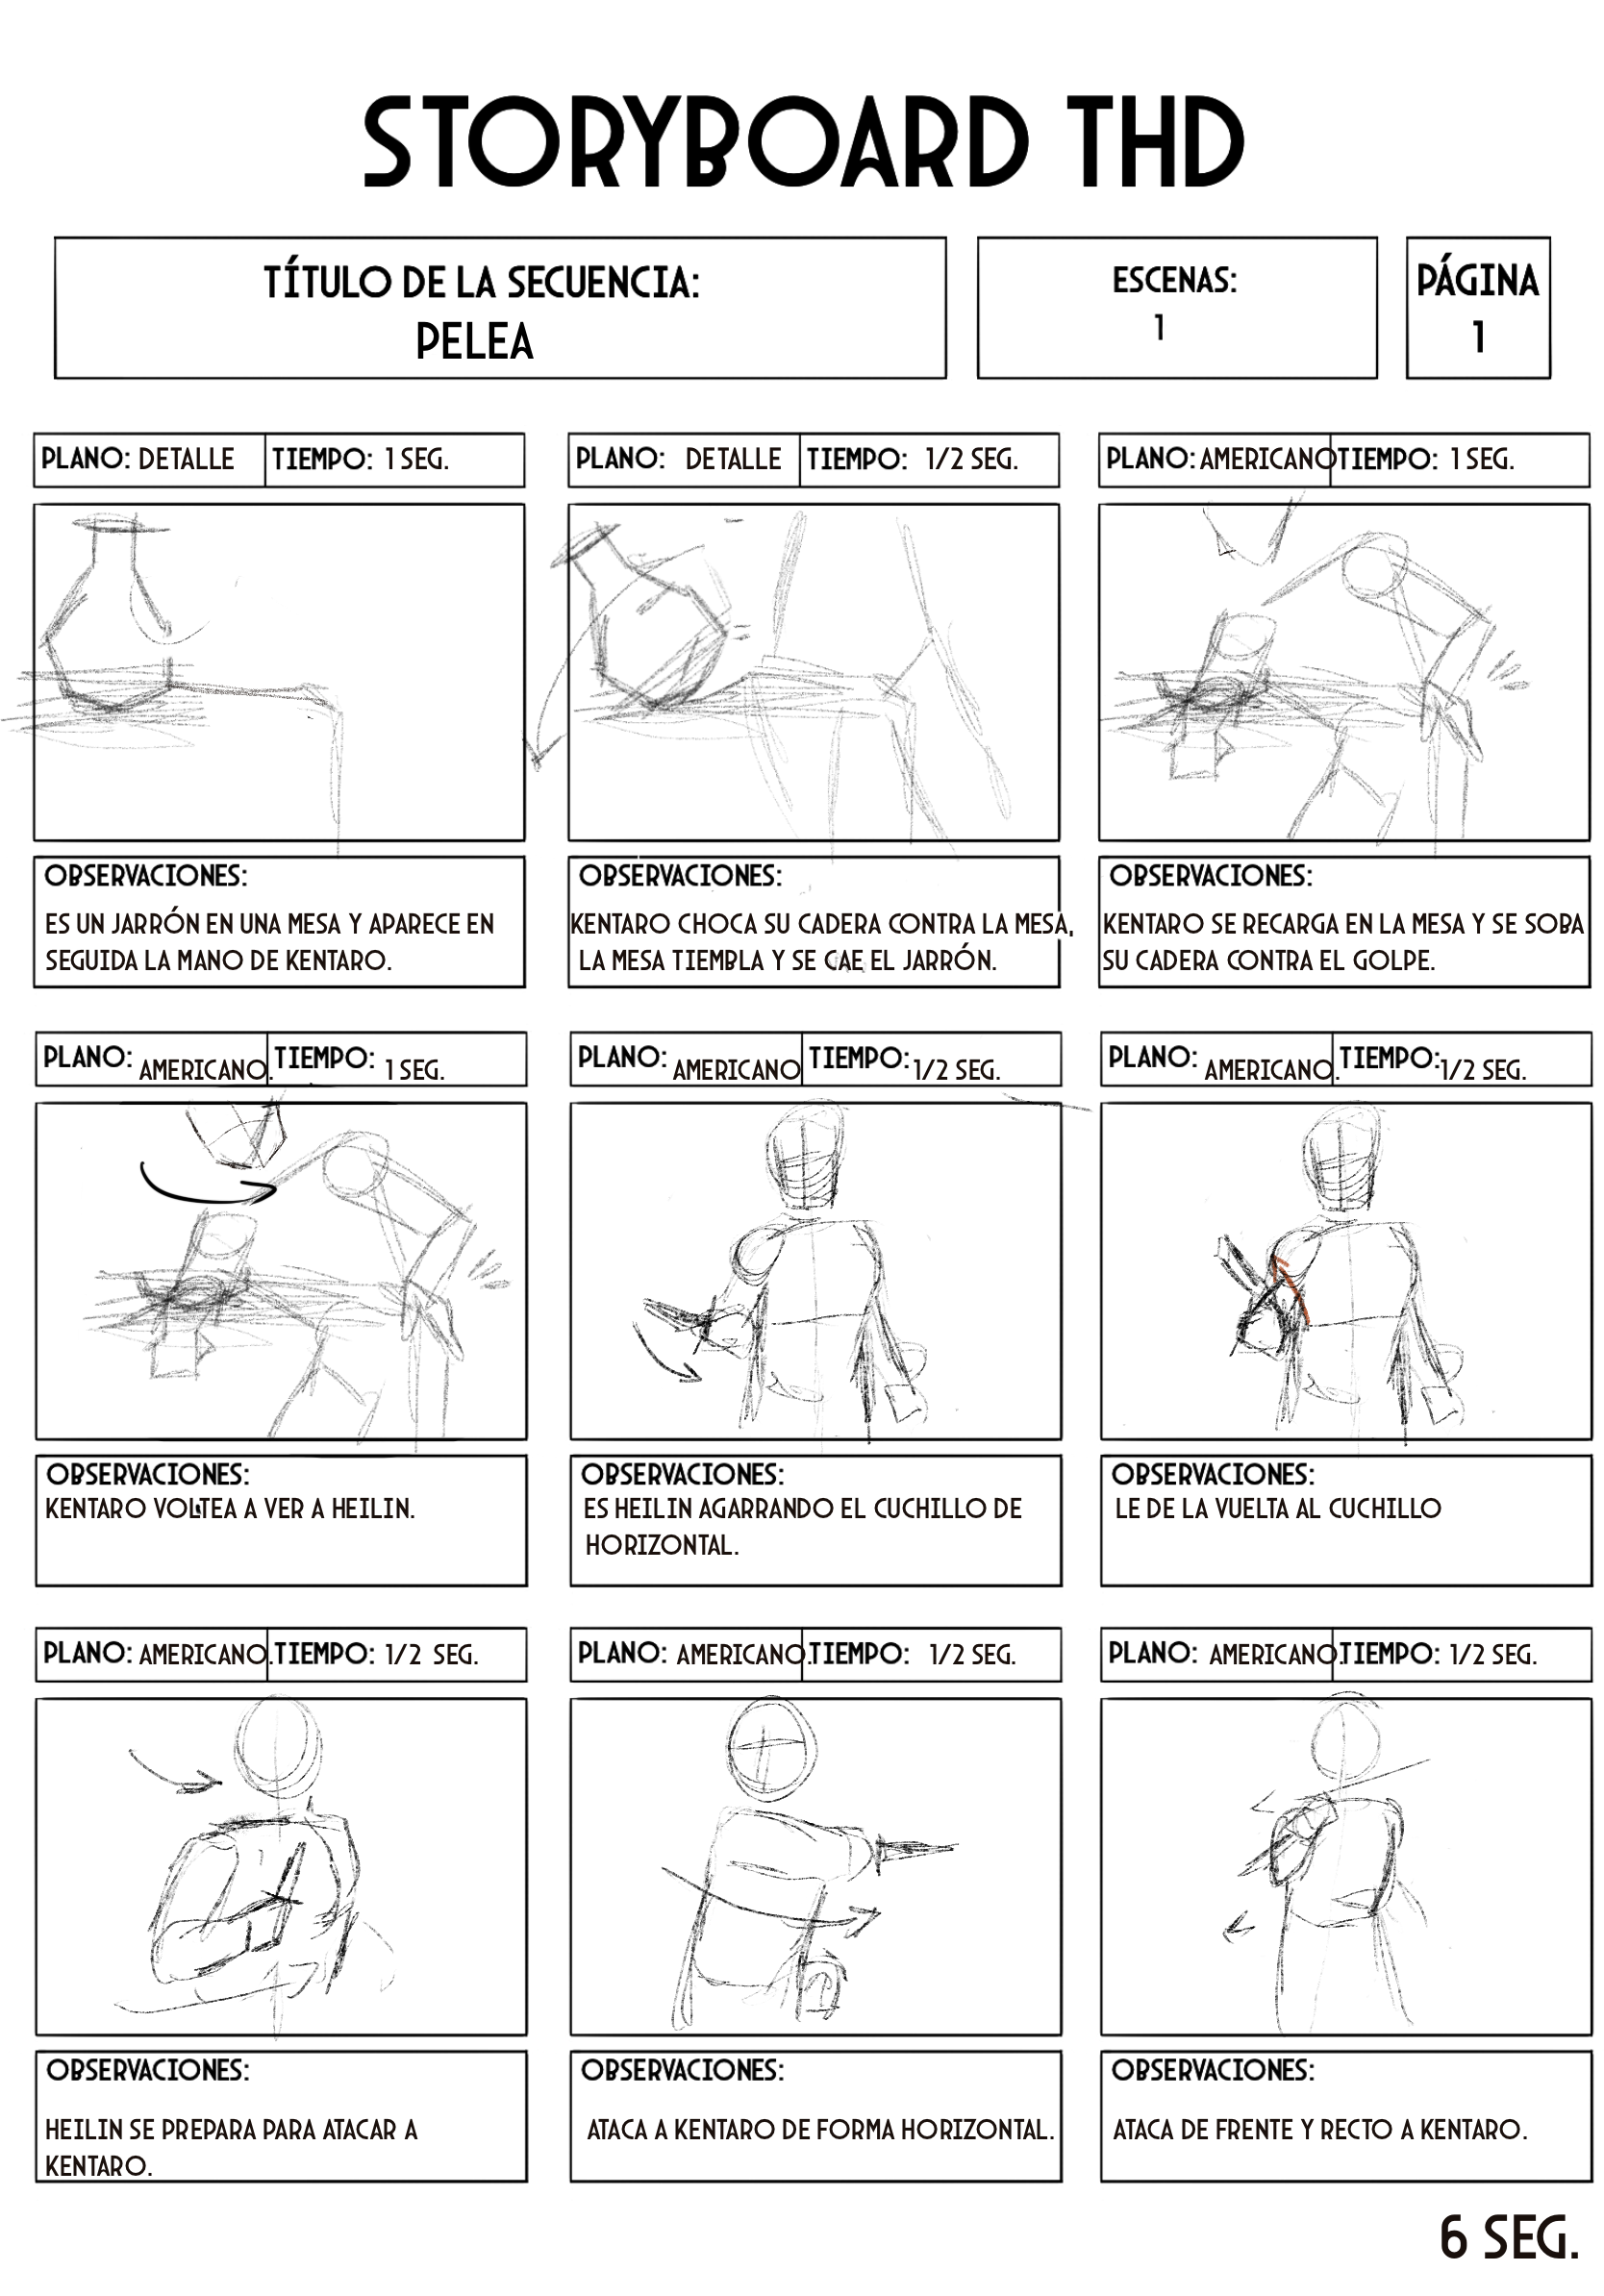
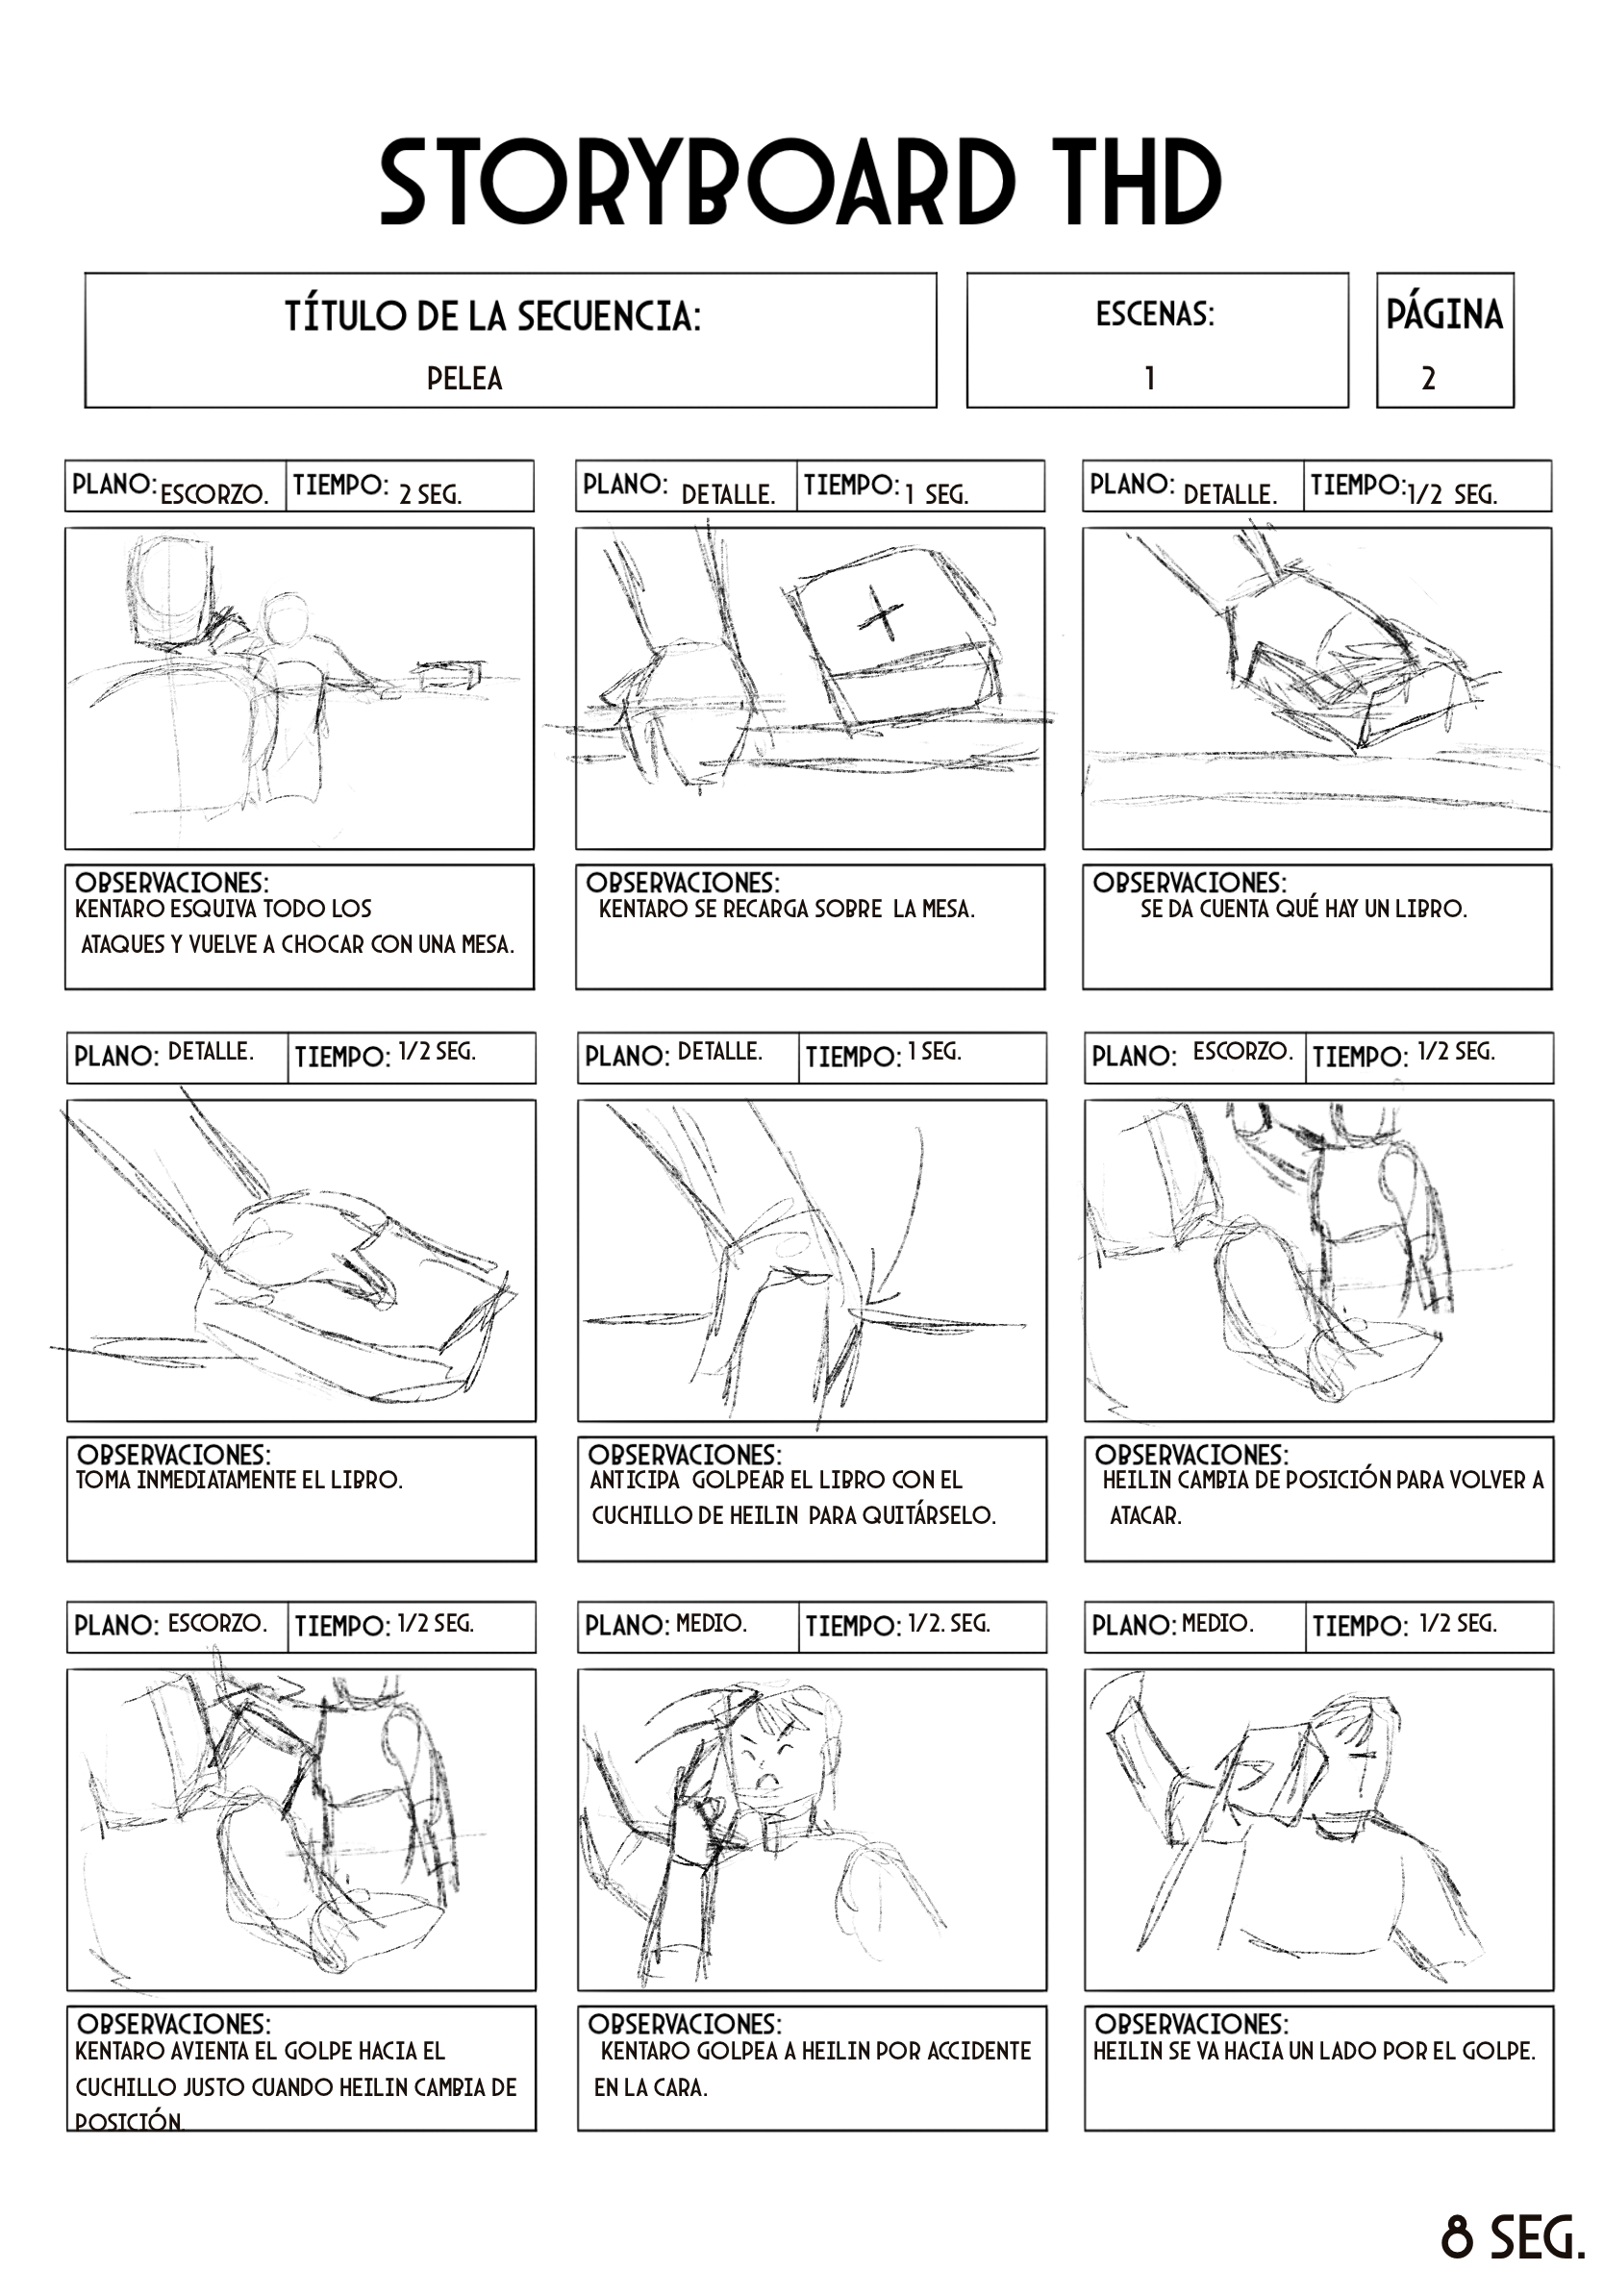
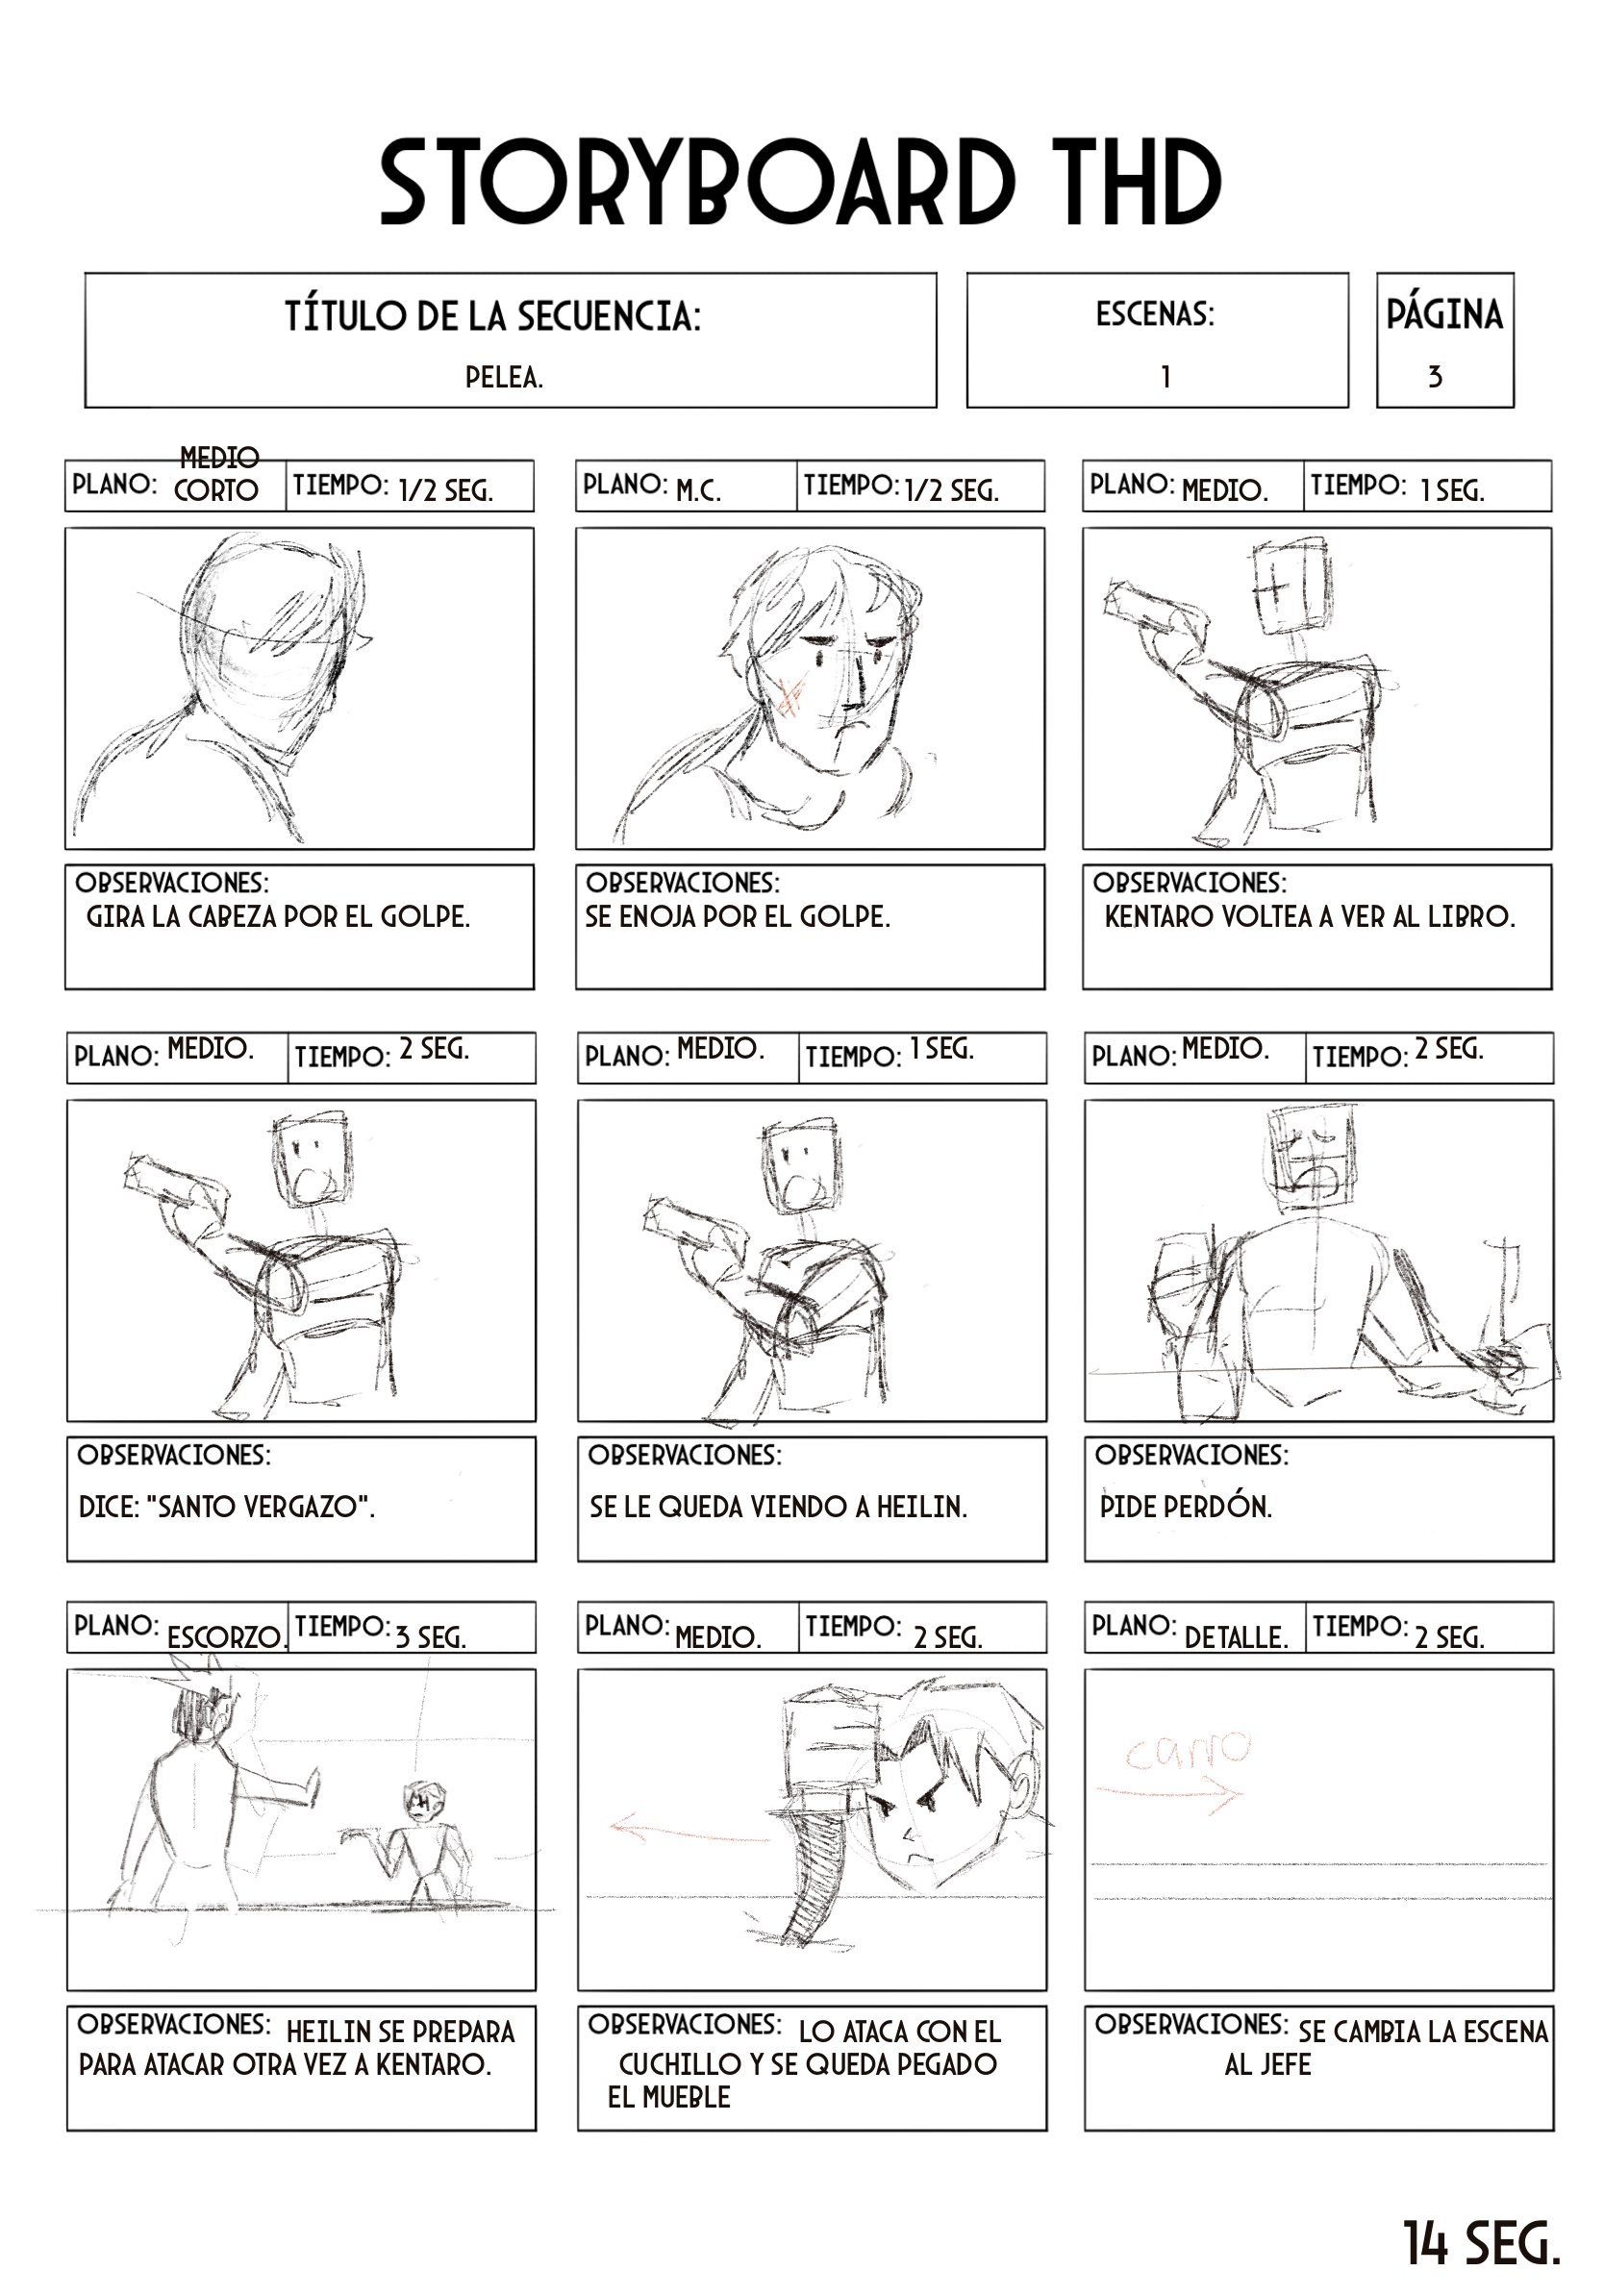
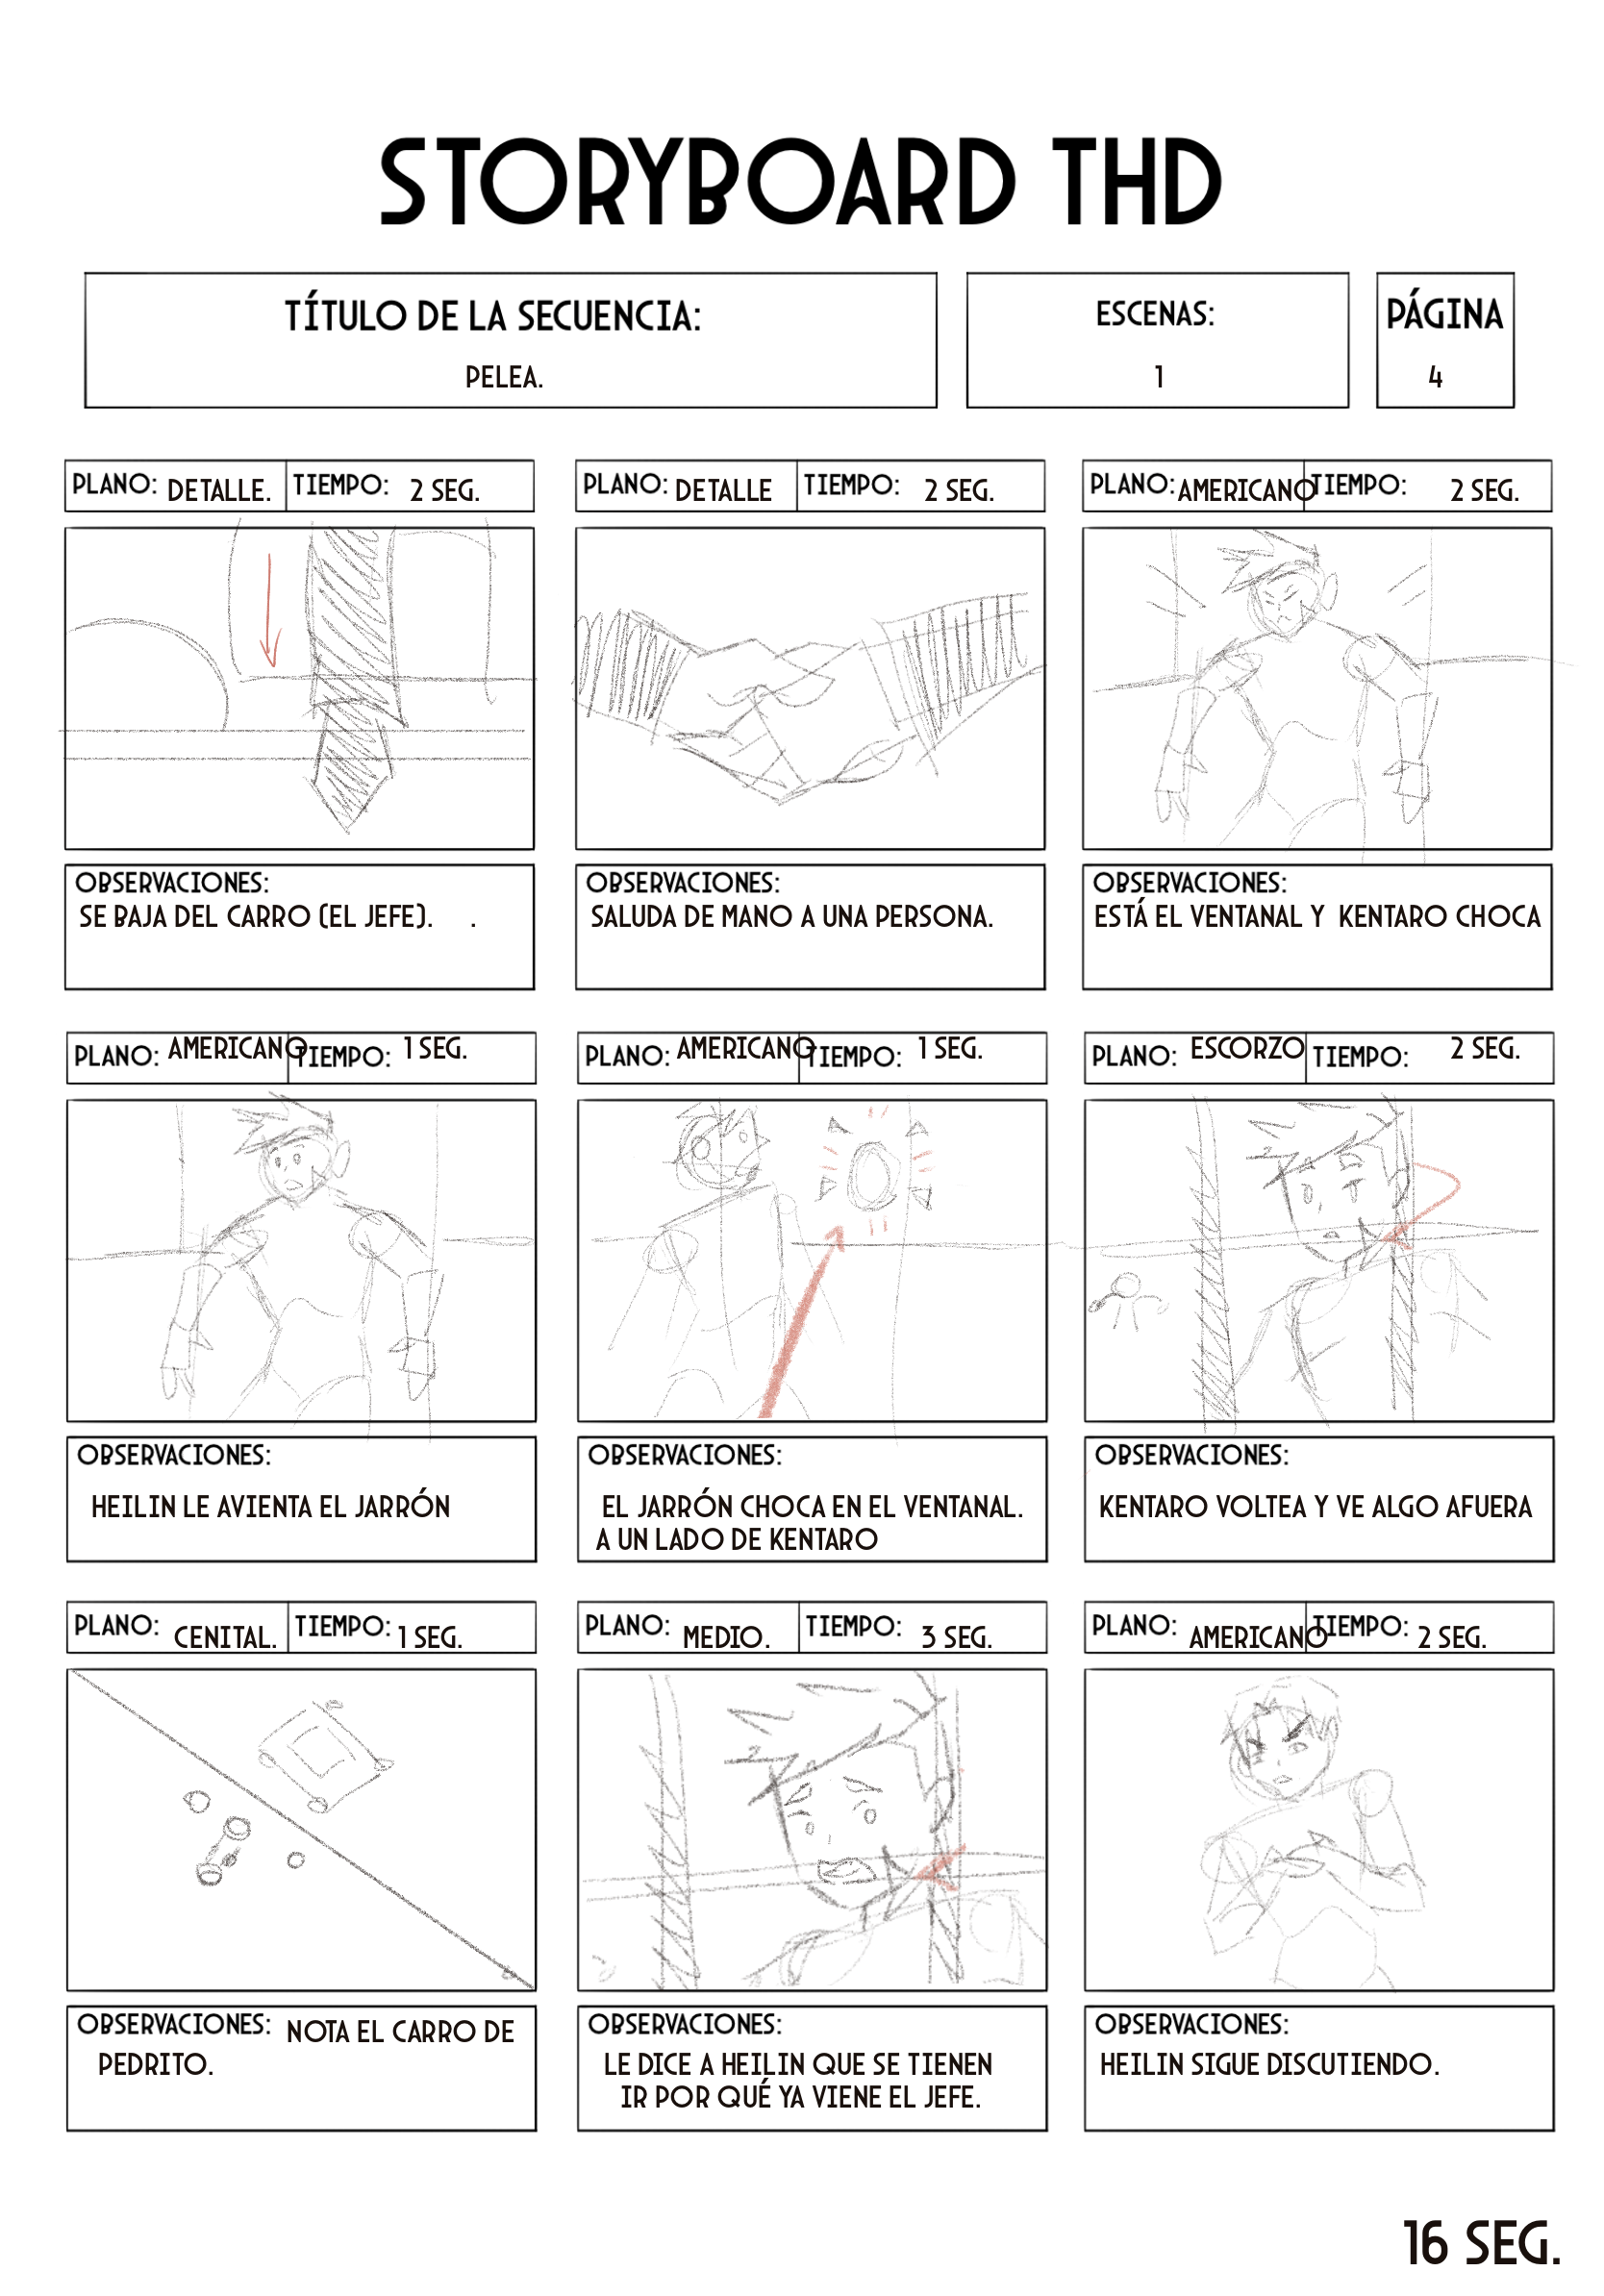
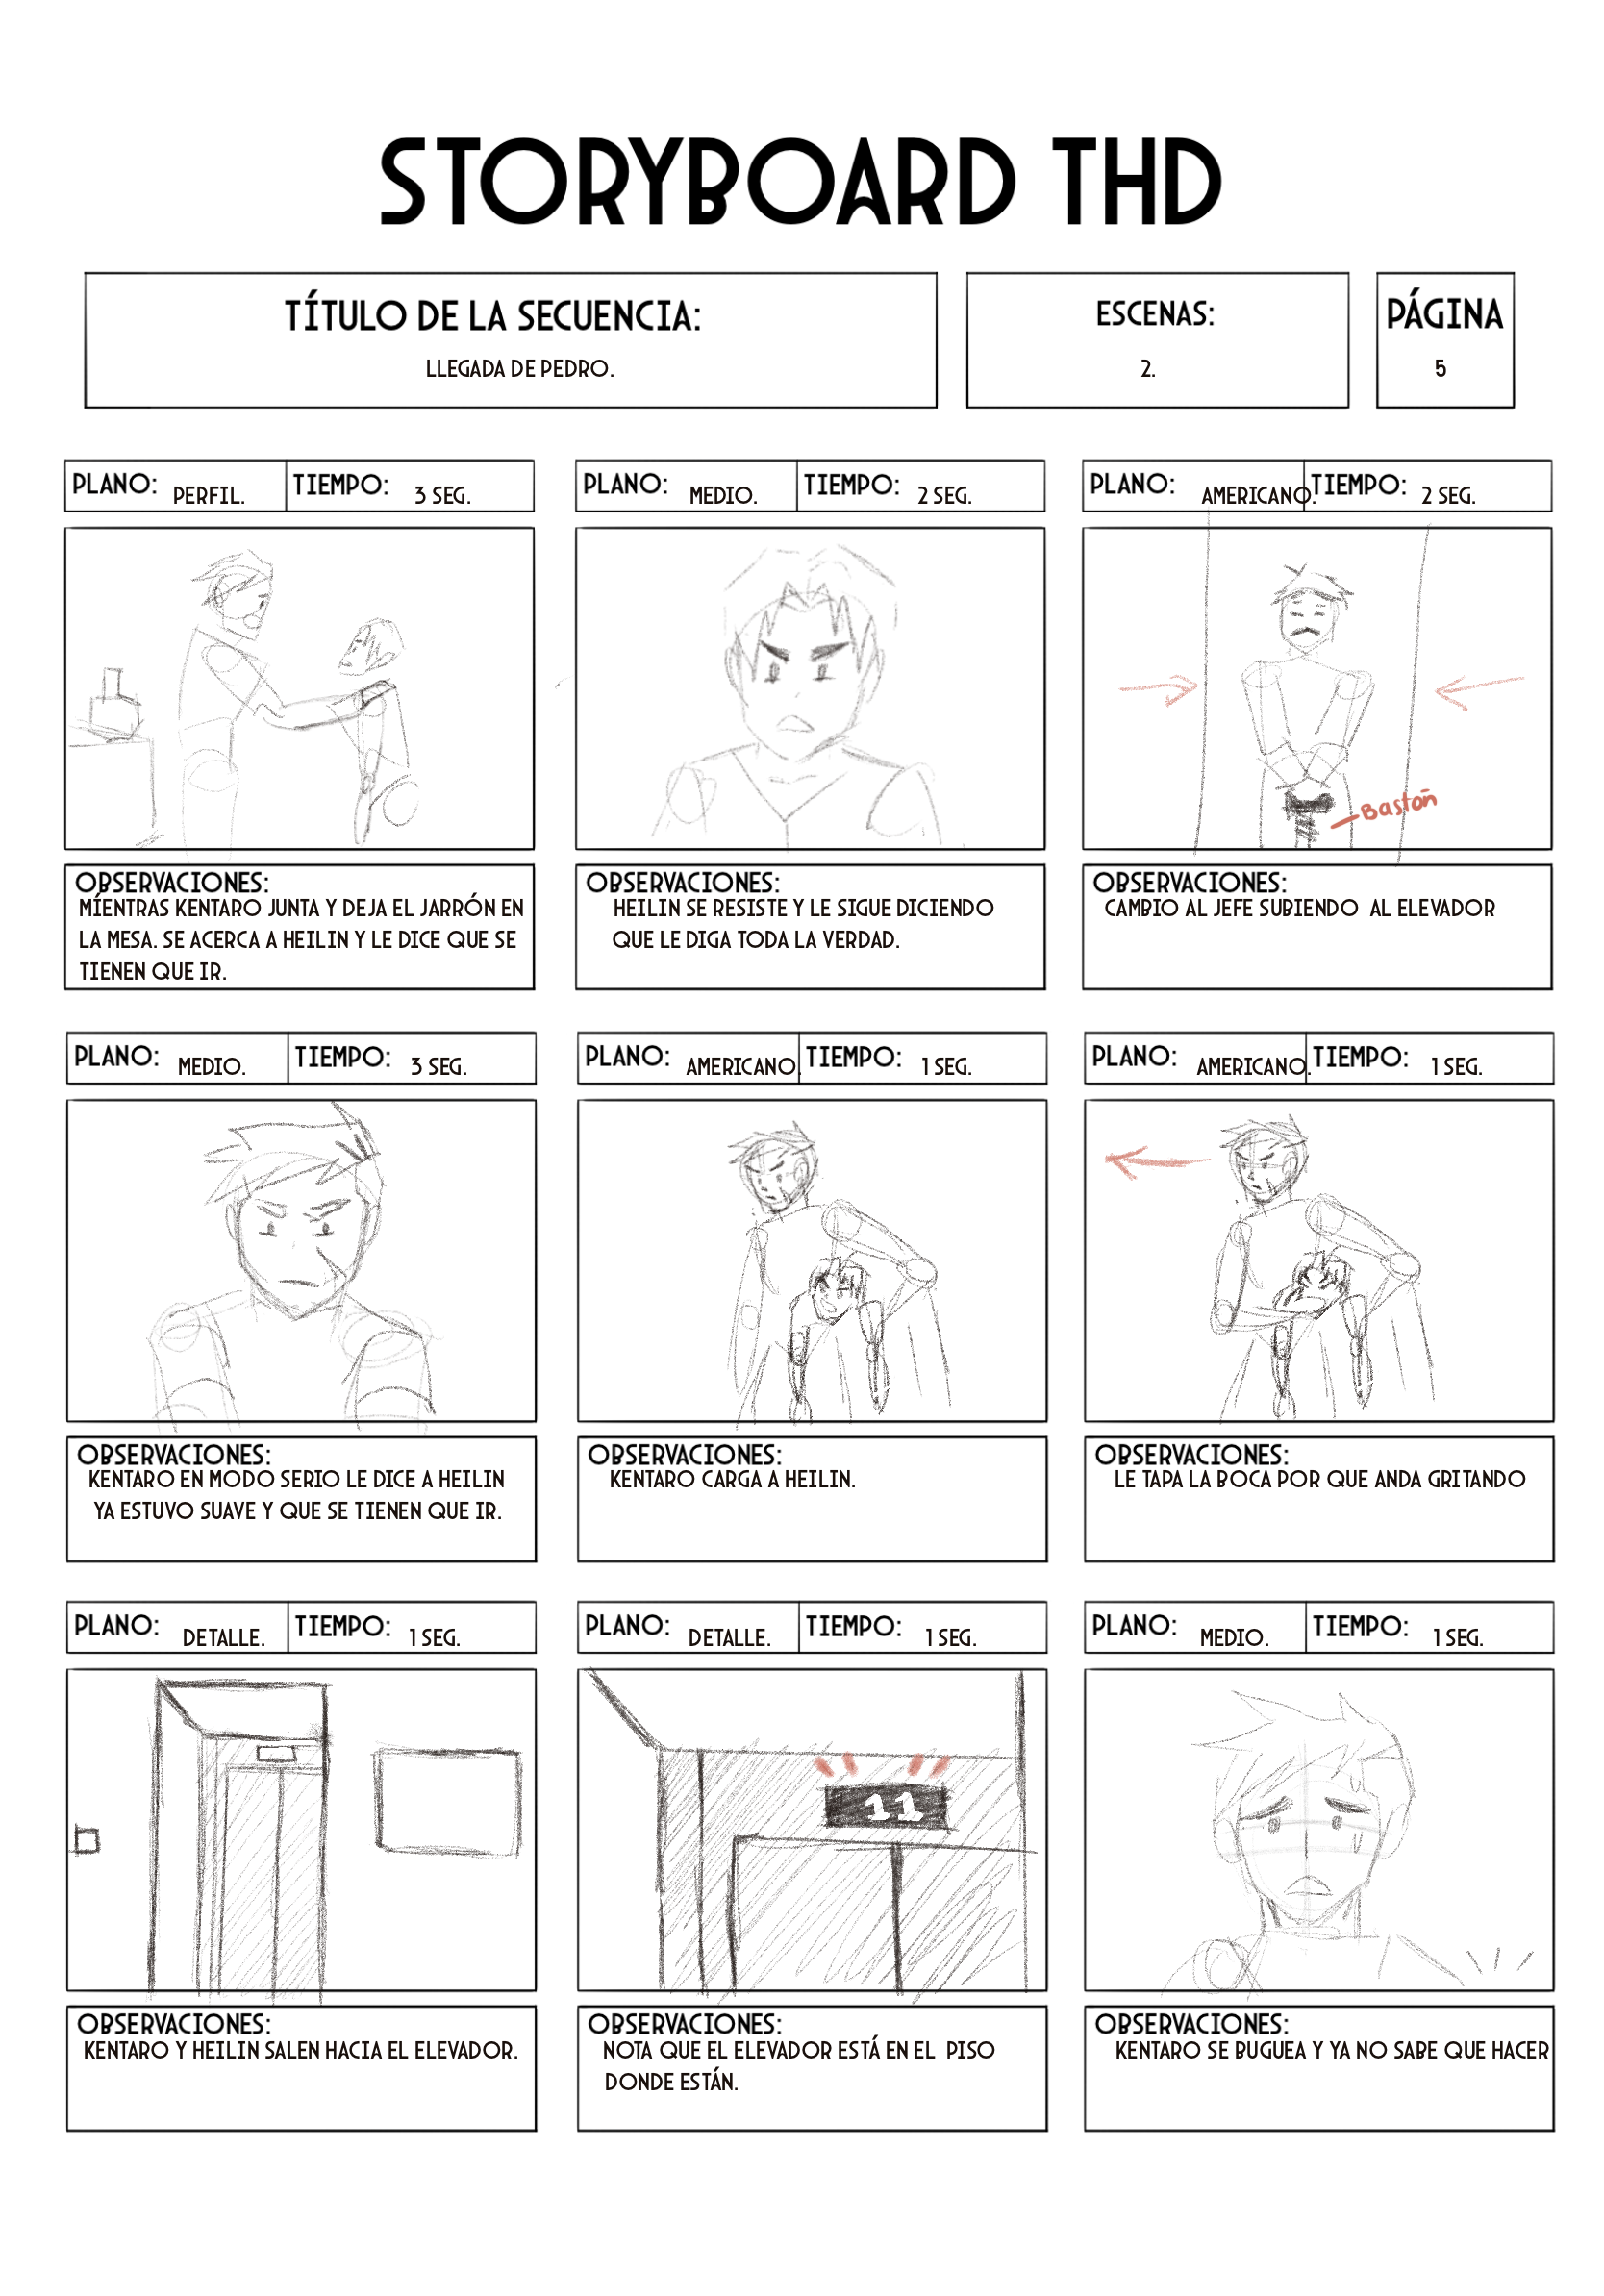
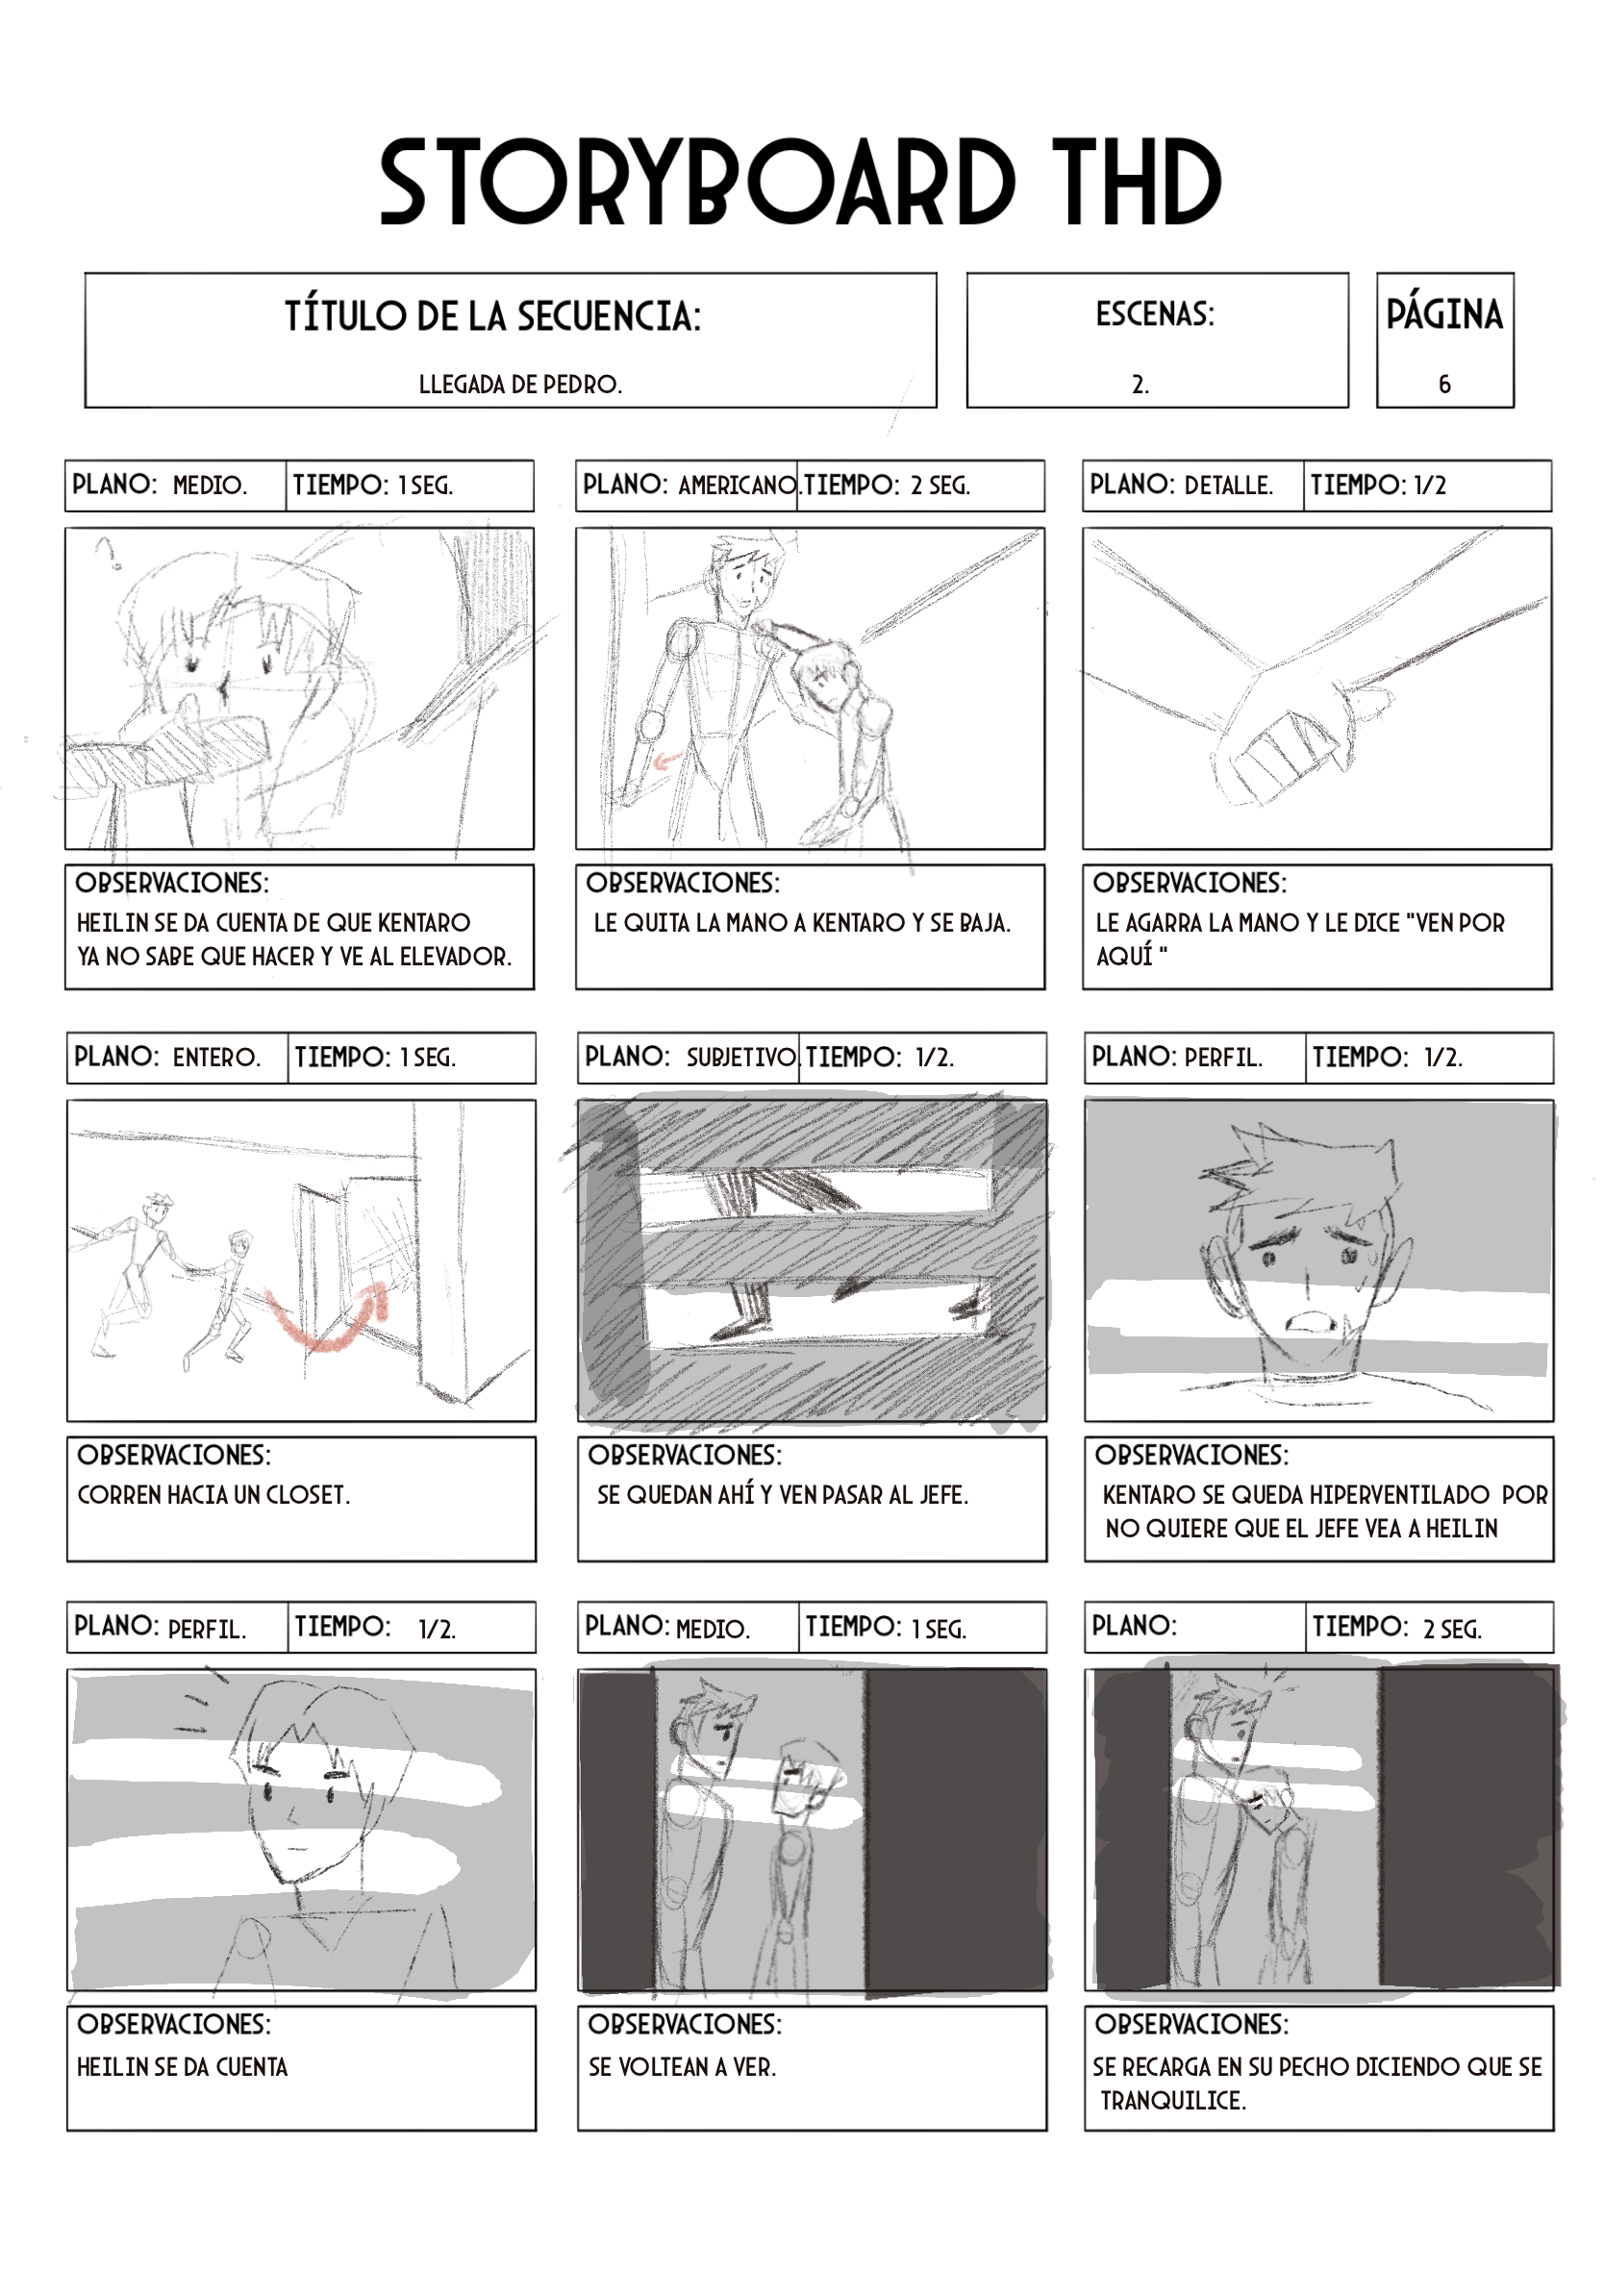
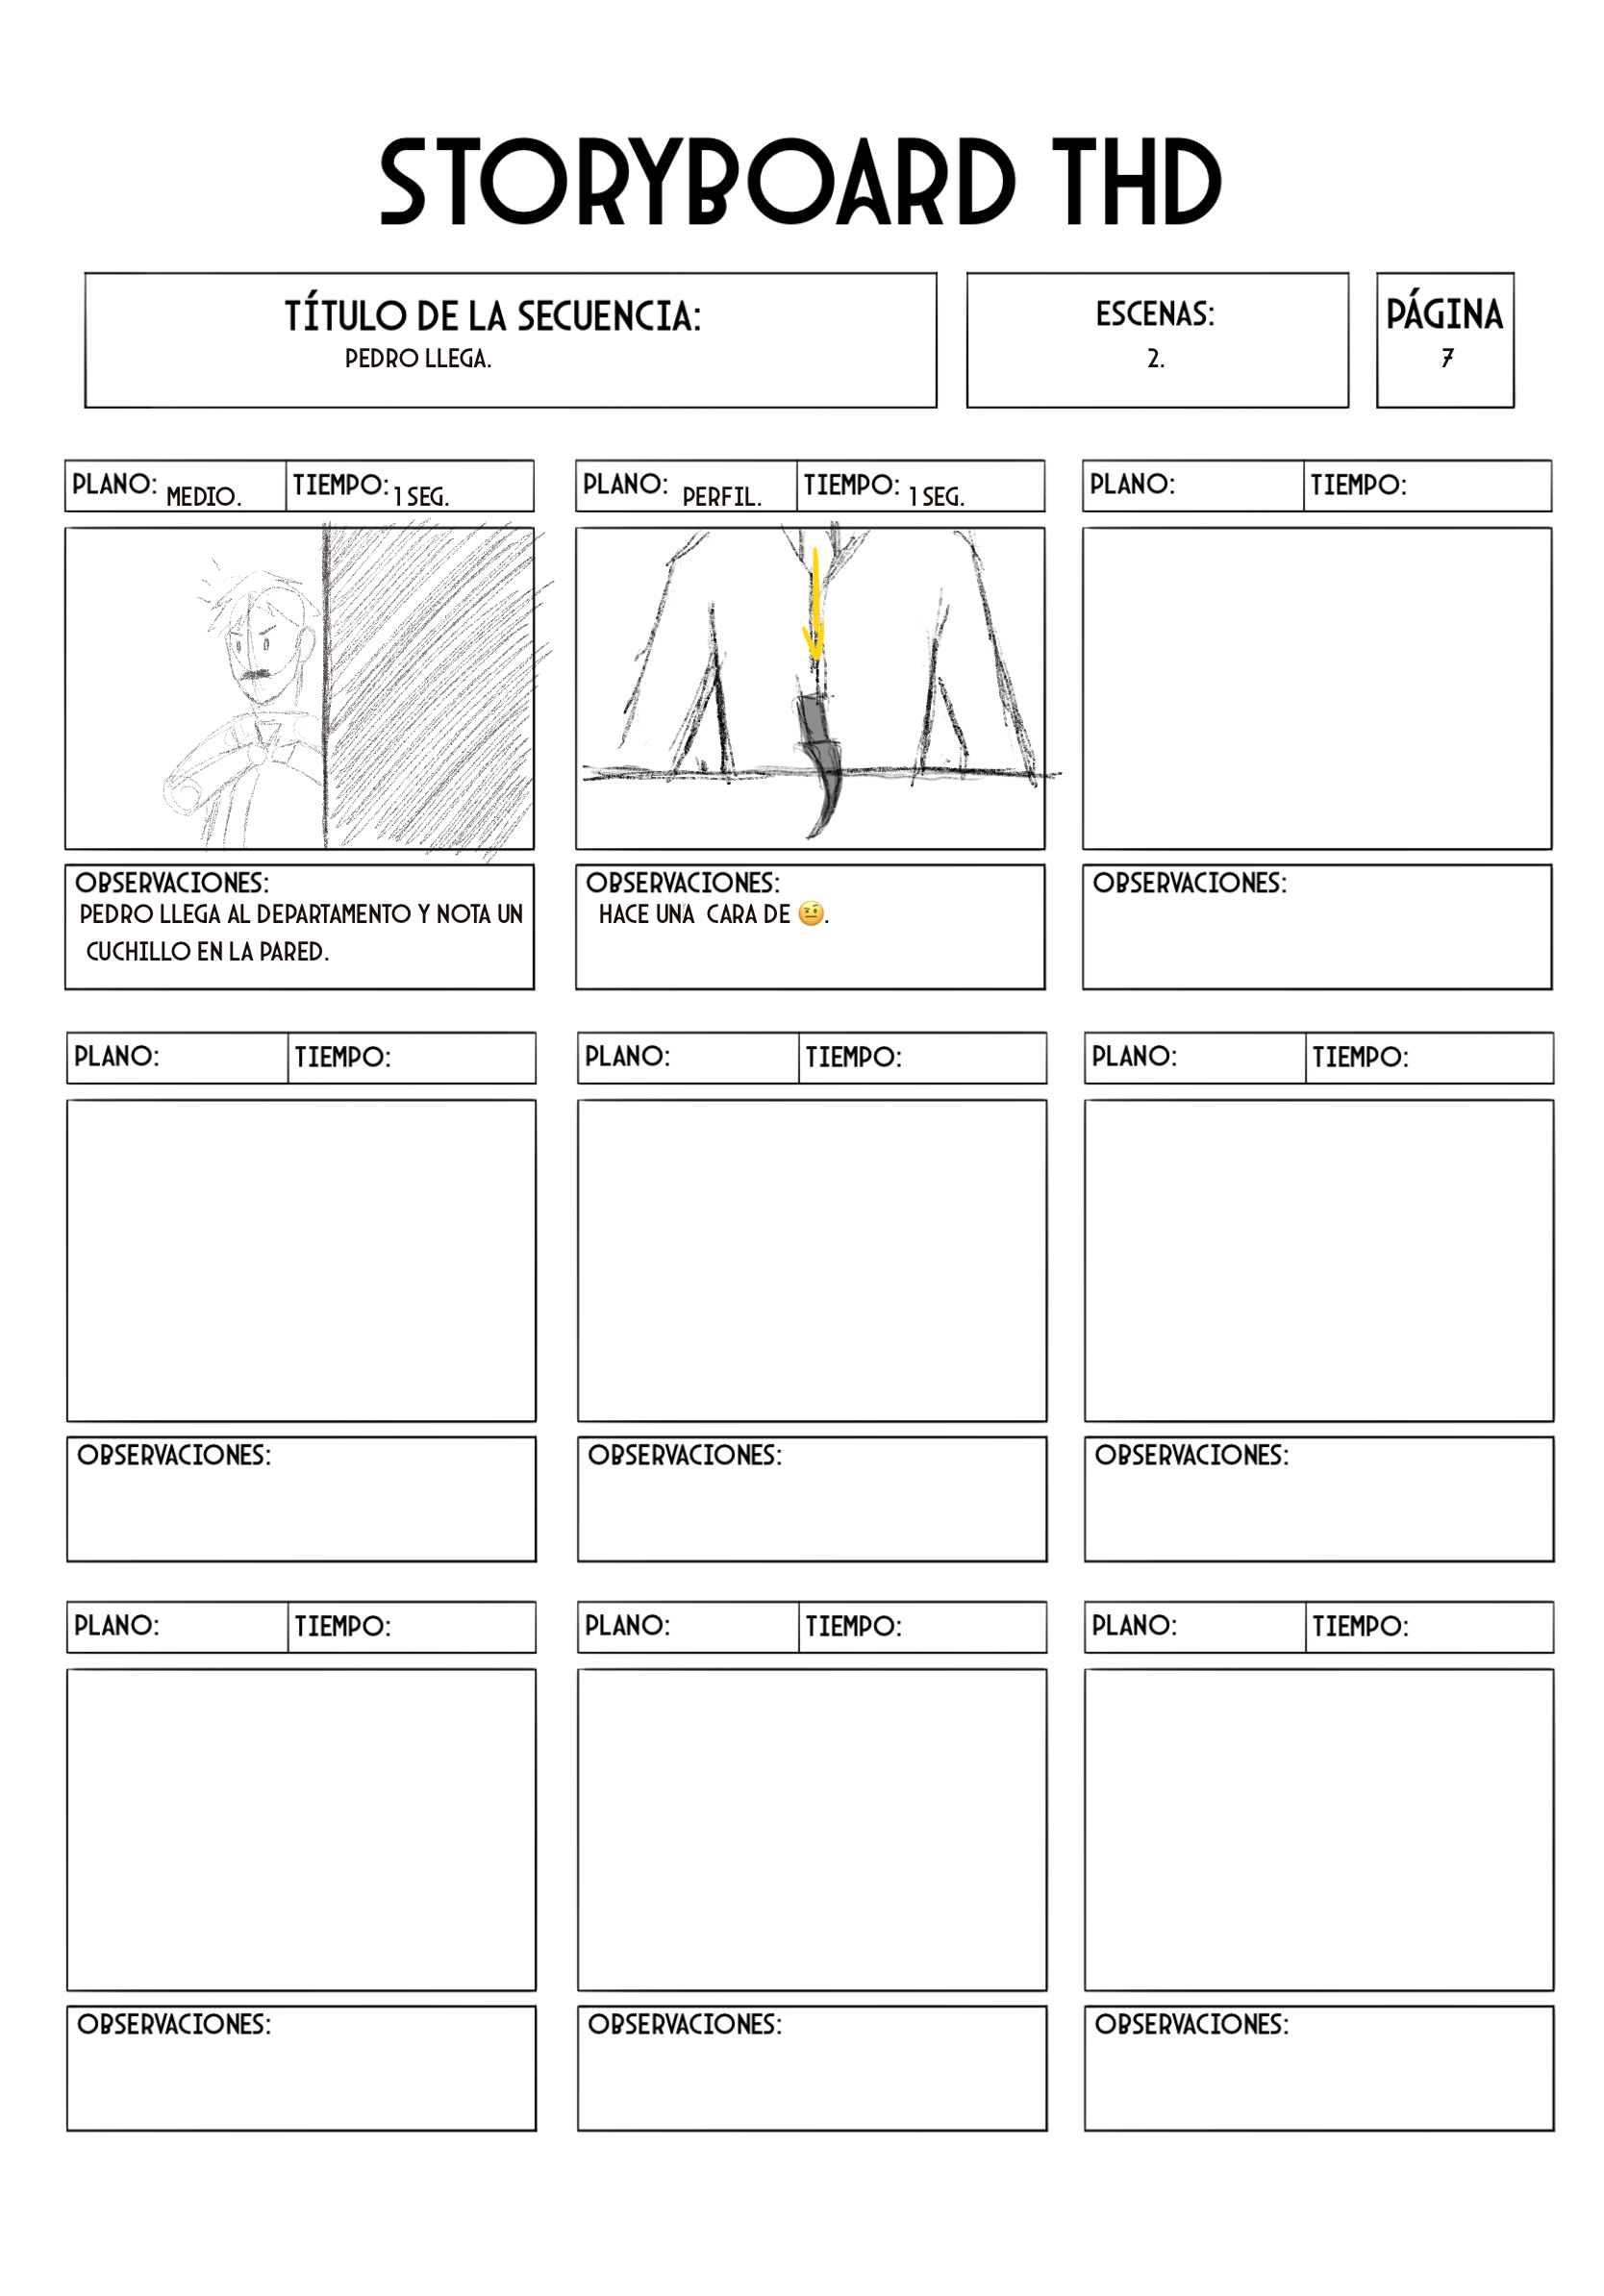
PROJECT STORYBOARD
The storyboard is the graphic representation of the technical script, describing the scenes and what is happening in each camera shot, and establishing the framing.
The storyboard artist interprets the script with drawings of settings and characters, giving an idea of how the project might be animated.
This part always goes through director reviews, and once approved, it is sent to the entire production team, who will work with this visual guide to begin animation.
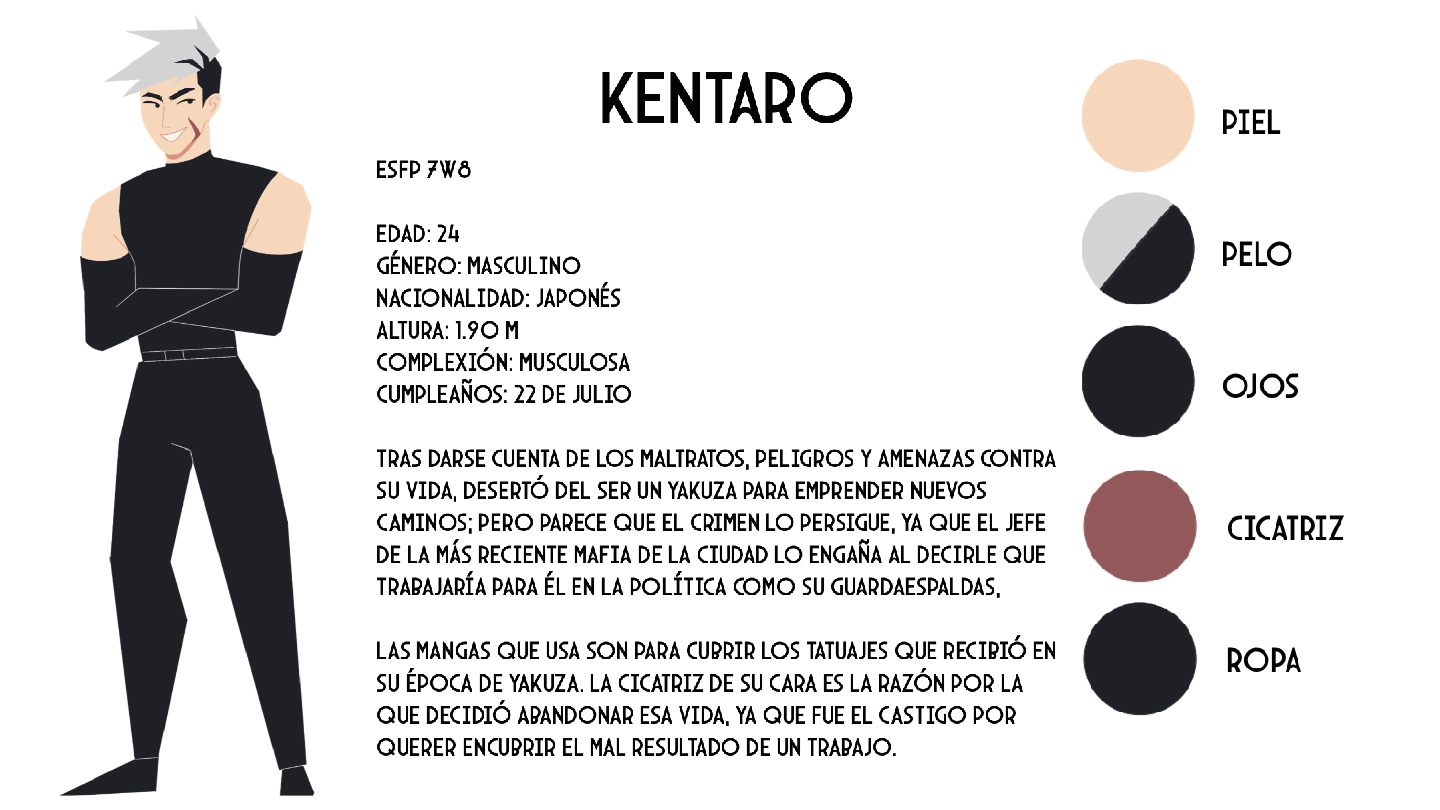
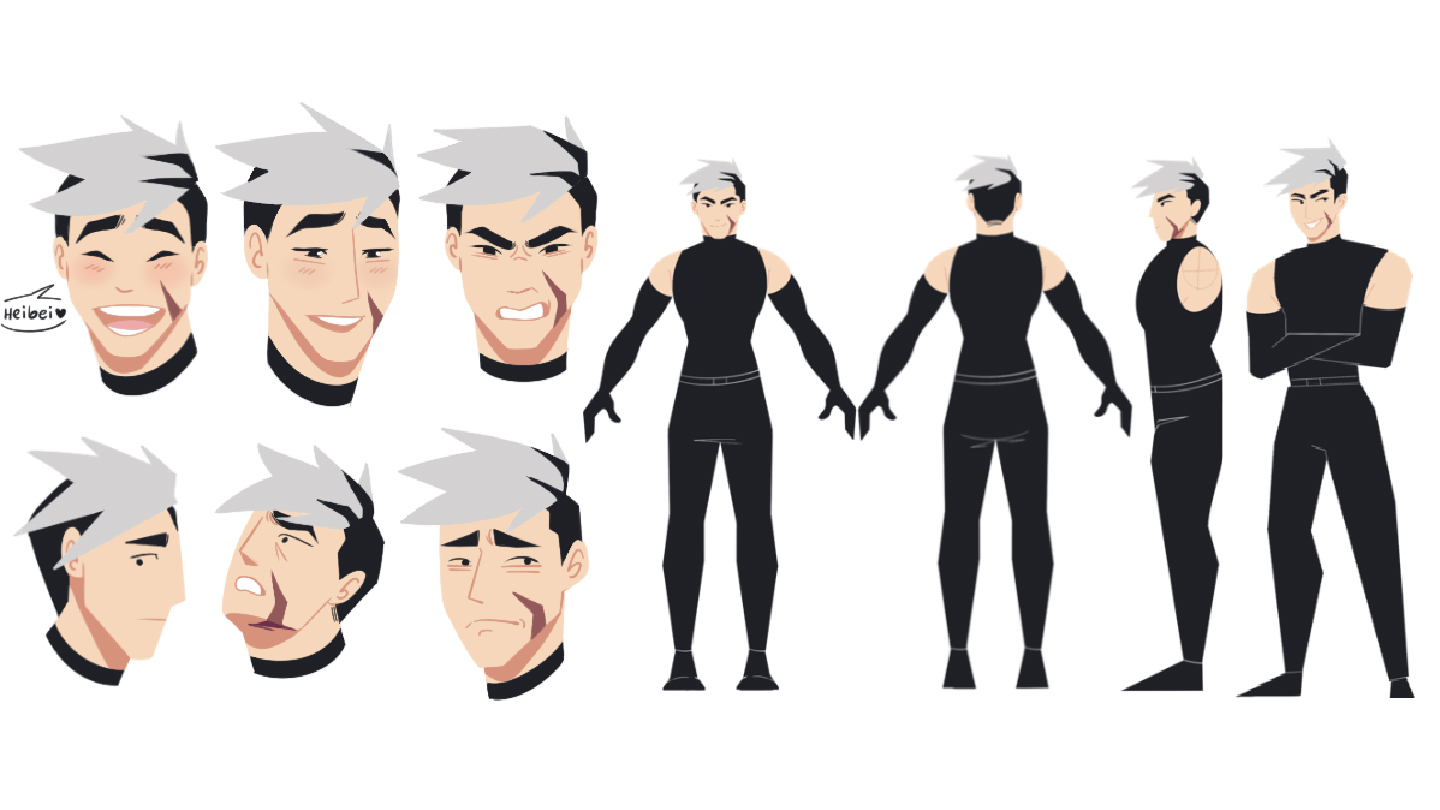
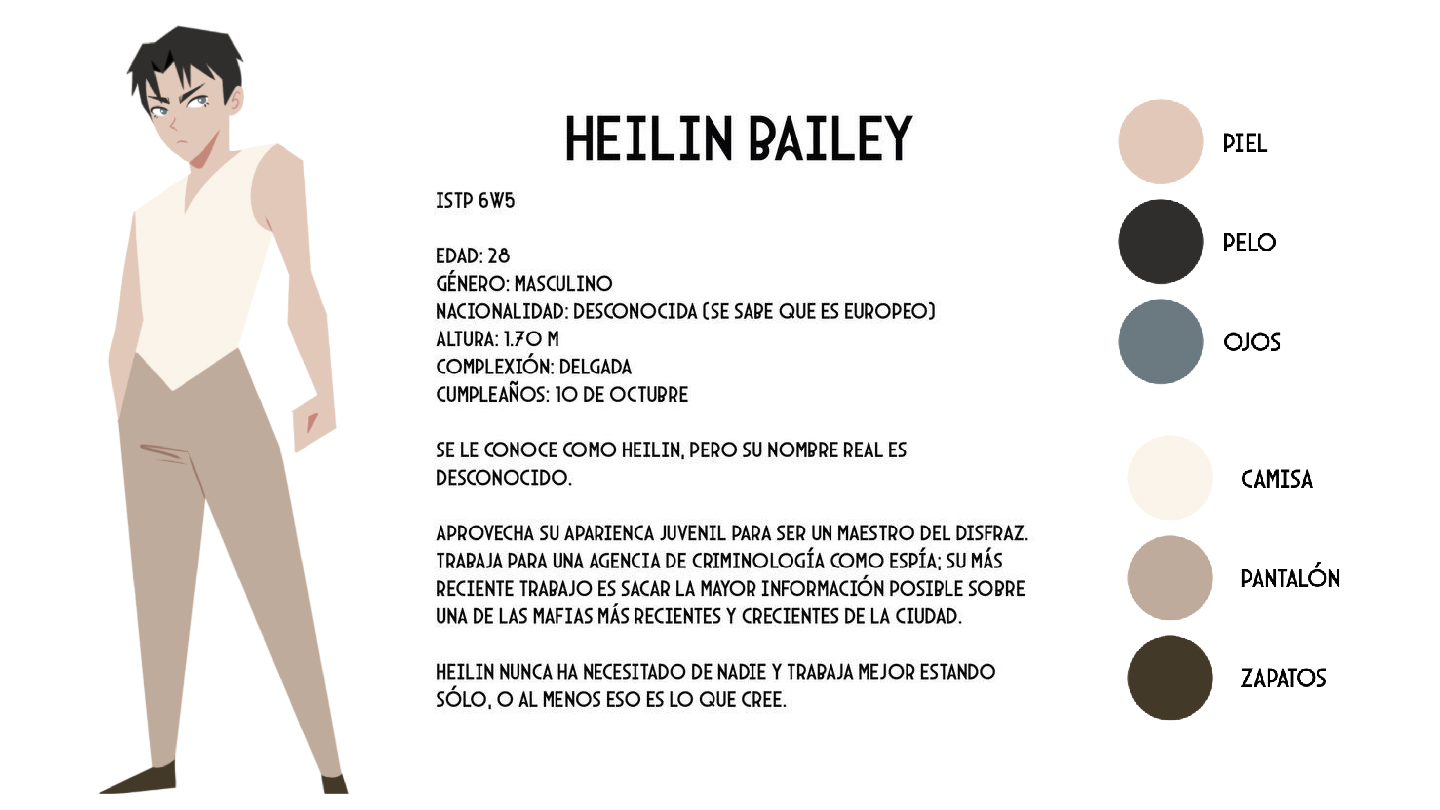
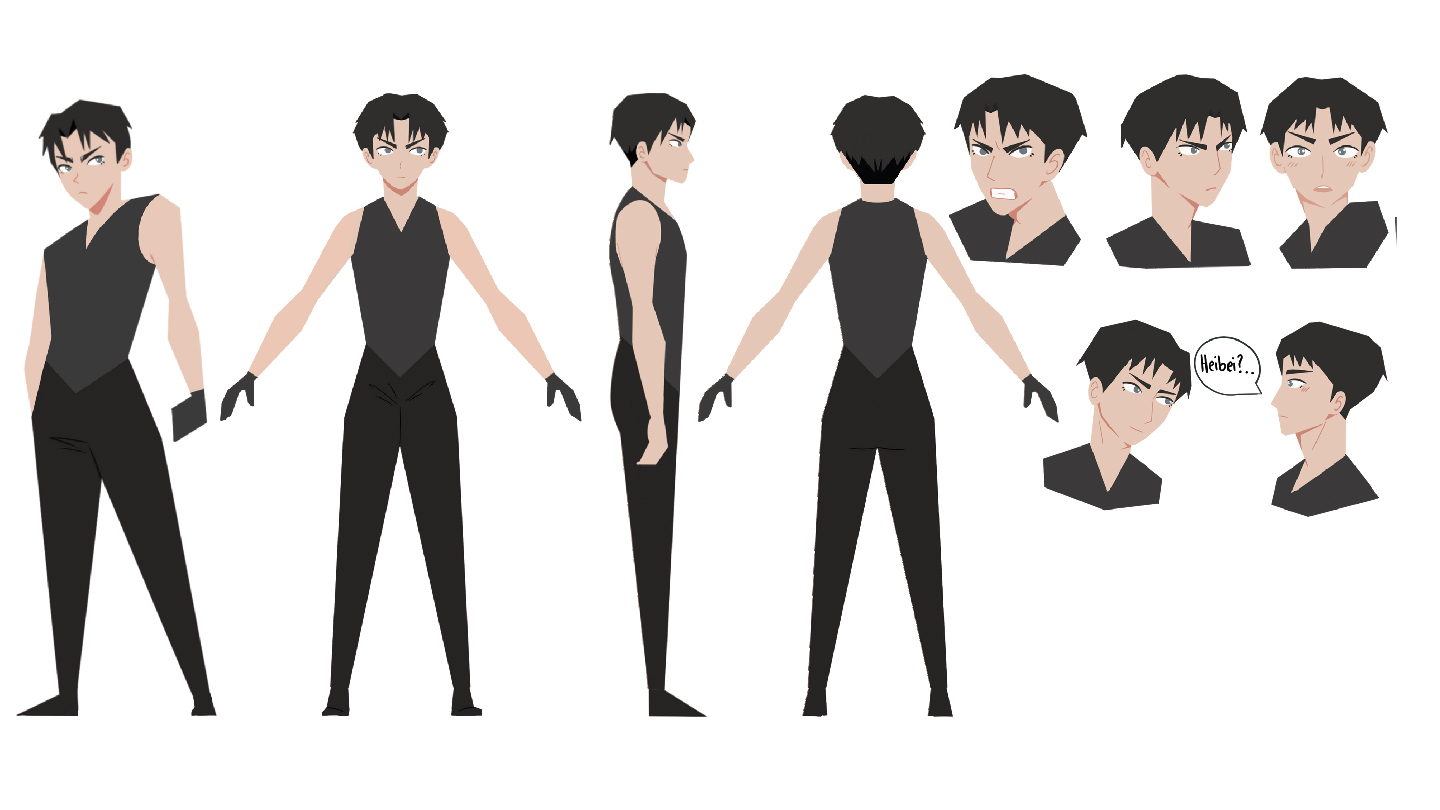
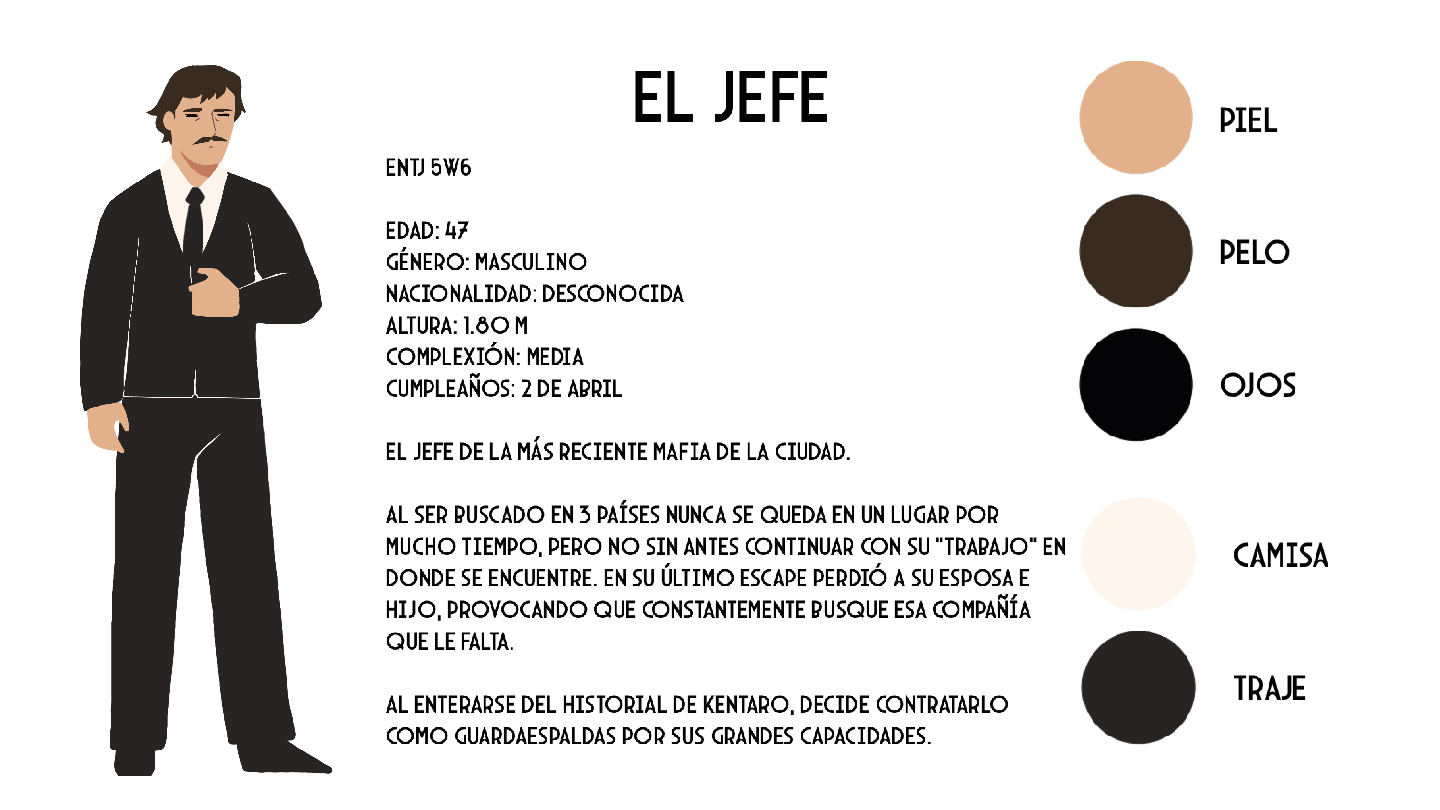
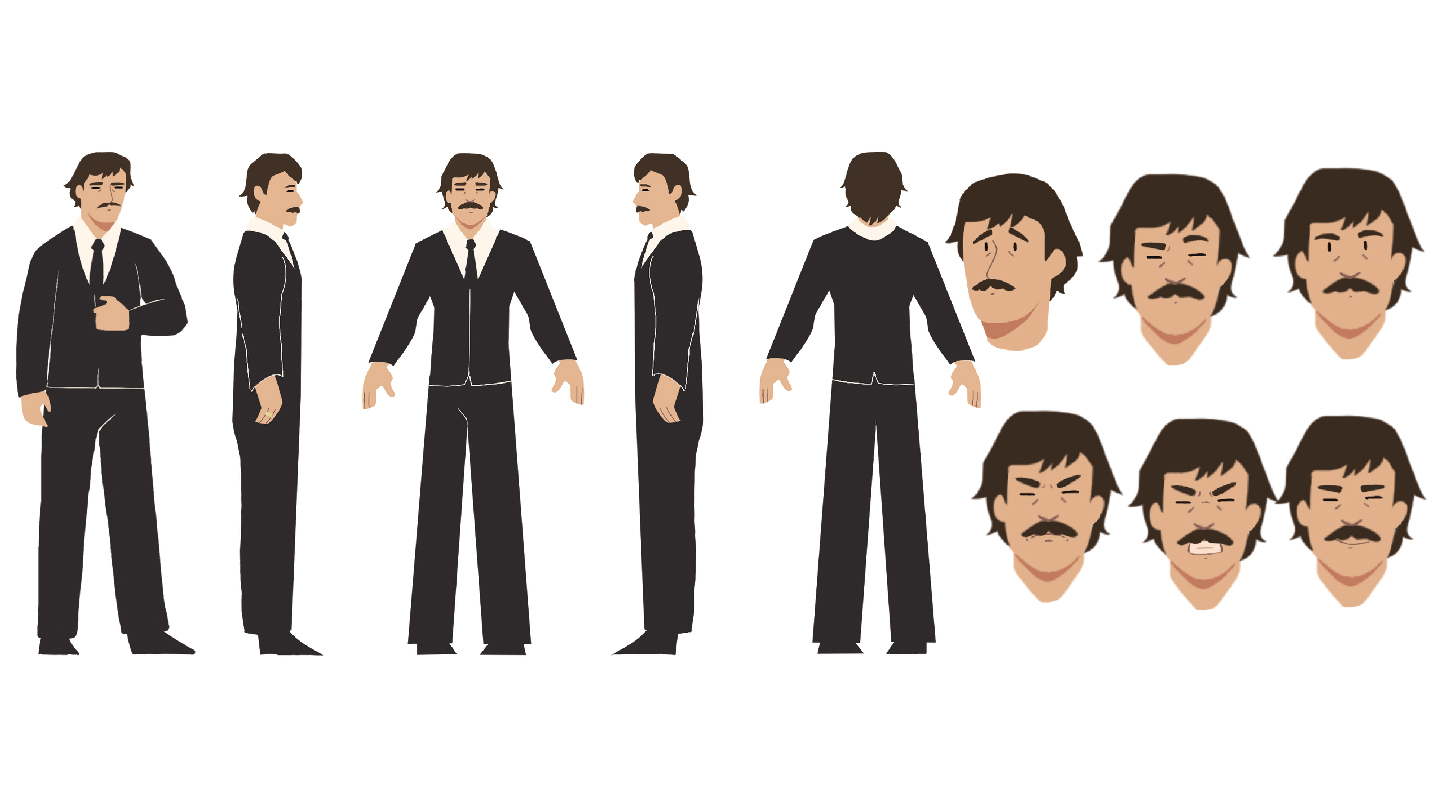
CHARACTER DESIGN AND LAYOUTS
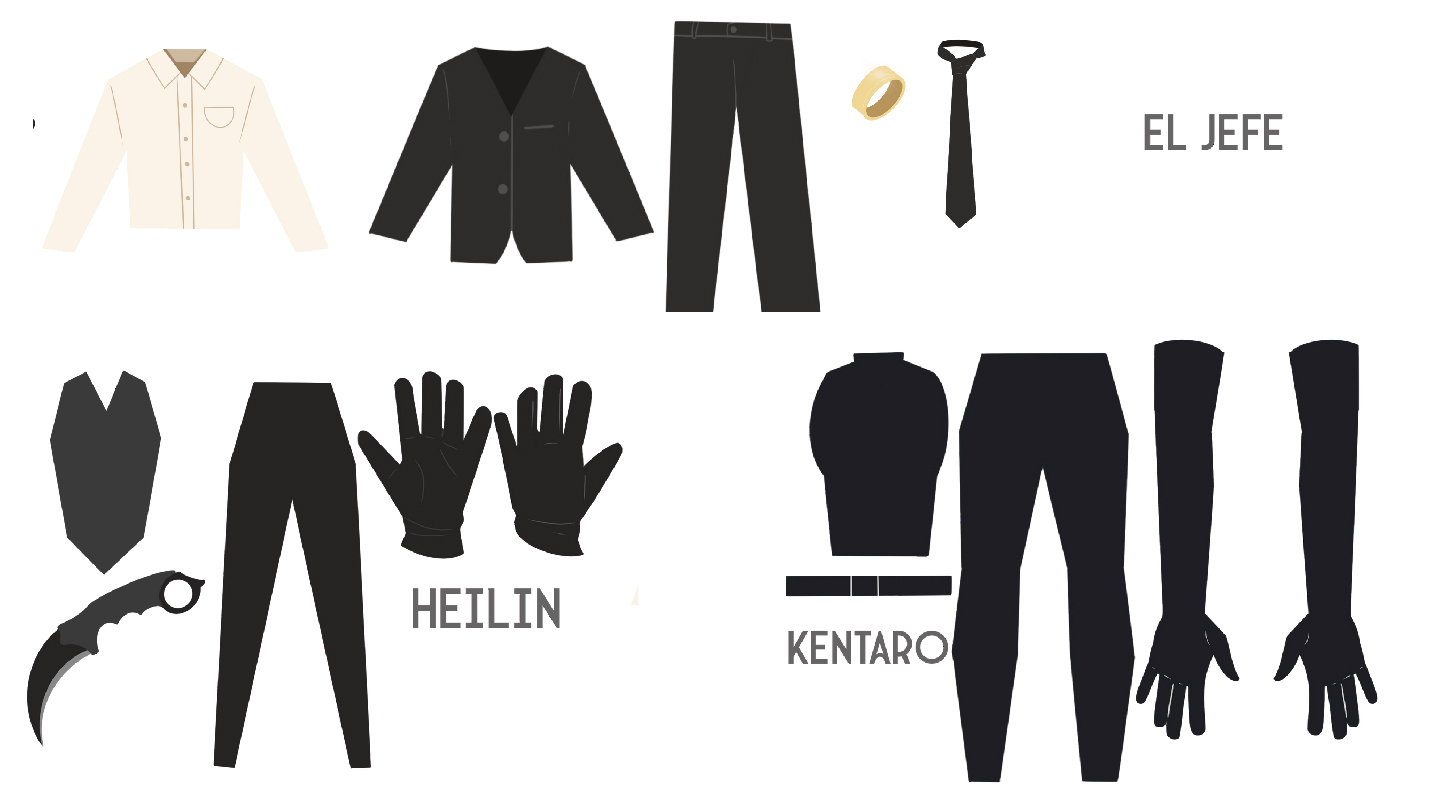
Character design is vital because it will be the main image of our character and project.
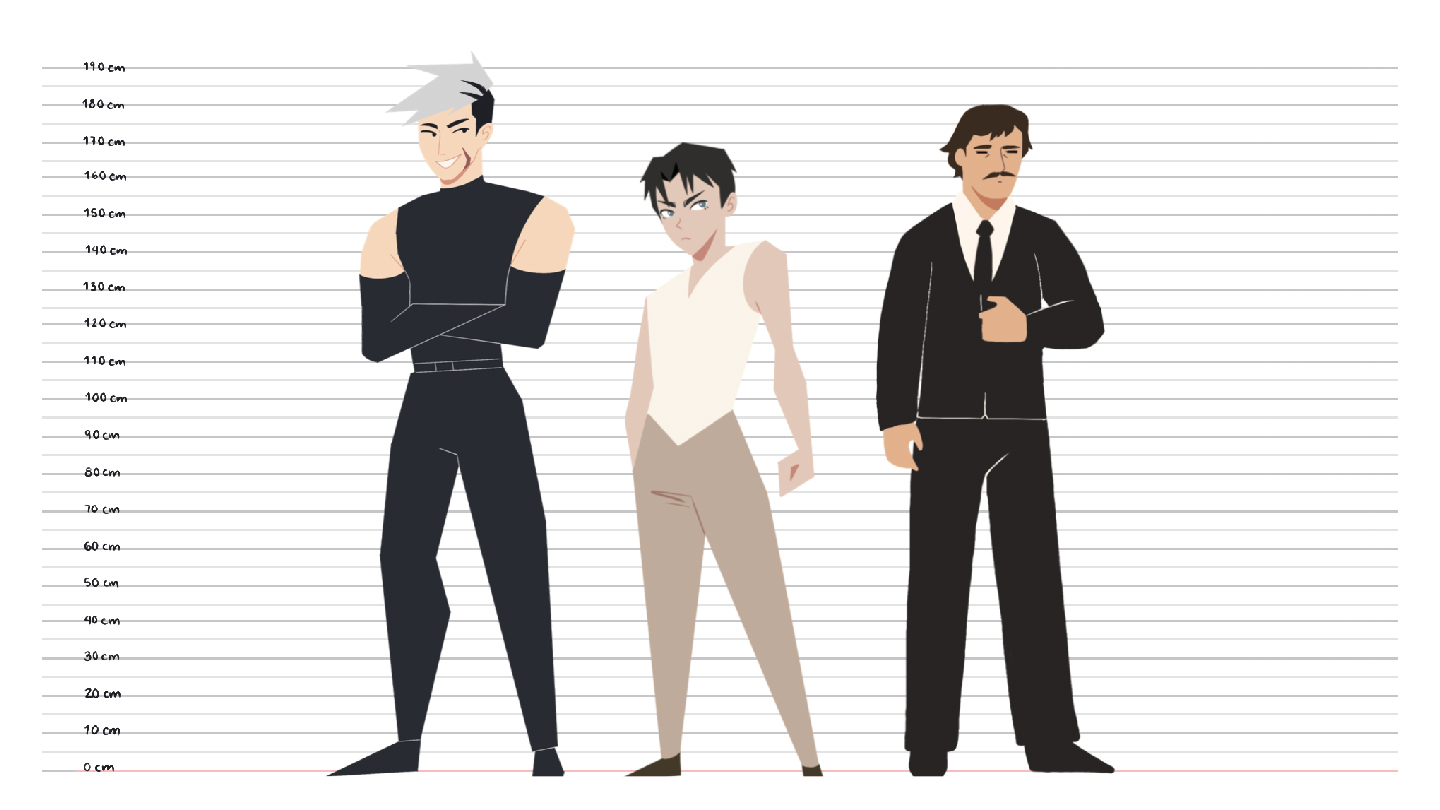
In this phase, we design all the characters in our story, experimenting with their poses and facial expressions, as well as their clothing and accessories.
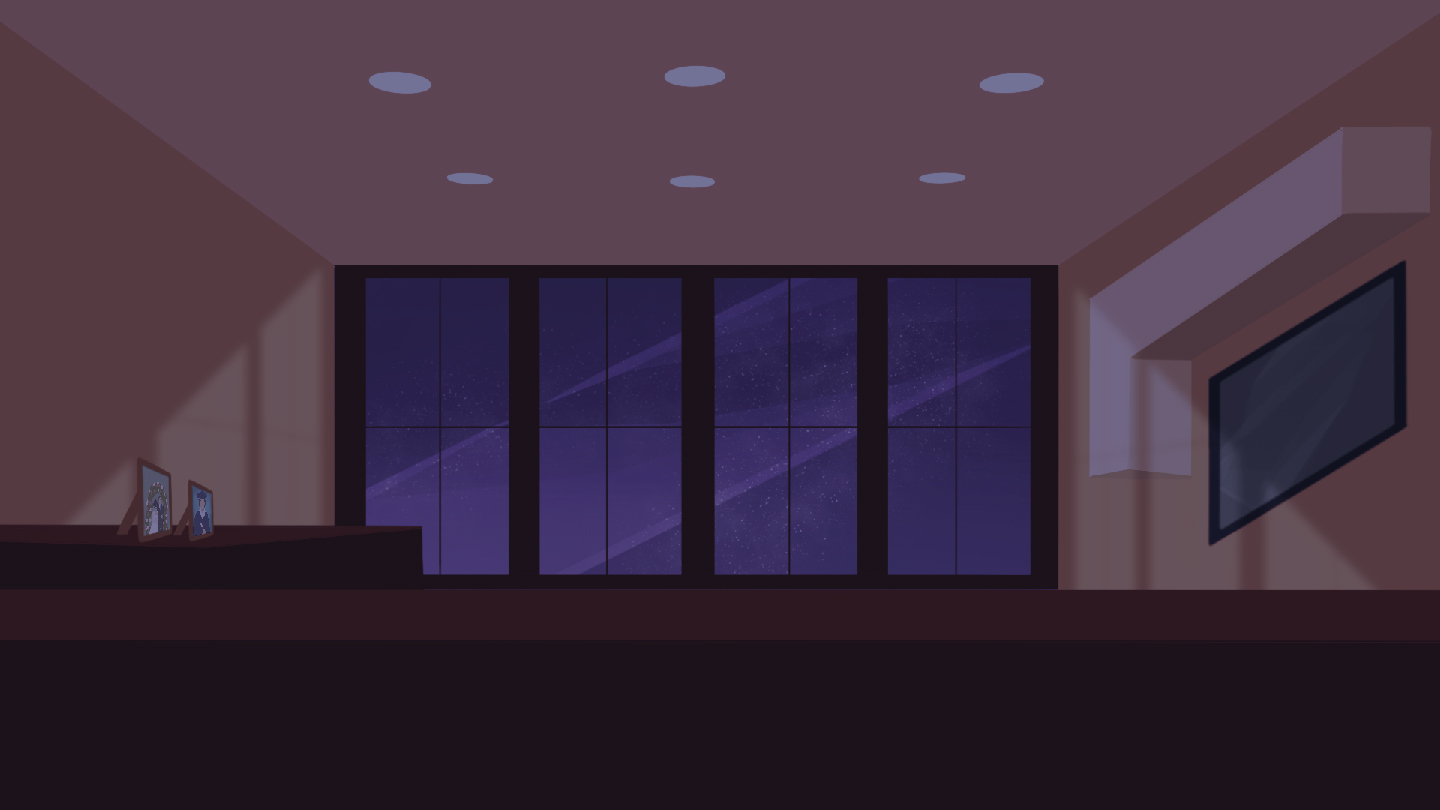
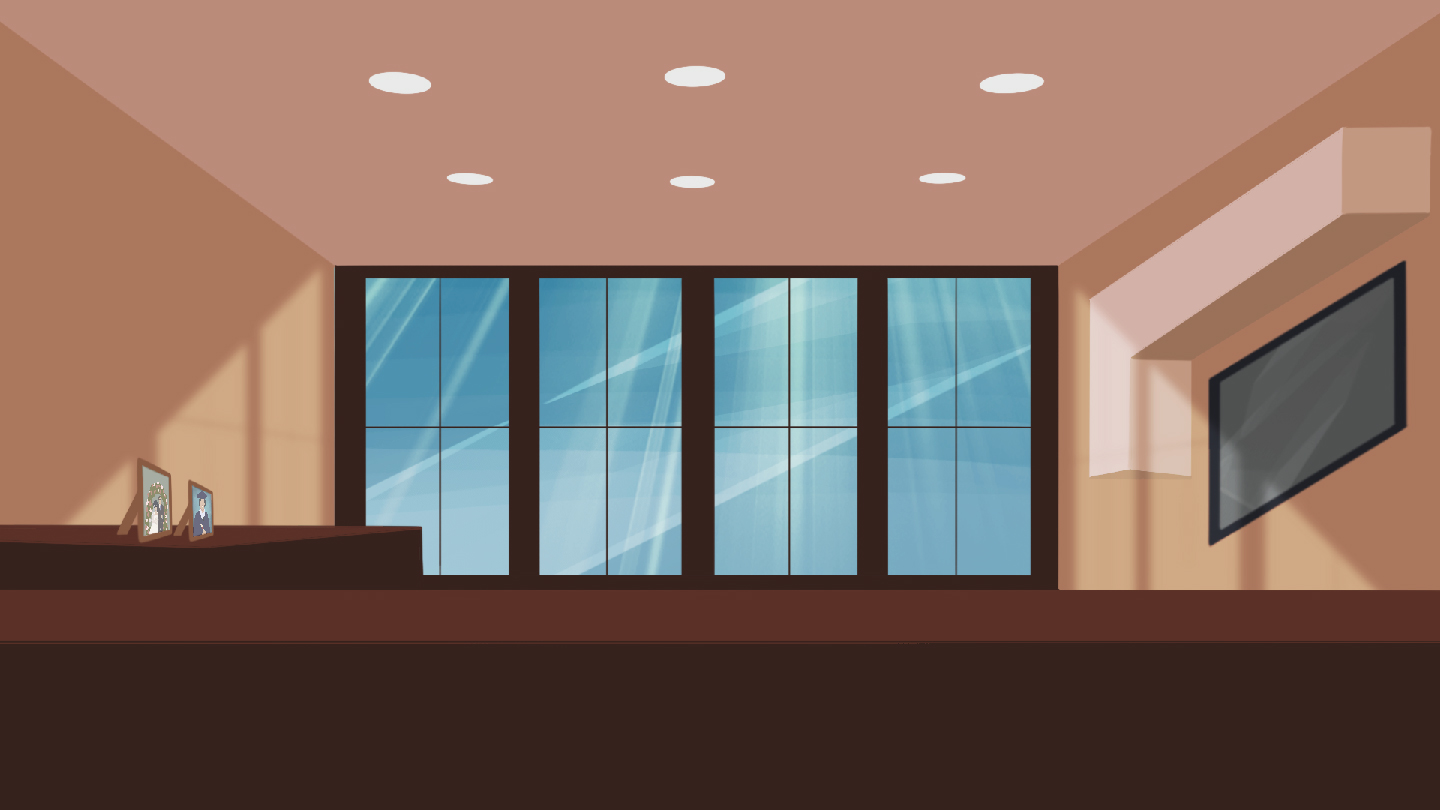
Backgrounds or layouts, which are the spaces where our characters will interact, are also created.
Another important aspect is defining the color palettes for the characters, backgrounds, or scenes to give the project a deeper sense.
PROJECT ANIMATIC
The animatic involves transferring the storyboard frames to video. This could be considered animation, but it is merely the visual base for animators to understand how the scene is expected to look.
It is the animators’ job to enhance the drawings, as the animatic is merely a reference and can be as detailed or simple as the project requires.
In this phase, lipsync is also worked on, which involves recording audio tracks, dialogues, sound effects, or even music, dictating the rhythm or timing.
We visually assemble what we have worked on graphically on this track, allowing us to have a clearer idea.
ANIMATION PRODUCTION
In this phase, animation begins, and with the principles in mind, it is determined whether to animate in a pose-to-pose or frame-by-frame manner.
A crucial aspect is generating references, which are videos recorded by us to study specific movements or actions and interpret them in drawings.
With the references, we first create rough drawings to consider dimensions and actions.
Then, the line is cleaned, using colors like blue and red to differentiate the depths of arms, legs, or objects.
Finally, the line is cleaned for base coloring, and shadows and effects can be added later.
FINISHING THE PRODUCTION
Finally, after many revisions and corrections, the project can be delivered. It is important to include credits at the end of all compositions and work, as this is where we mention the names of everyone involved in the project.
Source: Student´s work
Bachelor’s Degree in Animation and Digital Design
More news about Animation and Digital Design…
